Arctis Pro Wireless right ear cup fix
thingiverse
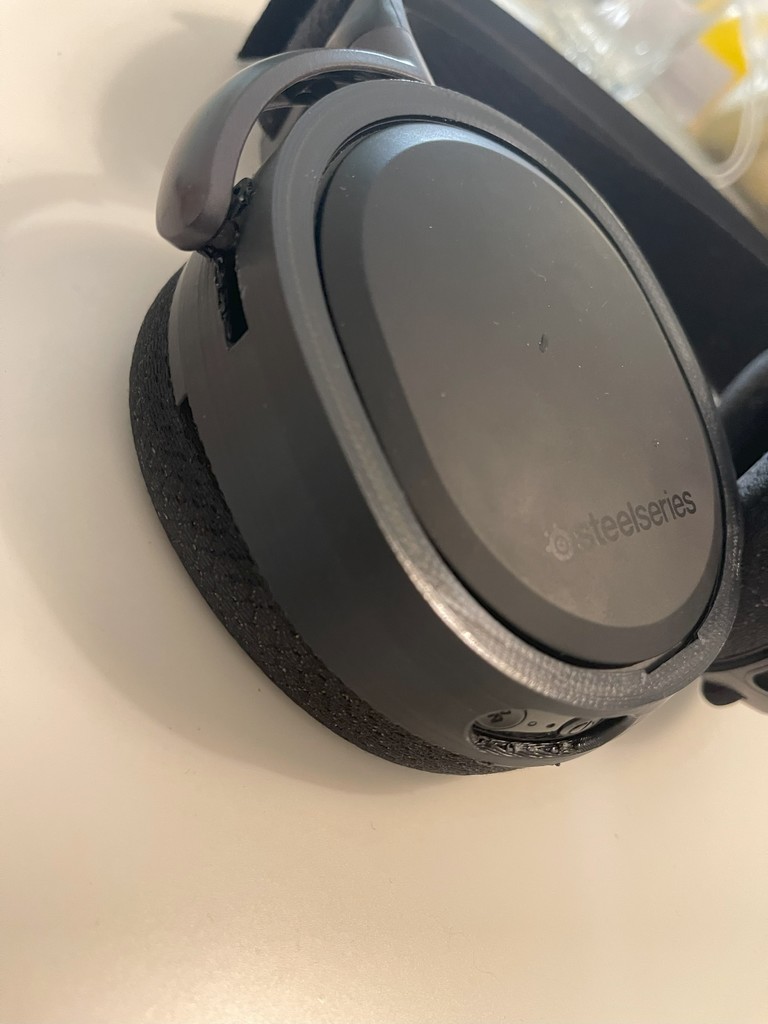
A earcup shell that replaces the original right hinge of the Arctis Pro Wireless. Preform this at your own risk! I'm only sharing how i fixed my headset. Rough instructions for assembly: 1. Desolder the speaker and battery from the motherboard and remove the circlip. 2. Cut away some plastic from the ear cup to create space for the new hinge. 3. Insert the cup in to the cup shell. Put the top in first then press on the bottom to secure the cup in the shell. Check if the button hole lines up with the buttons if they don't then shuffle the cup around in the shell gently until they line up. removing the cup might be hard and might damage the shell. 4. Insert the mother board in to the shell using the wider gap next to the hinge hole. Press the hinge arm in to the hinge hole and secure the circlip. 5. Resolder all the connections. Make sure the headphones turn on before proceeding. secure the mother board. 6. Slide on the ear cup cover, make sure that the protruding edge of the shell is in the crevasse were the earcup cushion normally is fastened. It's a tight fit. 7. screw on the earcup cover (might require some force but be careful not to strip the screw holes as they are plastic). 8. reattach the cushion, start with the bottom of the cup. The top protruding edge of the shell is slightly slanted to leave space for the cushion edge, but it's a tight fit. Good luck! Inspiration for the Motherboard passthrough came from this: https://www.thingiverse.com/thing:5885299
With this file you will be able to print Arctis Pro Wireless right ear cup fix with your 3D printer. Click on the button and save the file on your computer to work, edit or customize your design. You can also find more 3D designs for printers on Arctis Pro Wireless right ear cup fix.