Arduino Led Clock 7 segment
thingiverse
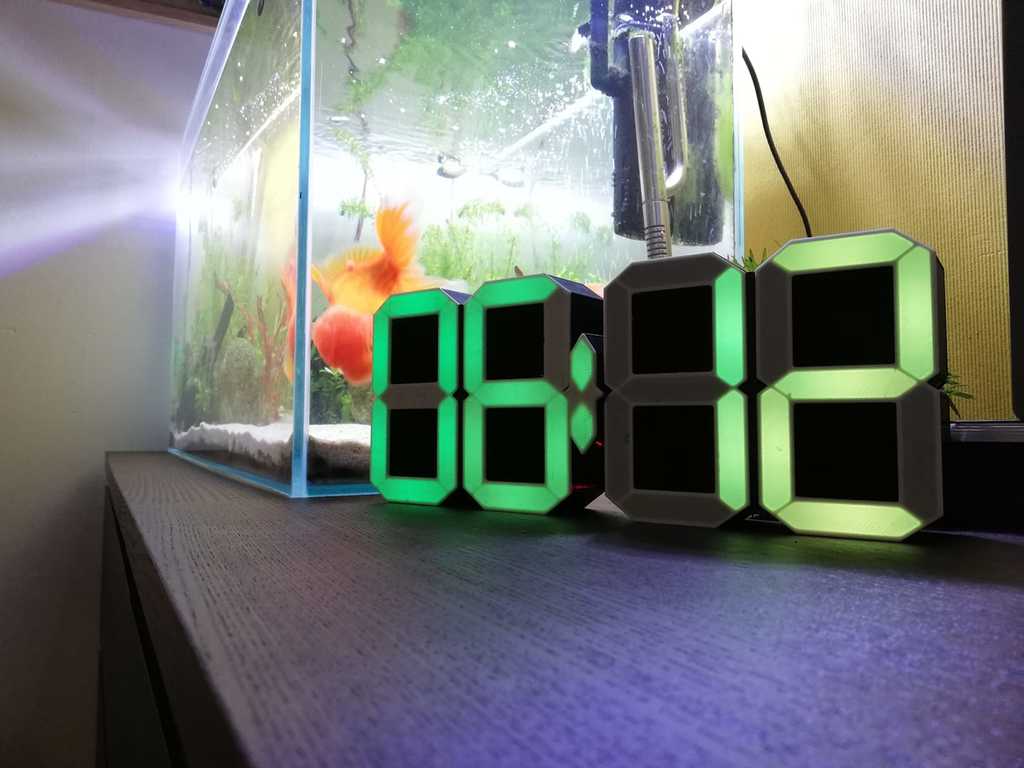
If you are common with color change during the print, it will be best to choose digits with face 0,4 or 0,8 and print it in one piece. Just start with white colour and after 0,4 or 0,8mm change to whatever colour you want. If you are not familiar with changing colors during the print you need to print hollow digits and dots. Then print face only and glue them together. In file names number after "x" letter coresponds with how many parts you should print. Work is still in progress so I didnt came up with idea how to connect two back panels just yet, maybe i'll do it later.
With this file you will be able to print Arduino Led Clock 7 segment with your 3D printer. Click on the button and save the file on your computer to work, edit or customize your design. You can also find more 3D designs for printers on Arduino Led Clock 7 segment.