Arduino Light Saber
myminifactory
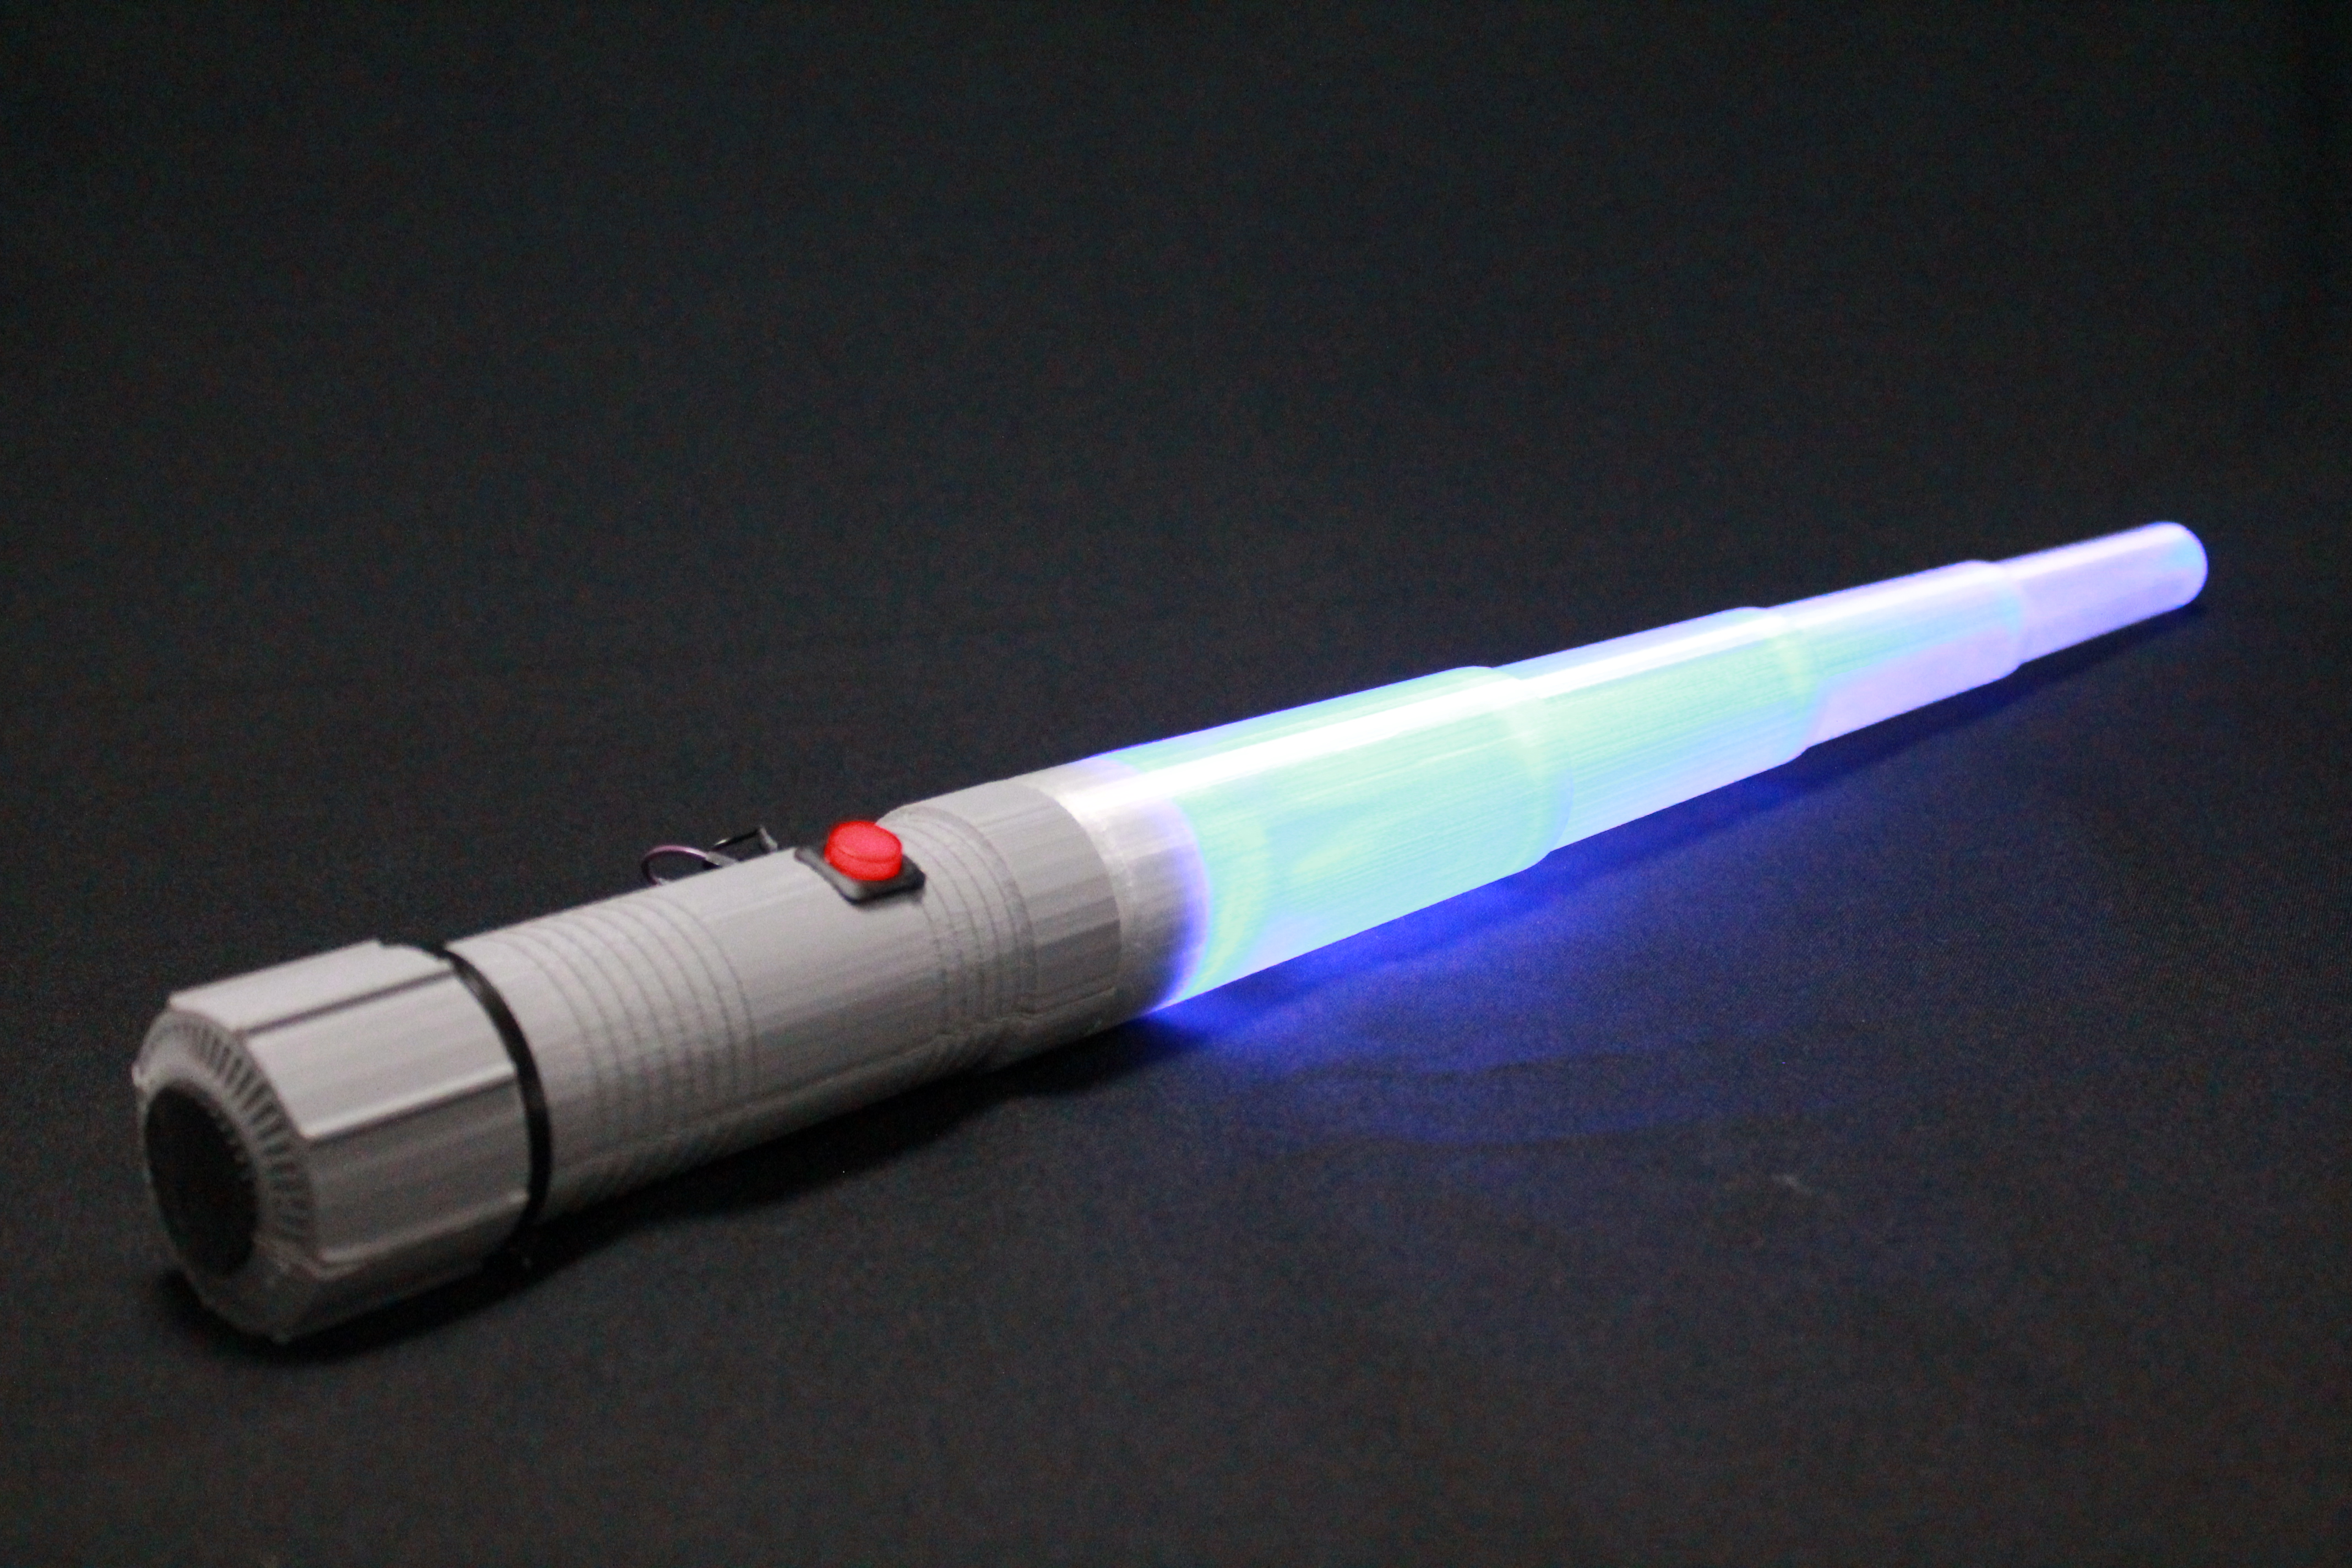
This tutorial will show you how to make your very own Light Saber using 3D printing and an Arduino. You'll learn how to use LEDs, particularly RGB LEDs, and even solder some connections. Programming the light saber offers a lot of possibilities - you can choose the color you want, decide what action to take when you press the button, and even modify the code to add your own features! In the ZIP files included in the download, you'll find an example design that's basically just a cylinder with some neat designs inside. You can open it up in your favorite design software and make your own modifications so you have a truly personalized Light Saber! Here are the things you'll need to get started: • A 3D printer (you know, the one you use for making all sorts of cool stuff!) • 1 Arduino Nano • Filament (plastic) for your 3D printer - both transparent and regular colors will work great! • 5mm RGB LEDs (or regular ones if you prefer) • Resistors to help control the flow of electricity • A battery to power everything • Some wire and connectors to tie it all together Now, let's get started! Step 1: Printing the parts ------------------------- First things first, we need to print out all the plastic parts for our Light Saber. This includes the handle, the transparent saber part, and a few other bits and bobs. Step 2: Building the LEDs disk ----------------------------- Next up, we're going to build the LED disk that's going to light up our saber. This is where things get a little tricky - you'll need to be careful and organized as you wire everything together. But don't worry, I've got your back! Here's how it works: 1. Wiring LEDs, theory: * We want to link all the blue pins together, same for the red, green, and anode. * The BLUE & GREEN LEDs have a forward voltage of 3V, so we can link their cathodes directly to the transistors. * The red LED has a forward voltage of 1.8 volts, so we need to put a resistor on it to reduce the voltage from 3 to 1.8V. To calculate the resistor, we use Ohm's law: U = R * I U (voltage) = 3 - 1.8 = 1.2V I (current) = 0.02A R (resistance) = 1.2V / 0.02A = 60 Ohms But, alas! We can't find a resistor with exactly 60 ohms. So we'll use one that's higher, like 68 ohms. 2. Soldering: * First, put all the LEDs inside the disk you printed. * Bend all the anodes to the middle and solder them together. * Then do the same for the red, blue, and green pins - don't forget to add a resistor on each red pin! * Use some heat shrink tubing to keep everything tidy. Step 3: Preparing the battery and button -------------------------------------- Next up, we need to prepare our battery and button. The button is pretty simple - just add a 100nF capacitor between its two pins to filter out any rebound. Then link the "-" of the button LED to the same pin as the LED, so it'll turn on/off/dim with the others. The battery's a bit trickier - we need to cut the original cable and rewire everything. JST connections are perfect for this job! Step 4: Linking everything together ----------------------------------- Now it's time to tie everything together! Connect each LED group (three LEDs in parallel, one resistor per LED) to a pin on the Arduino Nano. Make sure not to overload any single pin - we don't want our saber to overheat! Step 5: Assembling everything --------------------------- Finally, it's time to put all our hard work together! Plug everything into place, clip the two halves of the handle together, and screw on the battery cover. You can also use zip ties if you prefer. And that's it! Your very own Light Saber is ready to go - may the force be with you!
With this file you will be able to print Arduino Light Saber with your 3D printer. Click on the button and save the file on your computer to work, edit or customize your design. You can also find more 3D designs for printers on Arduino Light Saber.