Arduino Line Follower Car Chassis
thingiverse
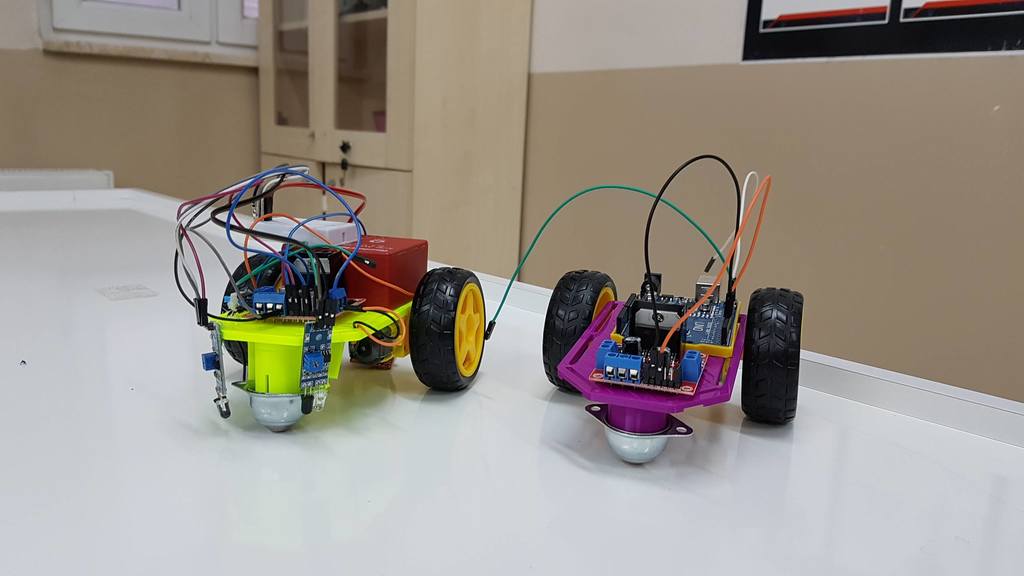
Hello, this is a remix of https://www.thingiverse.com/thing:109524 car chassis. I made some little change with idler whell joint. You can directly hot glue your idler whell below the chassis with perfect fit. And there is an Arduino Line Follower Robo Car recipe below for you, enjoy. Hello, with this Project you can make your own Arduino Line Follower Robo Car. This Project need some basic knowledge of Arduino Uno. The line follower car requirements are as follows: 1x Arduino Uno (https://goo.gl/VHwGMK) 1x L298N Motor Driver (https://goo.gl/24dyj6) 2x 100 RPM DC Motors with Wheels (https://goo.gl/WNRM2C) 2x Reflection Sensors (https://goo.gl/i9V4sQ ) 1x idler Wheel 1x 7.4 Li-po Battery 1xtiny Breadboard 1x Car Chassis Hot Glue Soldering Iron Jumper Cables And some time. First print the 3D car chassis. Hot glue DC motors and plug wheels to the 3D printed chassis below. Solder DC motor anode and cathode with jumper cables. Connect them on the tiny breadboard. Connect the Li-po battery to the L298N motor driver +12V and GND port. Plug a jumper cable to +5v and GND to the L298N and connect them to Arduino Uno's (5V to Vin and GND to GND) pins. Hot glue the idler wheel to the chassis. Hot Glue the motor driver, Arduino, and Li-po on the chassis. Upload this code to Arduino. And it's ready to go. You can put a switch between the Li-po and the motor driver. Now you can test this Arduino Line Following Robo Car with a parkour. Make your own line parkour with some tape. Have fun. Arduino Code: https://github.com/bilgehoca/arduinolinefollowingrobocar For my other projects visit my website: https://www.bekirbilge.com My YouTube channel: https://www.youtube.com/c/BekirBilge
With this file you will be able to print Arduino Line Follower Car Chassis with your 3D printer. Click on the button and save the file on your computer to work, edit or customize your design. You can also find more 3D designs for printers on Arduino Line Follower Car Chassis.