Arduino Mega Prototyping Kit
thingiverse
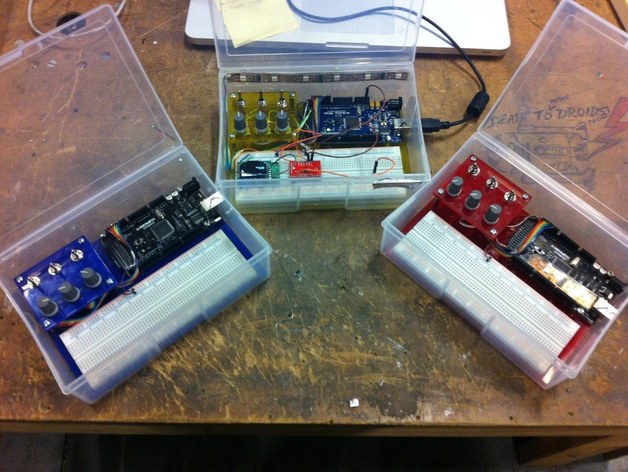
This DIY project involves creating a laser-cut plate for holding a breadboard and an Arduino Mega or Uno, along with dials and switches, making it convenient for prototyping and demonstrations on the go. The objective is to minimize barriers to testing and prototyping ideas by allowing rapid setup without needing custom circuit boards or soldering. Key components include a 4-pack of 20mm M3 spacers from Altronics, assorted M3 screws, three 16mm linear 10K pot with spline (R2225), stylish plastic knobs (H6109), and toggle switches (S1315) - all available at Altronics. A long standard breadboard, adhesive or double-sided tape, hookup wires, and a Fisher 1H-032 box are also required. The dimensions of the plastic tub are approximately 66H x 136D x 195W (outside) and 60H x 128D x 186W (inside), in millimeters. Before assembly, ensure that non-cutting power levels are set for engraving or scoring in the laser cutting process. Assemble by securing the breadboard, Arduino, switches, and knobs, wiring them accordingly. Lastly, cut holes to accommodate USB and DC jacks in the box.
With this file you will be able to print Arduino Mega Prototyping Kit with your 3D printer. Click on the button and save the file on your computer to work, edit or customize your design. You can also find more 3D designs for printers on Arduino Mega Prototyping Kit.