Arduino Nano 33 BLE - Debug Port Pin Fixture
thingiverse
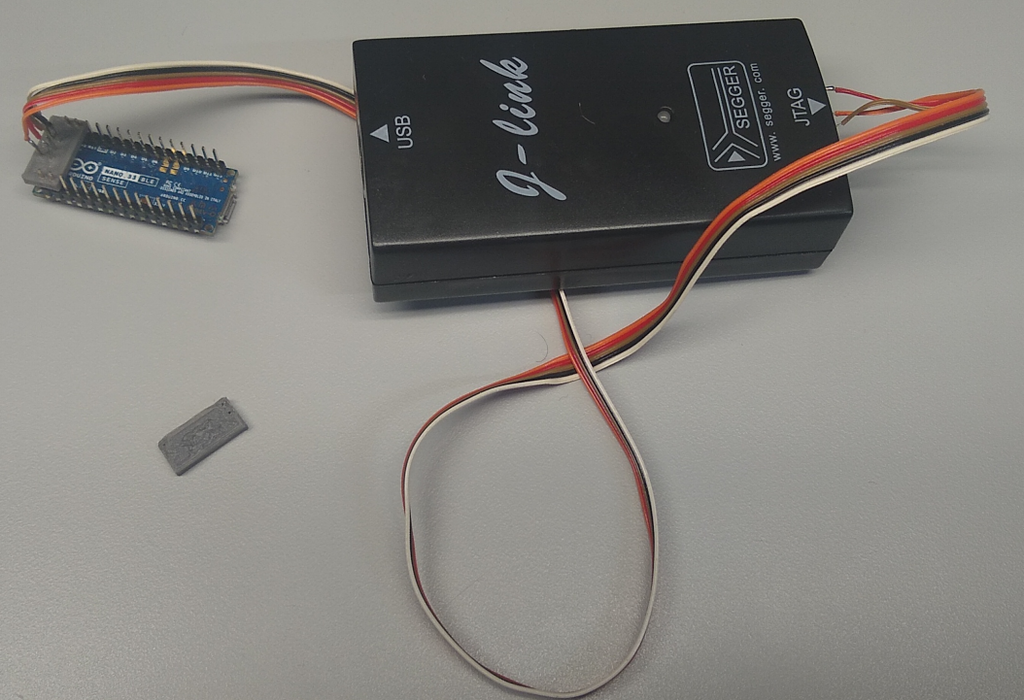
Need to Quickly Connect to the Debug Port of the Arduino Nano 33 Sense/BLE? Want to replace the Arduino bootloader that comes with the Nano 33 Sense with the Adafruit version? No problem, you can do it without permanently soldering wires to those five tiny pads at the bottom of the board. Here's a simple solution: Design and Print a Fixture First, design a fixture in Freecad and print it using your 3D printer. This will take less than ten minutes on most printers. Modify the Holes Next, use a 0.5mm drill to carefully make all nine holes slightly bigger. Be careful not to damage the surrounding plastic. Add Header Pins Push some header pins through the modified holes. It's going to be a tight fit, but it will work. Solder Wires Solder some wire to the pins, making sure not to keep the soldering iron on the pins for too long. You don't want to melt the plastic around the pins and mess up the alignment to the pads. Align the Fixture Align the fixture to the Nano PCB by using the four holes added to hold it in place. Use pins TX/RX and VIN/GND of the board to secure it. Connect the Wires Push the fixture down until all the pins are in contact with the pads at the bottom of the PCB. Then, connect the other end of the wires to your favourite debugger (J-Link or Black Magic Probe). Program and Enjoy! That's it! You can now program your Arduino Nano 33 Sense/BLE without soldering any wires permanently to the board.
With this file you will be able to print Arduino Nano 33 BLE - Debug Port Pin Fixture with your 3D printer. Click on the button and save the file on your computer to work, edit or customize your design. You can also find more 3D designs for printers on Arduino Nano 33 BLE - Debug Port Pin Fixture.