Arduino Pro Mini Enclosure
thingiverse
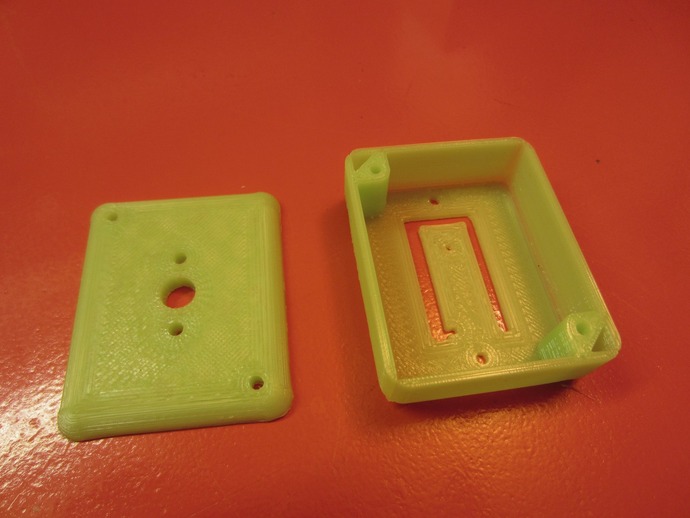
Assemble an enclosure for your Arduino Pro Mini using a 3D-printed base and top, optionally including printed L-brackets and spacer rings, along with M2.5x10mm or 2-56x1/2" screws, M3x12mm screws, and the Arduino Pro Mini itself. To construct, print the latest STL files from our Github repo using translucent PLA for visibility of LEDs, de-burr the screw holes, solder female or male headers onto the Arduino Pro Mini, optionally insert two M2.5 screws into L-brackets on the base, attach the Arduino Pro Mini without glue for testing purposes, move the L-brackets into position and tighten the screws, and finally, affix the lid using M3 or 4-40 screws.
With this file you will be able to print Arduino Pro Mini Enclosure with your 3D printer. Click on the button and save the file on your computer to work, edit or customize your design. You can also find more 3D designs for printers on Arduino Pro Mini Enclosure.