Arduino Uno Keypad
prusaprinters
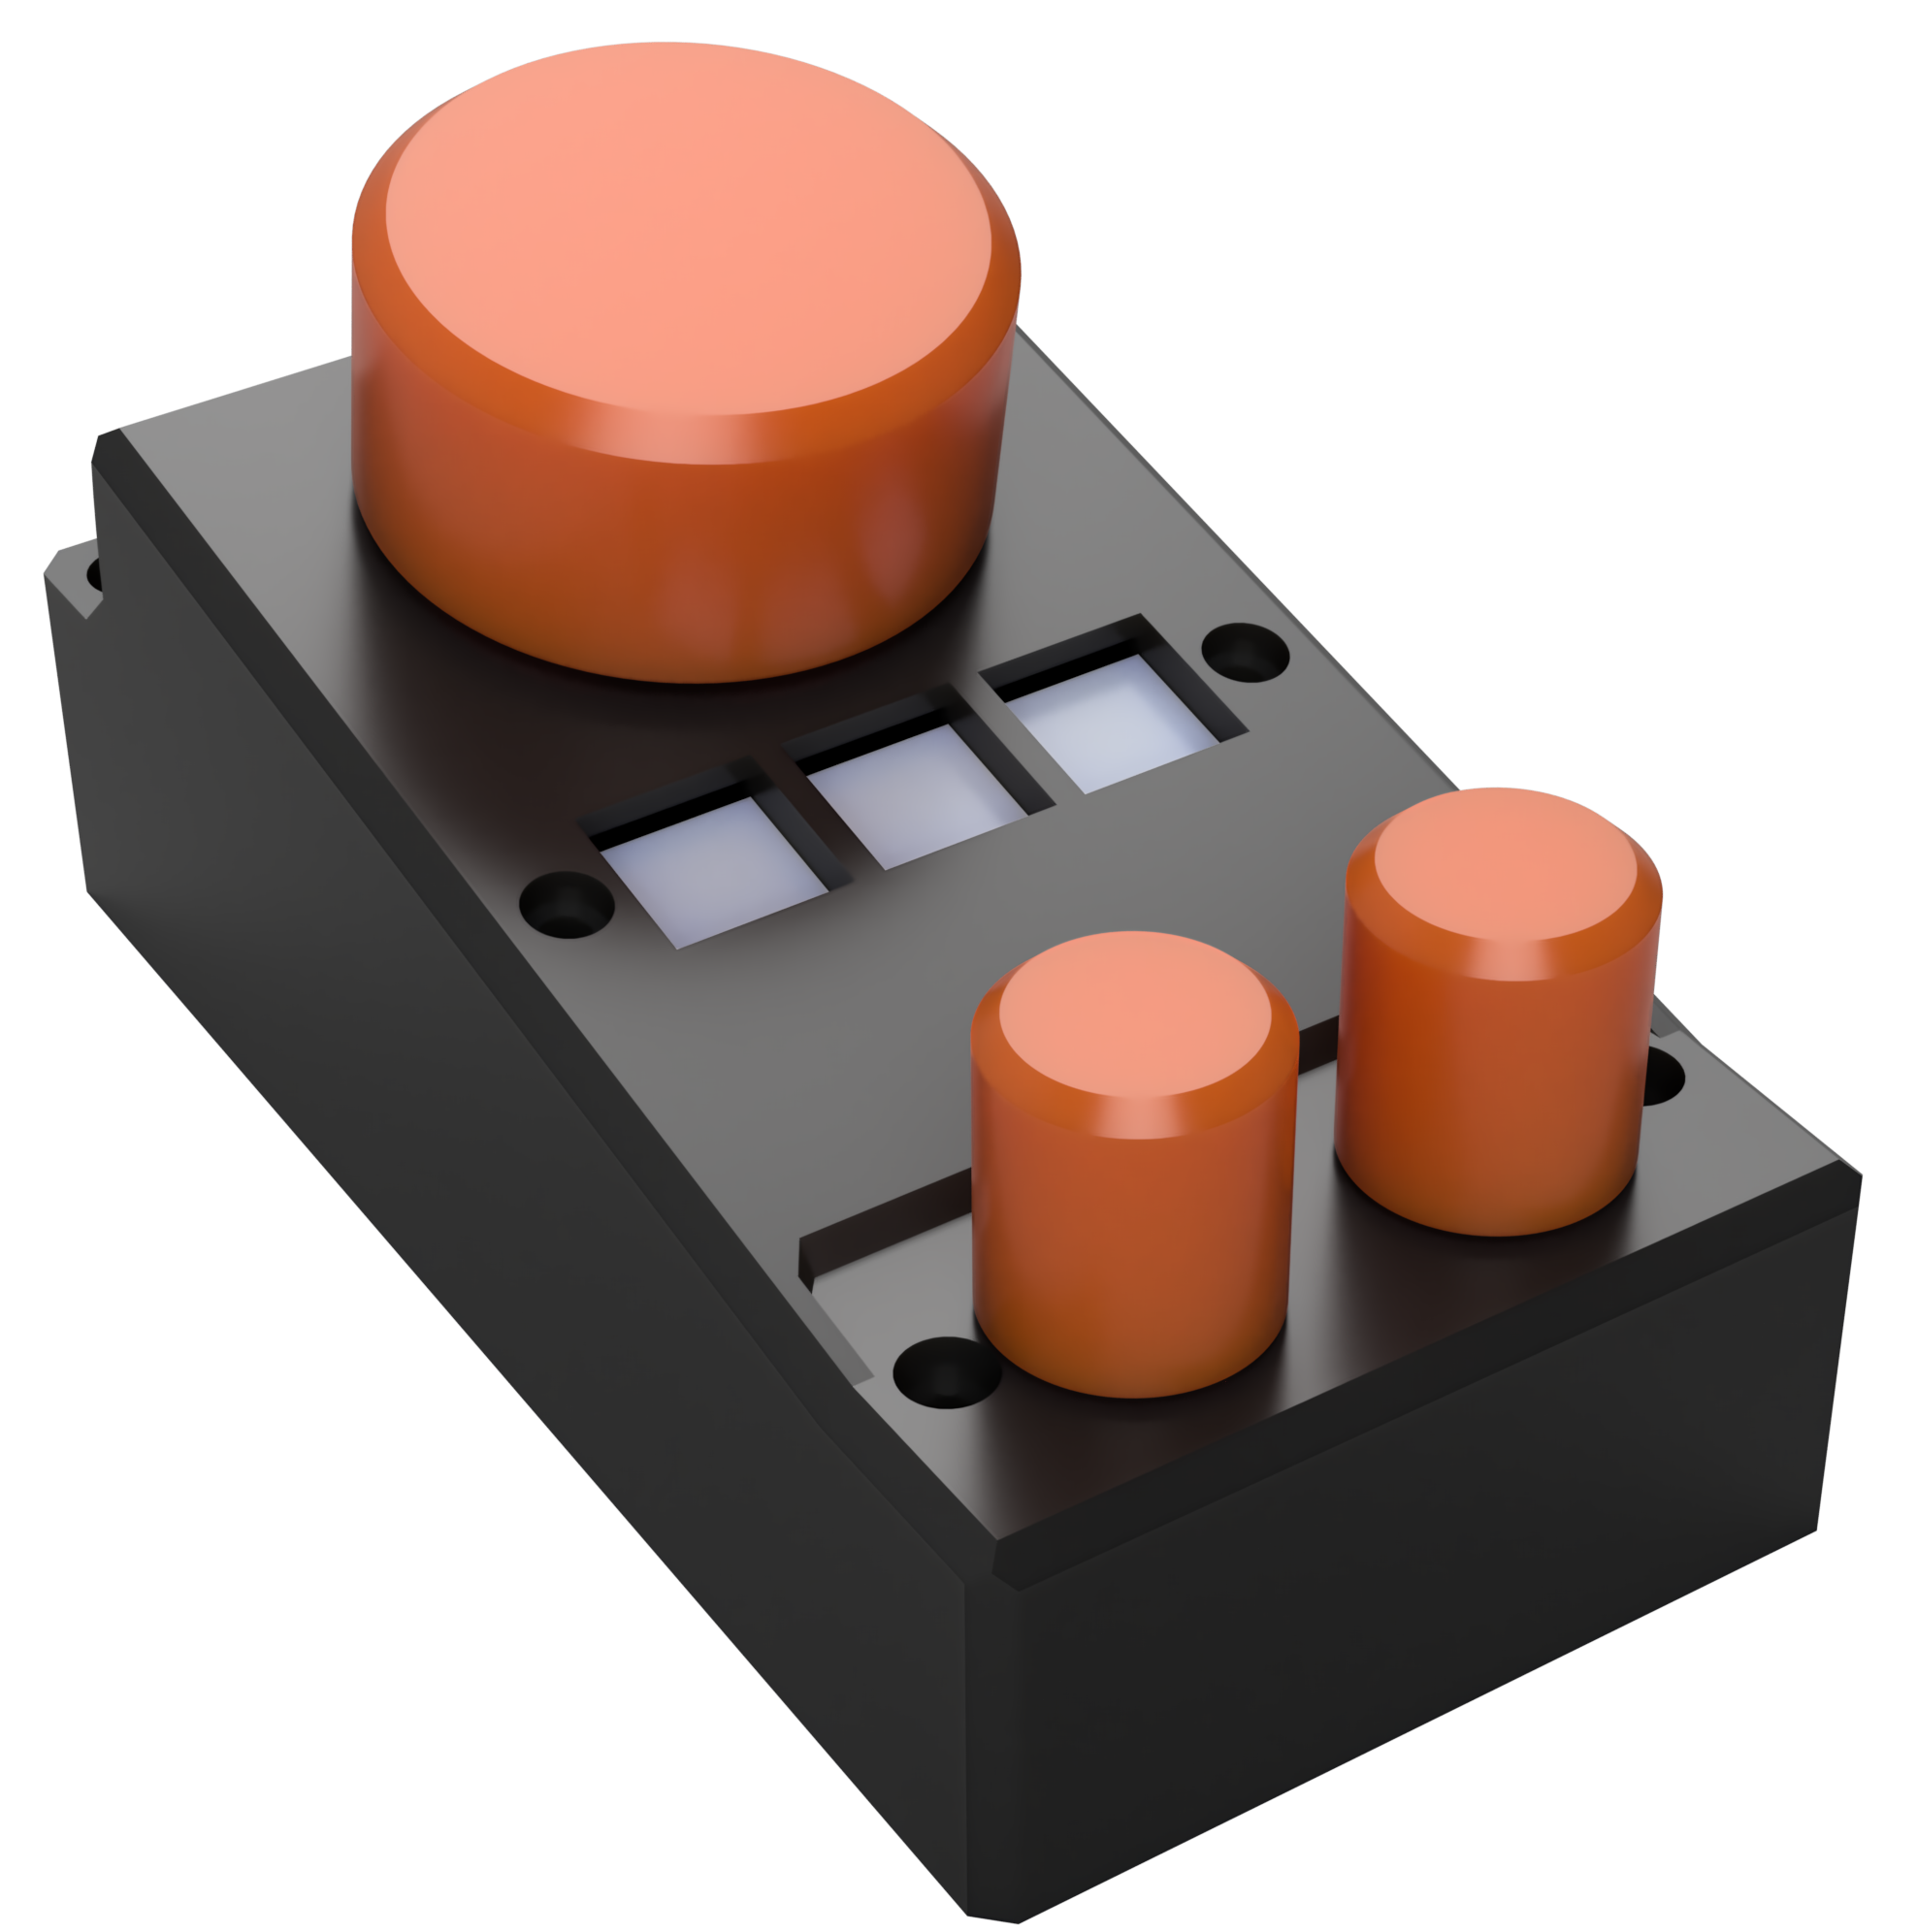
<p>This keypad uses :</p><ul><li>Arduino Uno</li><li>3 rotary encoders, with a rectangular base 16mm wide (I repurposed mine from a broken amplifier)</li><li>3 buttons 9mm wide square base (the ones that usually come in Arduino kits)</li><li>a 5mm LED</li><li>Optionally a slide button to have to switchable modes (6mm x 20mm, quite common small buttons found in many gadgets, with 2 mounting holes, 15mm apart)</li><li>3 x 10K ohms resistors (or 4 if you want the modes switch) for the buttons</li><li>220 ohms resistors for the led</li><li>8 x M3 nuts</li><li>2 x M3x20mm</li><li>6 x M3x8mm</li><li>2x M4 nuts</li><li>2x M4x10mm</li><li>some kind of weight, I used a 38mm x 21mm x 4mm piece of cast steel from an old amp but you could use washers or cut a piece of steel to size.</li></ul><p>I have printed all of the files with my Prusa I3 MK2.5S and a 0.6mm wide nozzle with 0.25mm layer heights (the files are pretty easy to print and only the top part requires supports.</p><p>The keypad uses Serial communications to send keypress and knob turns that are then received by a python code that has to run in the background (you can set it up to automatically launch upon logging in).</p><p>The Arduino code is pretty simple and I have included it in the files (I have not programmed the modes switch but it should be pretty easy to add).</p><p>The python code uses the Pyserial library to read the informations from the serial bus (<a href="https://pyserial.readthedocs.io/en/latest/pyserial.html#installation">https://pyserial.readthedocs.io/en/latest/pyserial.html#installation</a>) and the pyautogui library to register the keypresses (<a href="https://pyautogui.readthedocs.io/en/latest/install.html">https://pyautogui.readthedocs.io/en/latest/install.html</a>).</p><p>Here is the code I have used (the two knobs at the bottom are used to get 2 speeds of mouse scrolling and the top one is a volume knob, the buttons are function keys.</p><p>import serial<br>import pyautogui</p><p>arduino = serial.Serial("COM4", 9600, timeout=.1)<br>while True:<br> data = arduino.readline()<br> if data != None :<br> dataList = data.decode("ascii").split("_")<br> last = 0<br> for word in dataList :<br> if word == "volUp" : pyautogui.press('volumeup')<br> elif word == "volDo": pyautogui.press('volumedown')<br> elif word == "en1Up" : pyautogui.scroll(50)<br> elif word == "en1Do" : pyautogui.scroll(-50)<br> elif word == "en2Up" : pyautogui.scroll(500)<br> elif word == "en2Do" : pyautogui.scroll(-500)<br> elif word == "bu1": pyautogui.press('f1')<br> elif word == "bu2": pyautogui.press('f2')<br> elif word == "bu3": pyautogui.press('f3')</p><p> </p><p>The keypad works relatively well though there are sometimes weird bugs that I haven't been able to solve.. Since I built the entire keypad with parts I already had lying around I am quite happy with the result.</p>
With this file you will be able to print Arduino Uno Keypad with your 3D printer. Click on the button and save the file on your computer to work, edit or customize your design. You can also find more 3D designs for printers on Arduino Uno Keypad.