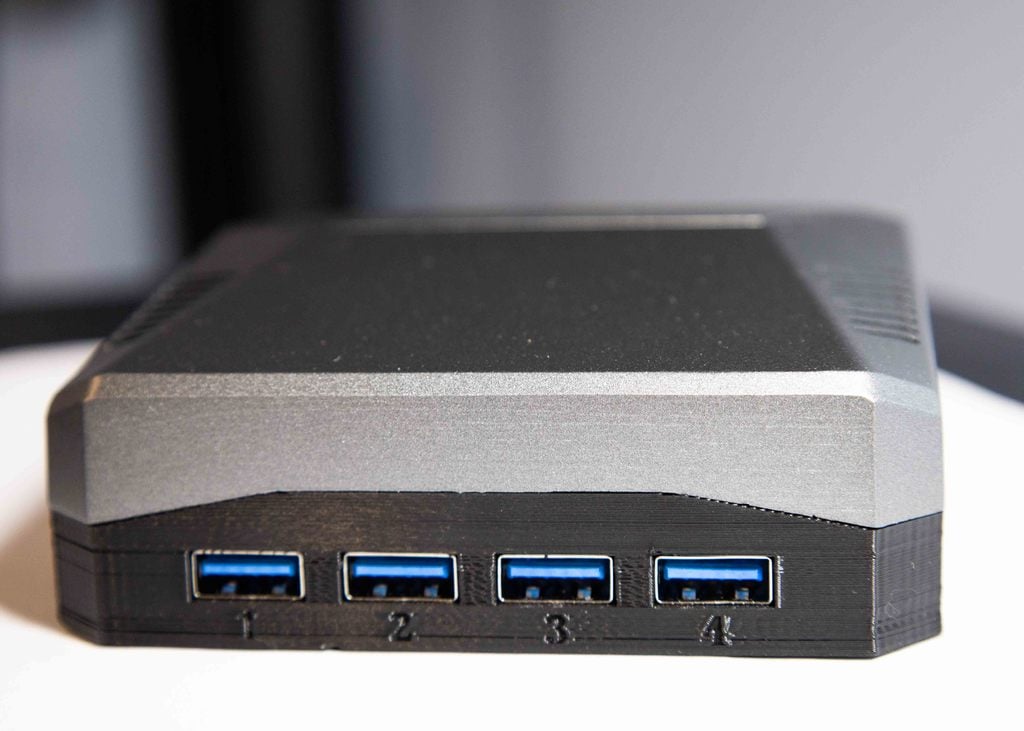
Argon One - USB 3.0 Hub
thingiverse
## Background I needed front access to USB on the Argon One Raspberry Pi 4B case. (v1 and v2) It didn't need to be USB 3, but I figured why limit it to 2.0! I tried using the Anker 4 port hub but due to the cable on the side of the PCB, this wasn't possible inside the dimensions required. I was able to find a hub with the cable exiting from the rear which was perfect. To convert the male A of the hub's cable, I was able to find a right angle keystone jack that did the job. ## Parts Needed - 1x - [ORICO 4-Port USB 3.0 Hub, 1ft](https://www.amazon.com/dp/B088BPBPB3) - 1x - [Poyiccot USB 3.0 Keystone Jack, 90 Degree](https://www.amazon.com/dp/B07KYFVG1T) - 2x - M2x3mm screws - 1x - USB 3.0 180° Connector Bridge Adapter (multiple sources) - Comes with the Argon One M.2 Case - [eBay Item:194014551651](https://www.ebay.com/itm/194014551651) - [Aliexpress](https://www.aliexpress.com/item/33042595725.html) - 1x Argon One Raspberry Pi 4B Case (all versions are compatible) - Version 1 (Link not available, but it has micro HDMI connections) - [Version 2](https://www.argon40.com/argon-one-v-2-case-for-raspberry-pi-5.html) - [Version 2 with M.2 Board](https://www.argon40.com/argon-one-m-2-case-for-raspberry-pi-4.html) (Can't use this with the M.2 board attached) - [Nanosound HiFi](https://www.argon40.com/nanosound-one-case-raspberry-pi-4-not-included.html) - Electrical tape ## Instructions 1. Print the part 2. Remove the USB Hub from its housing 3. Remove the keystone jack from its housing 4. Place they keystone jack's PCB into the slot on the rear, it should sort of snap into place. 5. Place the USB hub PCB into the from of the printed part. There are two screw holes that should fit inside the PCB's mounting holes. 6. Screw down the USB hub PCB using the two M2 screws. 7. Plug the hub's cable into the inside port of the keystone jack, routing it in a loop. 8. Secure the keystone jack (or don't) with some hot glue. 9. Cover the keystone jack and USB ports with electrical tape because it's pretty snug and it could short out the pi. 10. Unscrew the bottom of the Argon ONE case (keep the screws) 11. Screw the assembled printed part onto the bottom of the Argon ONE with the screws that were already there. 12. Connect the USB bridge adapter to the back of the printed part and Pi. 13. Have a snack, you done good kid!
With this file you will be able to print Argon One - USB 3.0 Hub with your 3D printer. Click on the button and save the file on your computer to work, edit or customize your design. You can also find more 3D designs for printers on Argon One - USB 3.0 Hub.