Arris Surfboard SB8200 Rack Mount
prusaprinters
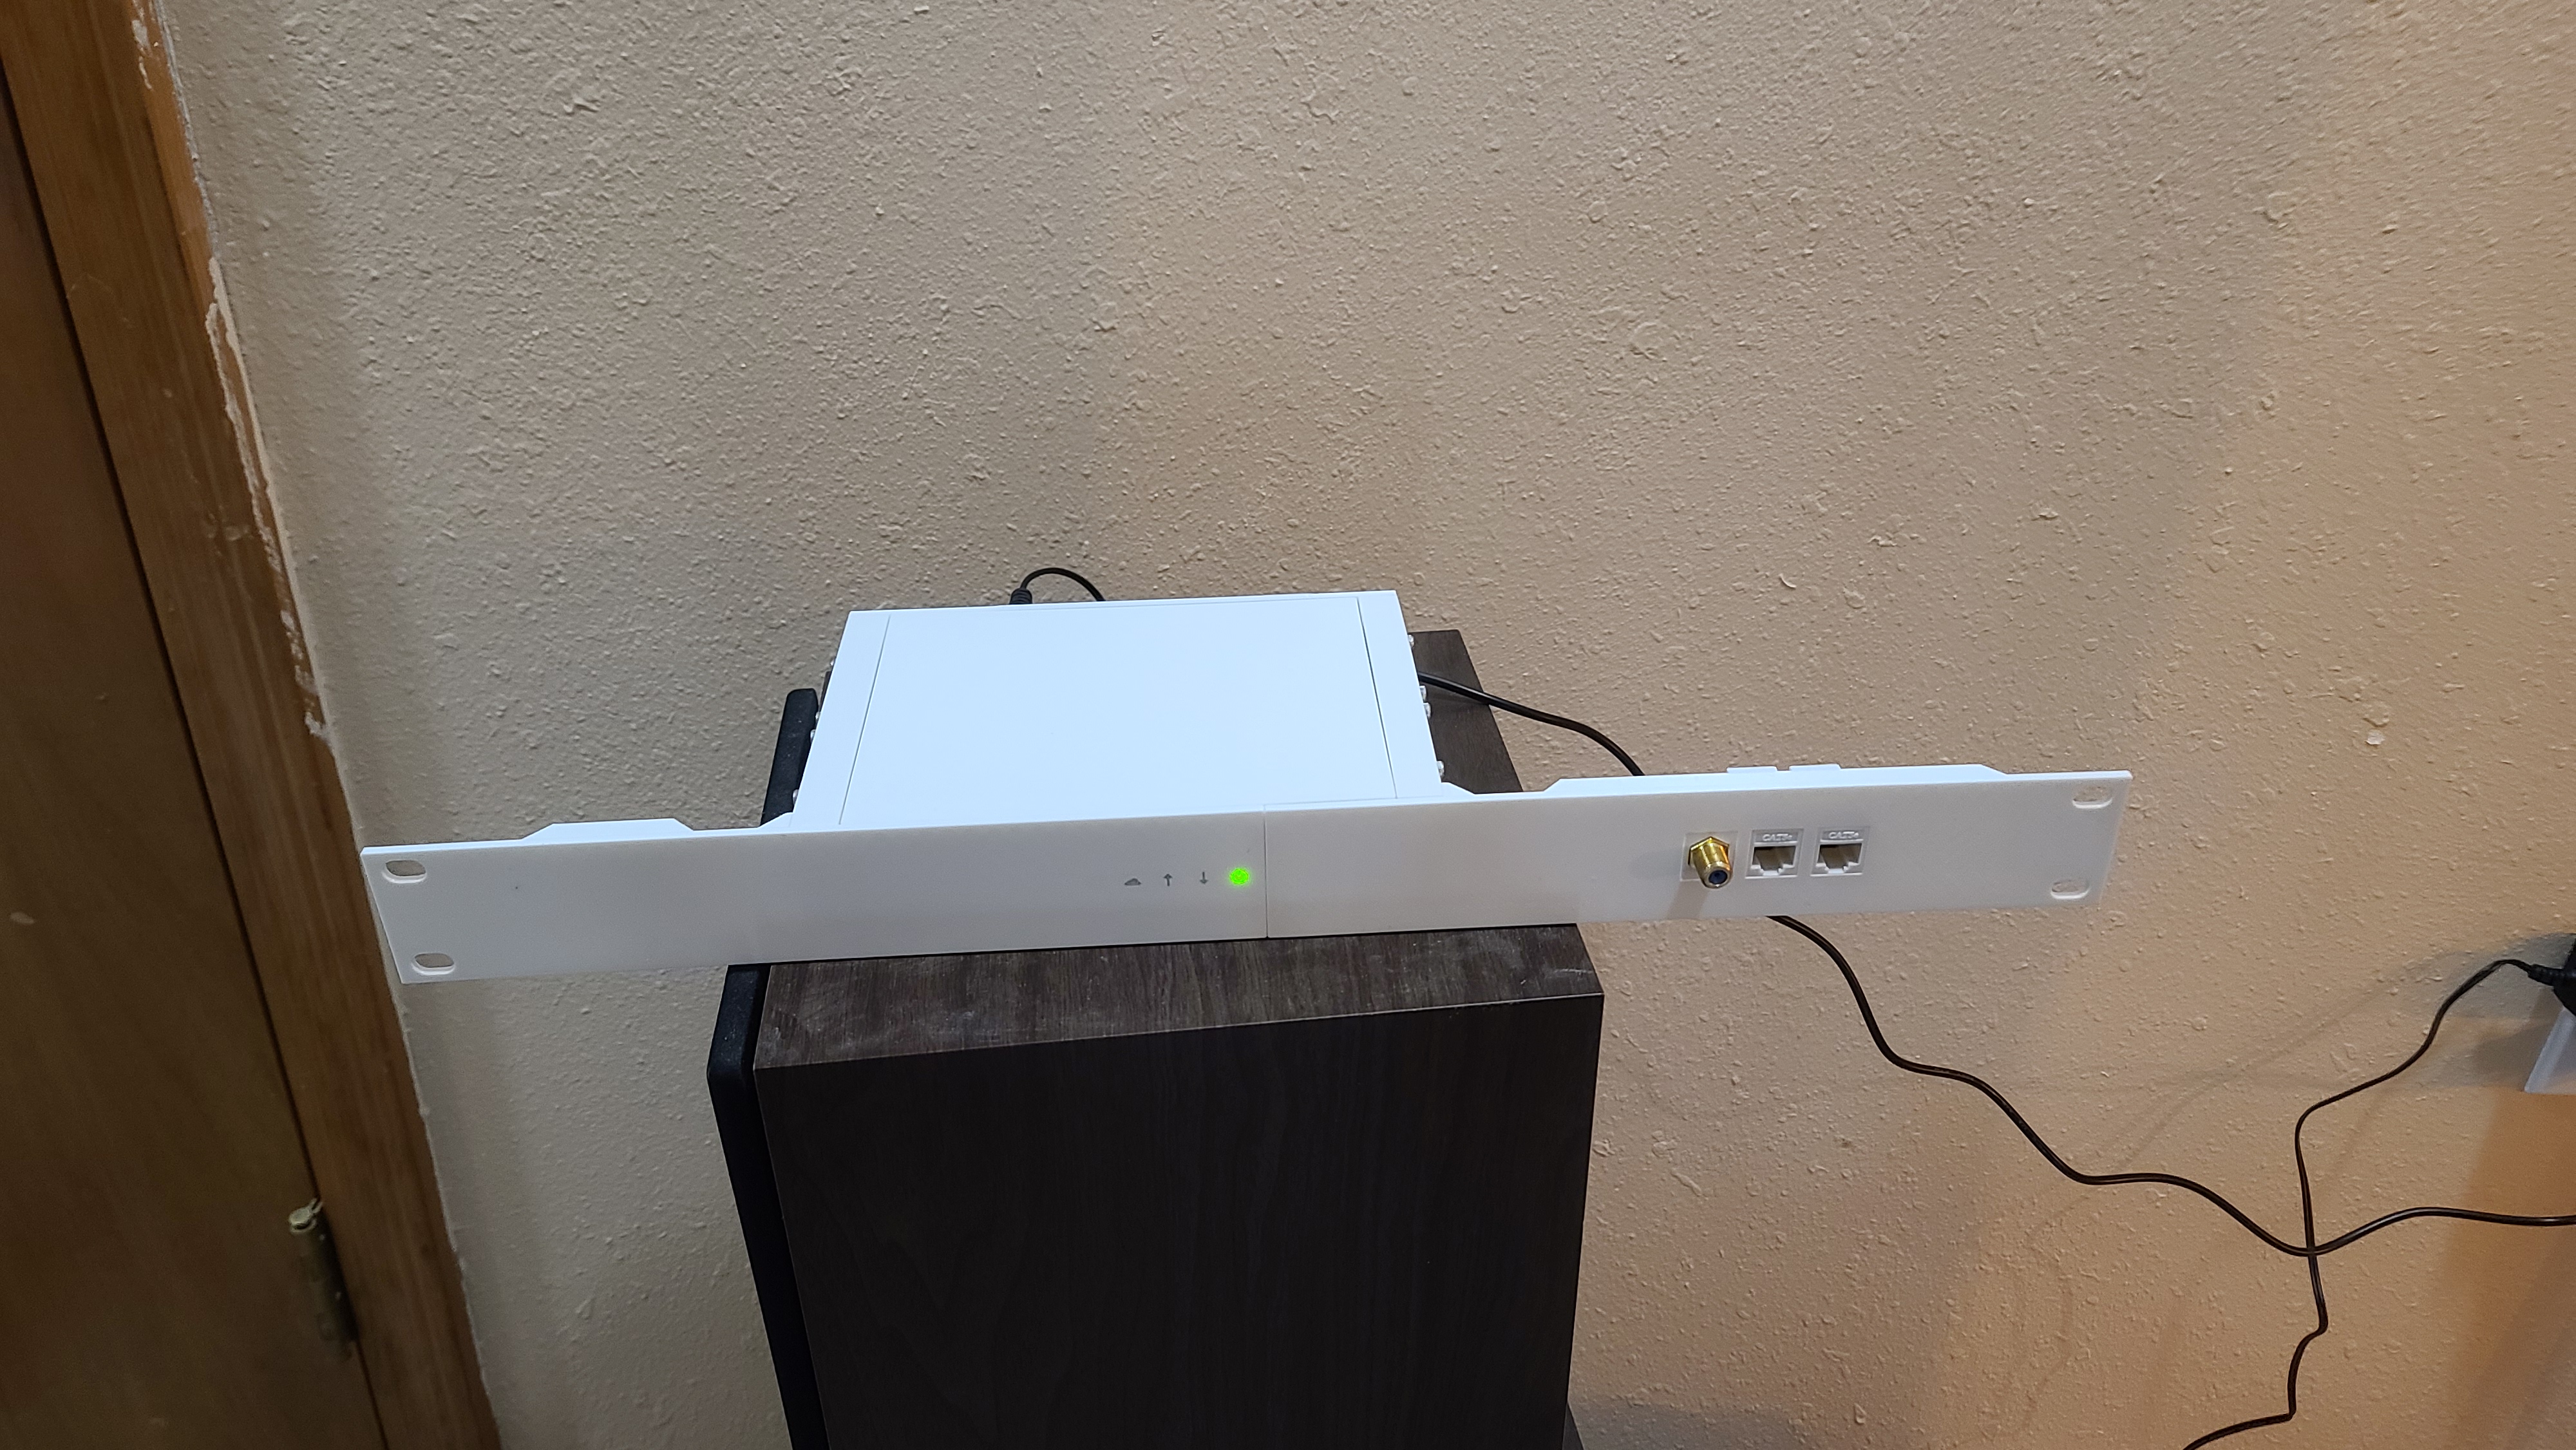
<h3>Arris Surfboard SB8200 Rack Mount Enclosure</h3><p>I wanted to rack mount my SB8200 but in doing so and placing it between 2 pieces of equipment it would overheat as it is passively cooled. So I set out to design an actively cooled rack mount solution that retained the lights on the front and provided options for keystones for front cable routing.</p><h4>Hardware Information</h4><p>This is a general recommendation for how I did it. I purposely left extra space in the enclosure to allow flexibility in your solution. I have tested two solutions The first is 40mm x 10mm Noctua 12v fans with splitters from a wall plug to 12v fan power supply. The second is 40mm x 10mm USB powered fans where I clipped the plug off the wires, soldered them together, and soldered a power only usb wire to the 4 fans, this is all powered by a generic usb wall wart.</p><p>The entire build was centered around 3mm cap socket screws and nuts. All hardware required is 3mm cap socket screws and nuts.</p><h4>Print Info </h4><p>I printed mine at .3mm with 20% infill. I was very selective with my supports as I hate digging supports out of screw holes. You can see my print settings in the photos.</p><p>I printed mine with transparent pla in front of the light pipes. This can be done with an MMU or a dual extruder setup. The parts for this are as follows:</p><ol><li>front-left</li><li>cloud</li><li>download</li><li>power-line</li><li>power-ring</li><li>upload</li></ol><p>This can be skipped and the front left can be printed alone. The holes left in the front are fully contiguous and will be illuminated by the light pipes in the enclosure.</p><h4>Build Info</h4><p>First thing you have to after printing the components for this is disassemble your modem. Below are the steps you need to take and the parts you need to harvest.</p><ol><li>The first step is to remove the sticker on the bottom of the modem. I recommend taking a picture of this sticker and saving it. As this is need to configure the modem with your ISP. <strong>It is important to save this sticker</strong> and perhaps adhere it to the new enclosure.</li><li>The back of the modem is secured by a security Torx T15H screw. Remove this screw.</li><li>Next there are 4 tabs holding the top and bottom of the enclosure together. Take a small object and will pull the top and bottom release the tabs with a small object like a flat tip screwdriver.</li><li>Now you should be able to remove the motherboard of the modem.</li><li>The last thing we need to harvest is the light pipes. In the front of the modem there are 3 clips holding the light pipes in place. Using your pry tool gently bend them out of the way while pulling the light pipes out.</li><li>You have now harvested all you need from the modem enclosure.</li></ol><p>There are 4 options for the right side of the enclosure. One is without any keystones and the other 3 are with 1, 2, and 3 keystones respectively based on your use case.</p><p>There is a little bit of a order that things have to go together in. Below is my general tips for assembly order.</p><ol><li>Screw the front left and front right pieces together with m3 screws and nuts.</li><li>Insert light pipes into the left front piece.</li><li>Insert nuts into the side pieces inside the fan area as these will be inaccessible after the fans are mounted.</li><li>Mount the 4 40mm fans, <strong>It is important to point 2 of them in and 2 of them out.</strong></li><li>Attached the sides to the back.</li><li>Attach the bottom to the sides.</li><li>Insert the motherboard and snap it into the clips on the bottom. It will require a small amount of force to bend the clips outward until it snaps in on both sides.</li><li>Attach the front to the sides.</li><li>Perform wiring for fans.</li><li>Attach top with m3 screws.</li><li>Wire up keystones and insert into the front right if desired. Plug into the modem.</li></ol><h4>Wrapping up</h4><p>I recommend plugging both your power supply for the fans and the modem into the same power source. This means that if the power source fails both turn off and you don't risk overheating your modem. This fits in a 1u slot and looks neat and tidy this way.</p>
With this file you will be able to print Arris Surfboard SB8200 Rack Mount with your 3D printer. Click on the button and save the file on your computer to work, edit or customize your design. You can also find more 3D designs for printers on Arris Surfboard SB8200 Rack Mount.