Artillery Sidewinder X1 Exhaust for PETG
thingiverse
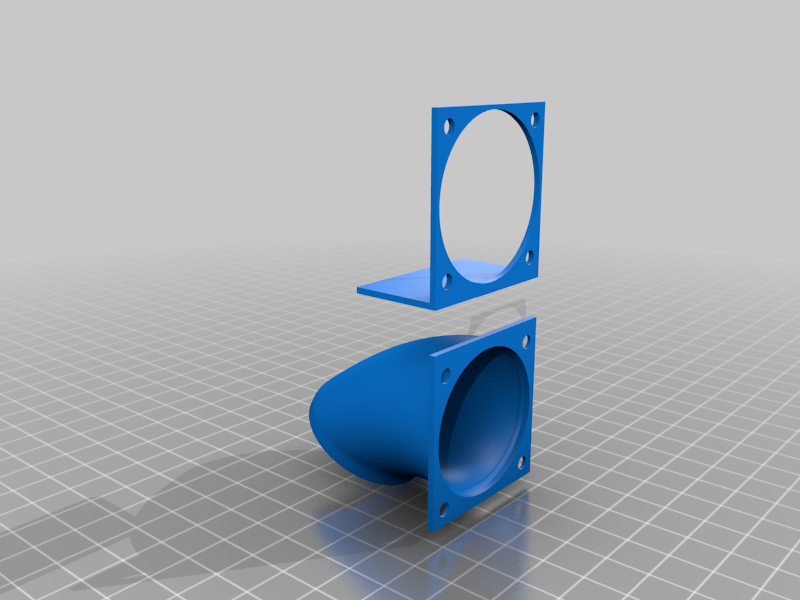
Artillery Sidewinder X1 Exhaust to print PETG! No need for extra hardware! Uses the long M3 bolts found on the Heatsink/Fan assembly. Tested on V4 for fitting but should work with all of them. Why: Due to the stock direction of the fan and heatsink, air is exhausted on the print. When printing PETG the air messes with the PETG adhesion and warping, the exhaust is meant to redirect the air upwards. The L-bracket blocks any airflow from the bottom of the heatsink. After starting to use it I've had excellent adhesion and considerably less warping. IMPORTANT MOD NOTES: 1. The fan needs to be turned 180degrees. So that the air is exhausted from the extruder assembly, rather than towards it (stock). 2. The heatsink must be turned 90degrees so that its fins are arranged vertically, not horizontally (stock). 3. MAKE SURE that the plate of the heatsink is touching the extruder assembly and the fins are facing the fan. Otherwise the fan will be choked and the extruder assembly will overheat, not fun, trust me I learned it the hard way. 4. Use the stock M3 bolts! 5. Have a fun printing PETG and other materials!! :::) Feel free to change it/remix it using the OBJ!!!
With this file you will be able to print Artillery Sidewinder X1 Exhaust for PETG with your 3D printer. Click on the button and save the file on your computer to work, edit or customize your design. You can also find more 3D designs for printers on Artillery Sidewinder X1 Exhaust for PETG.