Artillery Sidewinder x1 (v4) TFT Power Switch Installation Guide
thingiverse
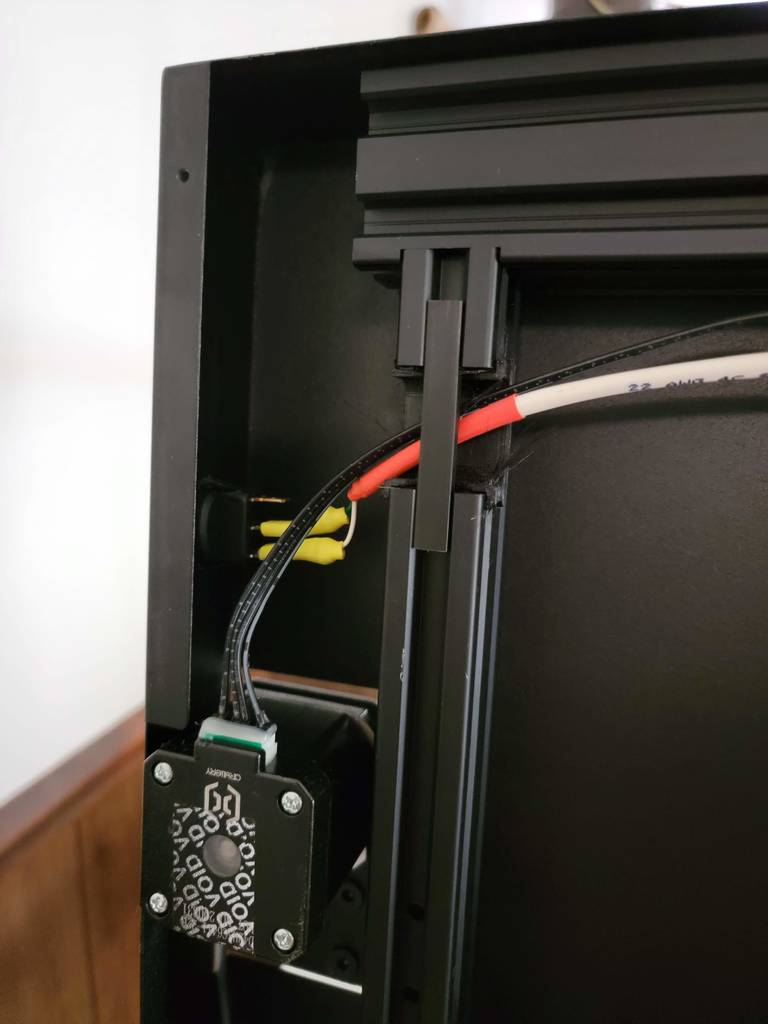
In order to upgrade firmware on the main board of your Artillery Sidewinder x1 printer, you have to disassemble the base of the printer, disconnect the TFT controller's power cable, then tip your printer back over and load the firmware. Once done, you have to button everything back up, usually just to find out you have to tweak something else again. This upgrade saves a lot of hassle by simply installing a switch in line with the power connection coming from the main board to the TFT. By cutting off the power using this switch, you'll save a lot of time and frustration. DISCLAIMER: Removing the base of the printer will void the Artillery Factory Warranty, so please only do this procedure if you're ok with that. More photos in the WORD DOCUMENT attached to this Thingiverse entry. (P.S. - Free smiley face puck STL object included to satisfy Thingiverse requirements. I hope this brings a smile to your face! All the details for the upgrades are in the word document, so download that file for sure and you'll be on your way!)
With this file you will be able to print Artillery Sidewinder x1 (v4) TFT Power Switch Installation Guide with your 3D printer. Click on the button and save the file on your computer to work, edit or customize your design. You can also find more 3D designs for printers on Artillery Sidewinder x1 (v4) TFT Power Switch Installation Guide.