Artillery Sidewinder X1 Z-Axis Adust
thingiverse
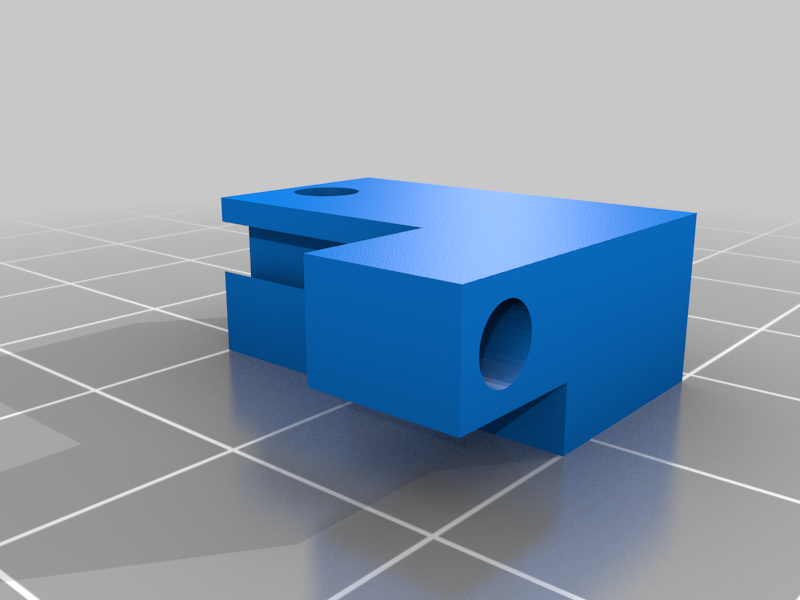
This is an adjustable z-axis bracket for the Artillery Sidewinder X1. I discovered that my bed's center was a couple of millimeters lower than its edges, and there wasn't any center adjustment available. What really surprised me was when I found out there wasn't a z-axis adjustment option either, so I decided to make one myself. You will only need 2 out of 3mm x 10mm machine screws. I designed these parts as small as possible because they had to be printed on the bed just above one of the leveling feet since that's where the nozzle was at the right height to bond the material to the bed. The holes are small enough so that the screws will cut their own threads without any problem. Don't over tighten; just tighten enough to ensure a secure mechanical connection! After installing this, I found out my printer works better than ever before. Instructions: -Mark the top of the photoeye (z-axis limit sensor) on the frame of the printer for reference purposes. -Screw a machine screw through each blank to cut threads. Do this before securing pieces as to cut the cleanest threads possible. -Remove the photoeye from the frame. -Insert Part B into Part A. Run it up and down a few times to wear in the keyway, making it easier to adjust after installation. The movement between the two parts should have some resistance to ensure vibration from normal operation doesn't loosen or cause misalignment of the z-axis. -Mount the photoeye to Part B. -Mount the assembled piece to the frame using the original hardware. -Adjust the level sensor so it is above the reference mark from the first step. -Through the touchscreen, go to the "Leveling" function and select the center-bed position. -Using a feeler gauge or a piece of paper, determine how far down to adjust the z-axis adjustment screw. -Incrementally adjust the level closer to the bed by turning the screw counter-clockwise as looking at the screw head from the top. You need to physically set Part B lower by applying a bit of pressure to slide it until it engages the top of the adjustment screw. I used an end of the hex key I was using to remove the sensor for this purpose. -Adjust until you reach the desired height. A piece of paper should slide under the nozzle with some resistance. -Adjust the corner levels to allow more space between the nozzle and the bed at the corners. -Level the bed in accordance with the manufacturer's instructions.
With this file you will be able to print Artillery Sidewinder X1 Z-Axis Adust with your 3D printer. Click on the button and save the file on your computer to work, edit or customize your design. You can also find more 3D designs for printers on Artillery Sidewinder X1 Z-Axis Adust.