Artillery Sidewinder X1 Z-brace
thingiverse
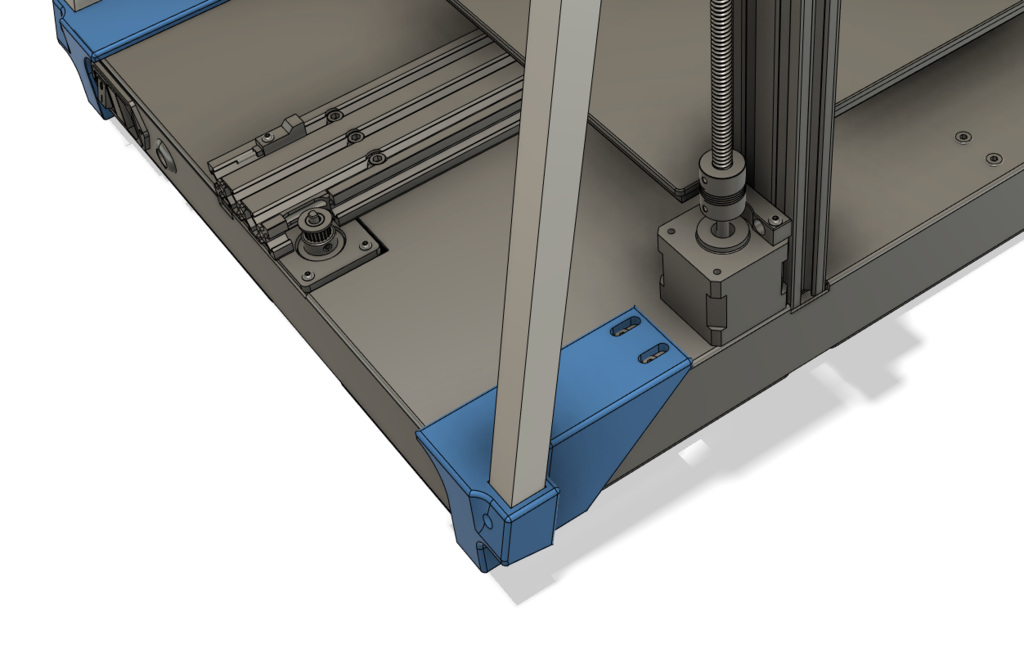
I wanted to add z-brace to my artillery sidewinder x1 and didn't find anything to please my needs of extra clean, good looking and no so over engineered so I modeled my own around a 3d model of the machine found on internet. It uses: - 16x16 square aluminim profile - 3d printed parts - 4 x M5x60mm screws - 6 x M5x20mm screws - 4 x M5 washers - 4 x M6x30mm screws - 4 x M6 nuts - 8 x M6 washers 1. I had to tap m5 thread in the whole where the back feet are atached becauze the printed parts just slide in to place and the feet are in the way. 2. After you remove the 2 screws behind the motor and the feet, slide the 3d printed parts into place and instead the stock crews, use M5x20mm screws and washers. 3. After you secure the bottom parts, insert the 617mm long square profiles. then put the top part on the aluminium profile. 4. Remove the top M5x45mm screws from each side and insert the new M5x60mm screws and secure the top print. 5. Secure the aluminium profile to the printed parts with some M6X30 screws, washers and nuts
With this file you will be able to print Artillery Sidewinder X1 Z-brace with your 3D printer. Click on the button and save the file on your computer to work, edit or customize your design. You can also find more 3D designs for printers on Artillery Sidewinder X1 Z-brace.