Asus 1660 Super Phoenix 120mm Fan Mod
thingiverse
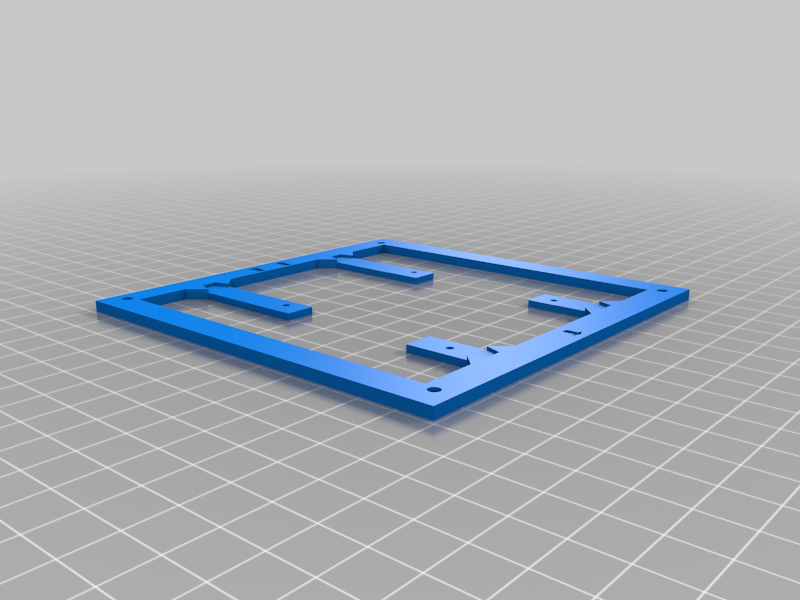
Thingiverse/Printables Description This is a mod for the Asus 1660 Super Phoenix. A graphics card that is a bottom of the barrel version of the Nvidia 1660 Super. The card itself is fine, but it gets very hot and thermal throttles. The stock fan is the main issue. It's small (100mm) and generates a LOT of noise at anything above 60% speed. Another creator made an awesome AIO adapter mount (https://www.thingiverse.com/thing:4354084). The idea is great and it yields amazing performance out of an otherwise poorly cooled graphics card, but if you don’t have a spare Asetek 4th gen AIO, then you’re gonna be spending anywhere from $30-100 depending on whether you can find a used model or just buy a new Asetek Gen 5-7 model and hope it fits. My fan frame mod was entirely inspired by the AIO mod. Only when I was measuring parts on my GPU to do the AIO mod with a 120mm fan did I realise I could easily create and attach my own frame to fit the heatsink and then just attach a bigger better fan. This is where this 3D printed frame comes in. You do NOT need to remove the heat sink from the back of the card to perform this mod. As a sidenote, the stock thermal paste on this card is quite bad, so if you're performing this mod, you should consider repasting the GPU die using something like Noctua’s NT-H1 or NT-H2 or Cryonaut by Thermal Grizzly (both are non-conductive). Feel free to ask me about repasting this GPU below. I made the corner holes big enough that you can easily get some self-tapping fan screws started as you manually drill/screw them into the frame and fan. Alternatively, if you’ve got some of those rubber anti-vibration thingies you could poke those through instead. Also, if you happen to have some radiator screws and some nuts, you could secure the fan to the frame with those instead (assuming the screws don’t touch the PCB). Pros: - Better and quieter performance - Reversible - All you need is a screwdriver and a spare 120mm pc fan. - 1-2 degrees cooler. - Much much quieter and cooler when the Noctua fan is at full speed compared to the stock fan at full speed Cons: - Not as effective as the AIO mod (They claim consistent temps in the 60s) - Doesn’t look so good? - Have to use 3rd party software (see link below) to control the fan. You will need: - A small magnetic philips head screwdriver (a small shaft is necessary to get in between the fan blades) - 1 3d printed fan frame - A spare 120mm pc fan (I placed the corner holes 100mm apart with Noctua’s 120mm NF-F12 fan in mind). If your fan holes don’t line up, then zip ties are your friend. - Rubber fan mounting "screws" (not required, but will make your life easier) Things to be cautious about: - Don’t scratch the PCB of the GPU with the screwdriver. - You will be taking off the plastic shroud. The plastic for the screw mounts of the shroud is very brittle and breaks quite easily. Instructions: Step 1 There are 5 screws securing the fan. Magnetic screwdriver strongly recommended. Remove the 4 screws surrounding the fan and the 1 screw by the lower right side (notice the proximity to the fan connector). Step 2 The fan should still be plugged in. That’s ok. Carefully set the fan aside just so you can get at the shroud’s heatsink screws. Step 3 Remove the 4 screws that secure the Asus stock plastic shroud to the heatsink. Set aside these screws somewhere safe as you’ll need them again. At this point, the shroud should be loose, but the fan will still be connected. Step 4 Remove the GPU shroud. This should make removing the fan cable much easier. There’s a clip on the front of the connector that’s pressed up against the heatsink. I was able to undo this with my fingers, but if you’re really struggling to get your fingers in there, then you should use a PLASTIC tool to unclip the fan connector. Step 5.1 Depending on whether the plastic bars on your fan obstruct the screw holes or not, you can do this a much easier way. I'm going to describe the more difficult way below that will work for everyone. Step 5.2 Using the heatsink screws from step 3, attach the 3d printed fan frame to the heatsink. The side with the two arrows should be on the rounded side of the heatsink and the single arrow should be on the flat side where the PCIE connector is. Assuming your 3d printer is accurate, the holes should all line up. Make sure you have enough length on your fan cable to reach a nearby motherboard fan header, or see my note below in step 7 about using the built in fan header on the GPU. Step 6.1 I used the rubber Noctua mounts for this. Fan screws might make step 5.2 difficult, but doable with a small screw driver or a right angle screw driver If you’re mounting the GPU to a regular motherboard without any riser cables that mount the GPU upright, then you want the fan blades to be facing downward towards the bottom of your PC case. The plastic frame that houses the wiring for the central motor hub of the fan should be right up against the heatsink. This means that the fan is blowing the cooler air pulled in by the intake fans onto the GPU. Step 7 Plug the fan into your motherboard. I’d highly recommend downloading “Fan Control” (https://github.com/Rem0o/FanControl.Releases). Install and follow along with the video included on the github page. This app will allow you to create a custom fan curve for your new GPU fan to cool your GPU. I haven’t tried rewiring the pc fan to fit the connector on the GPU. The benefit of doing this is purely aesthetic or if you’re out of fan headers on your motherboard. Be sure to apply a new custom fan curve to the GPU fan. The amperage on the stock Asus 1660S Phoenix is printed on the under side of the fan (0.30A) and it is higher than the Noctua NF-F12 (0.05A). The voltage of the stock fan (12V) is the same as the NF-F12 (12V). The wattage on the stock fan is 3.6W and the NF-F12 is 0.6W. Rewire the connector at your own risk. The header on the GPU is likely (I cannot guarantee this in any way) rated for 1 Amp and 12 Volts, so you should be fine as long as your fan is under or matches it. It is probably fine to plug a single 120mm fan in there if you rewire the connector for this purpose.
With this file you will be able to print Asus 1660 Super Phoenix 120mm Fan Mod with your 3D printer. Click on the button and save the file on your computer to work, edit or customize your design. You can also find more 3D designs for printers on Asus 1660 Super Phoenix 120mm Fan Mod.