Atari 2600 PlusCart Shell v5
thingiverse
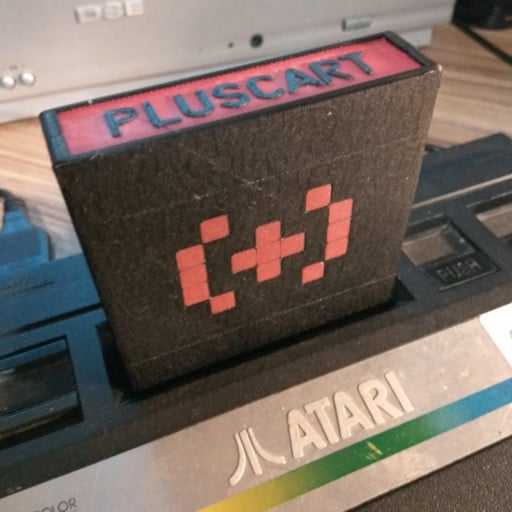
2021/07/09 -- now replaced by a better version... https://www.thingiverse.com/thing:4904006 A friction-fit cartridge case/shell for the Atari 2600 PlusCart. Designed for easy printing in multiple parts - 0.4mm nozzle, 0.2mm layer height. 2020/12/16: Modified the positioning of the PlusCart board downwards by 1.5 mm * reduced label width by 0.4mm * deepened trench for board by 0.1 mm * added version # on inside of shells This is designed as a multi-colour print for a single-colour machine. Files for a single-colour print without are also provided. The parts are - LOGO is the PlusCart logo, embedded in FRONT (print first) - FRONT is the front part of the shell. It is multi-colour, print LOGO first, then this over the top - BACK is the back part of the shell - LABEL is the backing board for the label at the top of the cartridge - LETTERS are the word that goes on top of the label. It's multi-colour, combined with LABEL. - PINS contains the 2 friction-fit pins, and the 2 door-opener pins. Four PINS files are provided - giving four different friction-fit sizes. The size is suffixed (i.e., PINS3.0mm.stl). If your cartridge gets a little "loose" because of multiple open/closes, print the next larger PINS size and use that instead. The size of the pin is now embossed on the side of each pin. - PADS is a helper-STL which puts pads around the corners of the shell front or back. These pads prevent the corners of the shell lifting, if you are having that problem. Position appropriately in your slicer so that the PADS is exactly at the corners of the FRONT or BACK. Print this first, and leave it on the bed, and print the FRONT or BACK over the top. You should print all of these objects solid, and WITHOUT supports. For a basic single-colour print, print the following... 1a) (optional) PADS - leave on bed 1b) LOGO - leave on bed 1c) FRONT then remove. 2a) (optional) PADS - leave on bed 2b) BACK then remove 3a) LABEL - leave on bed 3b) LETTERS (z offset in slicer = +0.4mm) then remove 4) PINS of the correct size (start with PINS2.8mm) For two-colour prints... The general approach is to print multicolour prints in separate parts, but DO NOT REMOVE THE FIRST PART BEFORE PRINTING THE SECOND. Print the first part, then when it is complete set the temperatures of bed/extruder so they remain hot. Swap filament, and print the second part. Note that "the second part" needs to be appropriately positioned (X/Y/Z) in your slicer so it appears in the correct position on your print bed, relative to the first part. I've listed the offsets I use, but you should really check in your slicer by loading both parts at the same time, applying the offsets, and seeing if they are aligned properly. Adjust as required. As with the single-colour print, PADS is provided to keep the corners from lifting - see above description. In particular, the multi-color parts are... 1) LOGO + FRONT. Print LOGO first, then swap filament as described above, and print the second part FRONT over the top of it. 2) LABEL + LETTERS. Print LABEL first. Then, print LETTERS with offset Z=+0.4mm. 3) PINS Print appropriate pins. My colour-standard for pins is BLUE=2.0mm, GREEN=2.1mm, YELLOW=2.2mm, RED=2.5mm. Four separate PINS files are provided, with the width of the tongue as the postfix. For example PINS3.0mm.STL uses a friction-fit tongue that is 3.0mm in size. The pin size is embossed into each pin. You only need to print ONE of the PINS files.
With this file you will be able to print Atari 2600 PlusCart Shell v5 with your 3D printer. Click on the button and save the file on your computer to work, edit or customize your design. You can also find more 3D designs for printers on Atari 2600 PlusCart Shell v5.