Atomic Pi Case with Baby Breakout
thingiverse
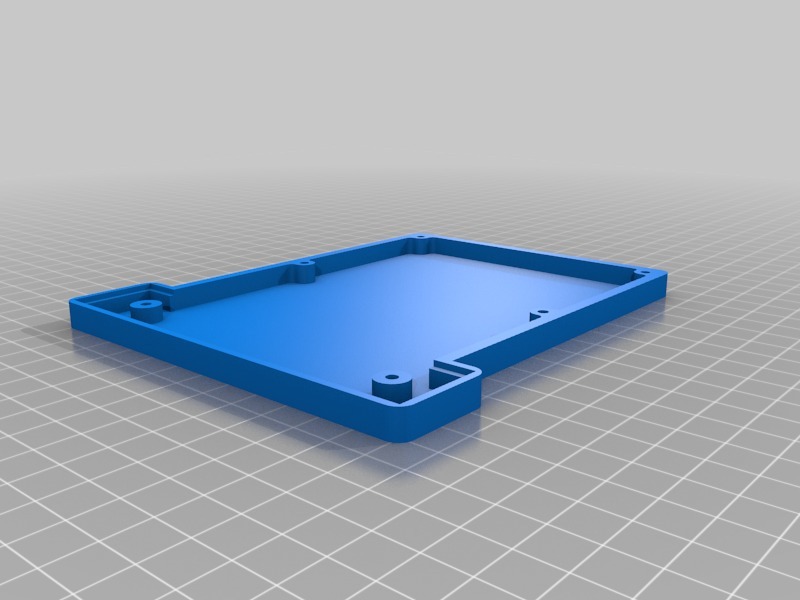
Case for the Atomic Pi Single Board Computer created in Fusion360. Steps to assemble: 1 - Print "Wall" (top piece) with no supports needed. 2 - Print "Bottom" piece with supports, only used on countersunk holes. 3 - Attach Atomic Pi to Wall piece using 3mm x 6mm hex cap screws, noting sunken offset section for baby breakout protrusion. 4 - Mount Baby Breakout board to bottom piece. 5 - Secure bottom piece to wall piece with 3mm x 8mm hex cap screws. If you lack a baby breakout, attach the board directly to the wall piece and power it yourself; there is enough clearance for the board to sit flat without shorting. Remix the "wall" piece design to include an enclosed bottom if desired.
With this file you will be able to print Atomic Pi Case with Baby Breakout with your 3D printer. Click on the button and save the file on your computer to work, edit or customize your design. You can also find more 3D designs for printers on Atomic Pi Case with Baby Breakout.