Atomic Pi Enclosure
thingiverse
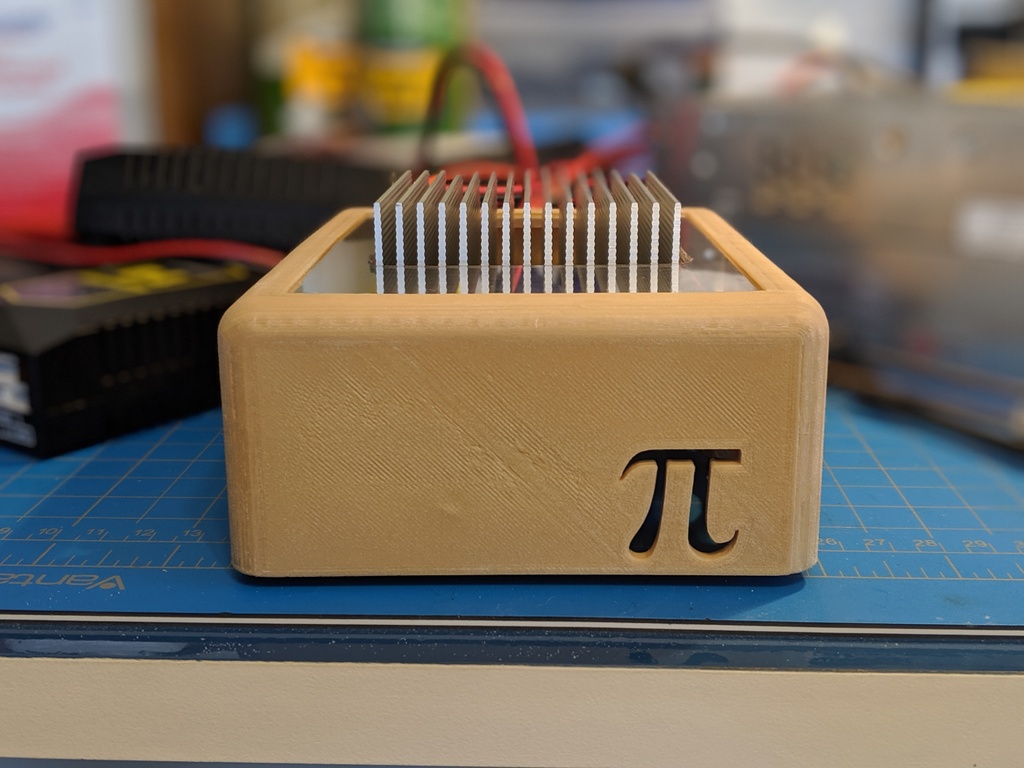
This is a quick enclosure I threw together to get my Atomic Pi off the bench. It incorporates a lexan cover which slides in the top (template included). To assemble, first glue some sort of nut to the PCB to accept the M3 screws from the bottom (see picture). The screws also serve as feet on the bottom of the enclosure. Cut out the lexan sheet with the provided template. If you are using polycarbonate, ditch it. Lexan cuts like butter, can be bent with heat, and never shatters. It's the same stuff they use in NASCAR windows, and it's available in small sheets at Home Depot. Round the edges of the lexan if the fit is tight. Place the lexan around the heat sink and slide the two halves of the enclosure over the two pieces. Secure the PCB to the enclosure with screws from underneath. If you press the halves together while tightening the screws you get a nice tight gap. DO NO GLUE THE SIDES TOGETHER, you won't be able to get your Pi loose if you do. Video of how I set up the power: https://youtu.be/d2Degad5spU
With this file you will be able to print Atomic Pi Enclosure with your 3D printer. Click on the button and save the file on your computer to work, edit or customize your design. You can also find more 3D designs for printers on Atomic Pi Enclosure.