ATX DIY Powersupply Feet
thingiverse
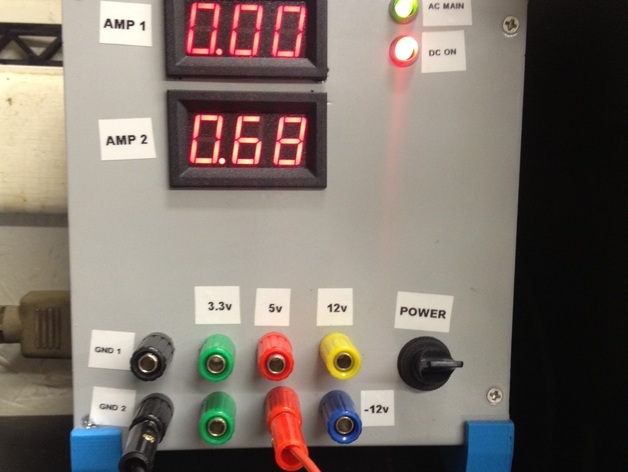
Stand for a DIY Benchtop Power Supply. Allows for more air circulation underneath. Thingiverse cropped the photo horribly, click on the expanded view for the full photo. Instructions for doing your own conversion: http://www.wikihow.com/Convert-a-Computer-ATX-Power-Supply-to-a-Lab-Power-Supply I added 2 amp meters (available from adafruit and other suppliers), each connected to a ground plug, so I can get amp readings on my projects. Alternatively, you could use a switch and only one amp meter, using the switch to flip between Ground 1, Ground 2, and -12v, to give 3 amp readings. That may save you space inside the enclosure, with the original parts still in there, can get quite tight on space. With the -12v plug, It will do 3v, 5v, 12v, 15v, 17v, and 24v, supplies. If i need other voltages (say 6 volt for servos) I can run the leads through a LM780x first (7806 for 6v). Goes well with the 12v car adapter: http://www.thingiverse.com/thing:1277947 Once I get clear label tape, I'll replace the white labels for a more professional look. Print Settings Rafts: Doesn't Matter Supports: No Infill: 10% Notes: Printed on it's side to increase the strength of the support tabs. Printed as 2 parts to allow for specific placement for custom power supplies. Print 2.
With this file you will be able to print ATX DIY Powersupply Feet with your 3D printer. Click on the button and save the file on your computer to work, edit or customize your design. You can also find more 3D designs for printers on ATX DIY Powersupply Feet.