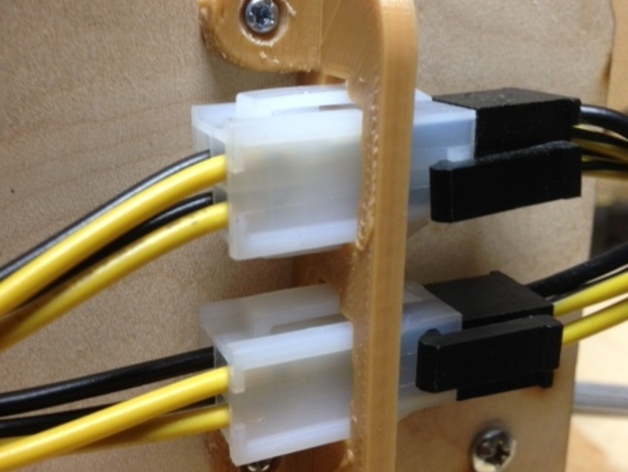
ATX power connector bracket (shown on MakerFarm Prusa i3)
thingiverse
Update 2/24/2014 I needed to replace the extensions I originally used (they were too cheap; the wire gauge used was way too thin). So, when I got new ones, I decided it was time to redesign this thing a bit. The new file is the "ATX power plug bracket.stl". The openings are enlarged slightly so the connectors should just snap in right off the printer; no cleanup necessary. This was the primary reason for updating the design; I had to do a fair amount of cleanup/scraping to the original part to get the connectors to fit. It's a bit longer, so the mounting ears could be moved outward a bit, so that you can get at the mounting screws while the (printer-side) connectors are still in the bracket. The mounting ears are thicker/stronger, and the printed screw holes are slightly larger (you'll probably still need to drill them out to match the screws you use). I left the original files there in case you need the tighter tolerance. Rather than cut off the connectors on the power supply to connect to the circuit board, I got a couple of ATX extension cables from Amazon, and cut those. Then I printed a bracket to rigidly mount them to the printer; now the power supply can be easily plugged/unplugged from the printer. Instructions There are two dimples in the center of the mounting tabs to aid in drilling holes for your mounting screws. The tolerances on the holes are very tight, and at least in my case, I don't get very sharp inside corners on prints, so there was some carving with a knife required to get the connectors to snap in.
With this file you will be able to print ATX power connector bracket (shown on MakerFarm Prusa i3) with your 3D printer. Click on the button and save the file on your computer to work, edit or customize your design. You can also find more 3D designs for printers on ATX power connector bracket (shown on MakerFarm Prusa i3).
