Auto Tool Length Adjuster for Shapeoko
thingiverse
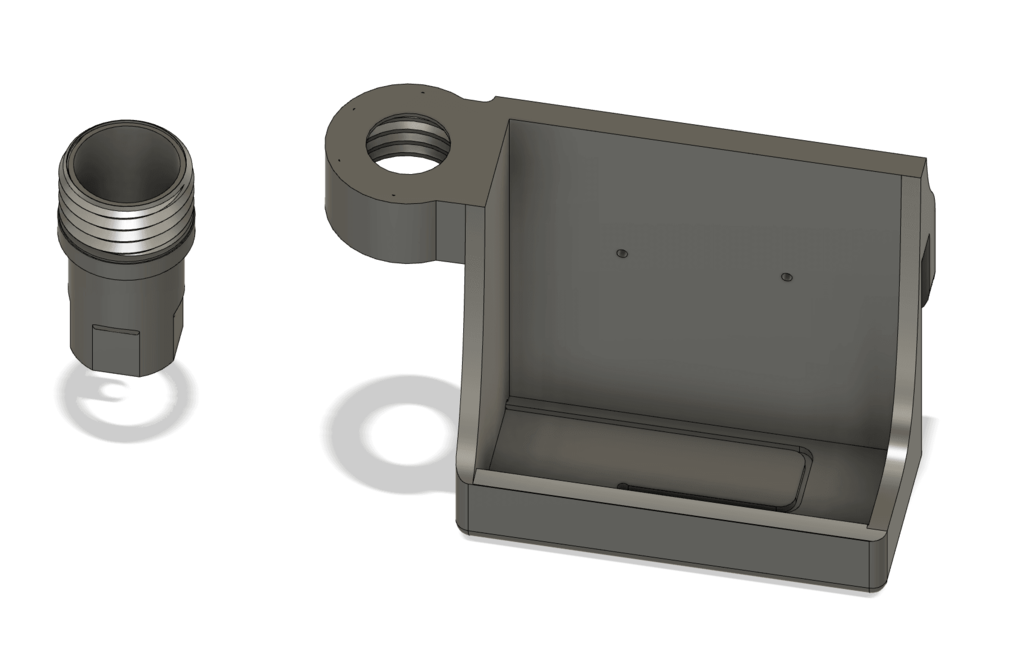
Here is my take on an automatic tool length adjuster for the Shapeoko 3 Standard. I assume this would work on any Shapeoko. I wanted this to be as low profile and straightforward as possible so I created this based on some others I had seen. Here are the detailed instructions, and please review all photos for visuals and schematic. <b>You Will Need</b> 1. A momentary button - I used a similar one from Amazon for $4 2. Some wire for attaching to alligator clip terminal and to place under the Carbide Touch Probe 3. Three screws - (2) for mounting the clip to the Shapeoko, (1) for the alligator clip post (or you could simply hook to your wire) 4. (Optional) CHEP Printing Profiles <b>Step 1</b> Download STL's into your slicer program of choice and print. Models should be oriented in the vertical position, and I printed with a brim. Printer settings included in this Thing file. <b>Step 2</b> Test fit to the Shapeoko and the screw portion. <b>Step 3</b> Place the rubber seal on the button and trash the retainer bolt. Attach your wire pieces to the two terminals of the button. Feed one down to the alligator screw terminal and attach or simply pass it through the supplied post and leave. Feed the second through the screw out of the bottom, but don't feed it into the Touch Probe holder yet. <b>Step 4</b> Screw the button and button holder into the Touch Probe Holder chassis. If it gets tight, the base is squared off for a 5/8" wrench (or adjustable). <b>Step 5</b> Feed the longer wire through the hole in the side of the Touch Probe Holder, follow the path, push wire down through the hole in the bottom plate and trim. Be as precise as you want about getting the wire into the channel, but the goal is to have some of it above the channel so the Touch Probe can make good contact with it. Attach your alligator clip from the Touch Probe to the screw terminal (or wire) from your button's second contact. Turn on your Shapeoko with the Touch Probe in the holder. The indicator light should be green, and if you depress the button, your light should turn red indicating a circuit break. <b>Step 6</b> In Carbide Motion, you need to now let it know you are a baller with a tool length adjuster. Open CM > Click SETTINGS in the upper right corner > Click SETUP SHAPEOKO button > Turn on the setting for BITSETTER PROBE and follow the instructions. <b>Step 7</b> Enjoy your new-found tool changing freedom.
With this file you will be able to print Auto Tool Length Adjuster for Shapeoko with your 3D printer. Click on the button and save the file on your computer to work, edit or customize your design. You can also find more 3D designs for printers on Auto Tool Length Adjuster for Shapeoko.