Autococker Pneucocker Build
thingiverse
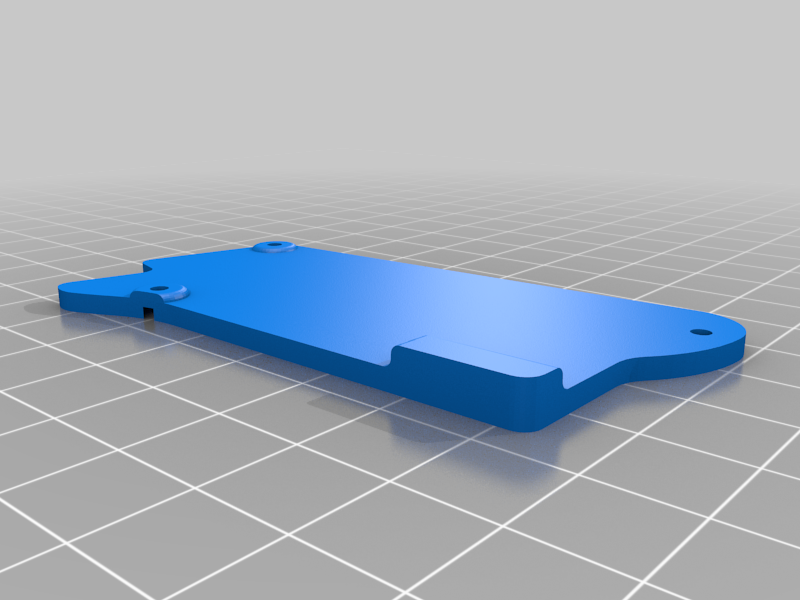
Frame insert, smooth trigger, and hole plug for a pneucocker build. This will save HOURS of fabricating your own parts. This is the original build thread showing how to do this - http://customcockers.com/forum/showthread.php?52850-Pnuecocker-Build-FAQ This is a good fitting blank insert for the WGP SF trigger frame to build a pneucocker if you're looking to do that. This is way easier and better fitting than the do-it-yourself options everyone else has done. The raised portions around the bolt holes will make the insert sit square inside the frame. Weird, but without them, it is pretty crooked. The indentations on the bolt hols is to make the insert thick enough while maintaining the right thread depth. Also added 2 smooth triggers without the finger separator hump so it is easier to walk the trigger. One with a set screw stop and one without. These triggers are in the same format as the OE trigger with the return stop in the internal mechanism. Also adds a hole on the stop tang so you could tap a #4 hole into which would make the trigger travel adjustable in both directions once a set screw is installed. When tapping, I recommend holding the tang with a pair of pliers to make sure your printed layers don't split. This area is pretty thin because of the space restrictions. Lastly, a good fitting solid hole plug that is really clean and uses the stock screws
With this file you will be able to print Autococker Pneucocker Build with your 3D printer. Click on the button and save the file on your computer to work, edit or customize your design. You can also find more 3D designs for printers on Autococker Pneucocker Build.