Automatic Power Off after print
thingiverse
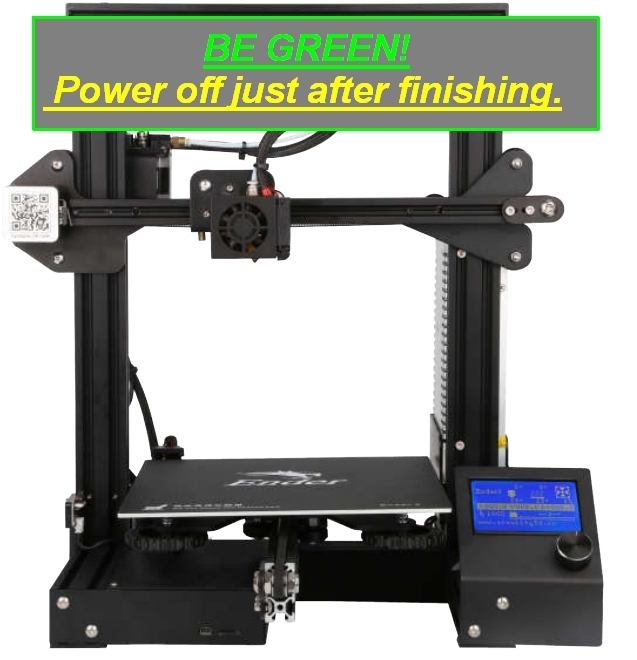
Hello! Would you like to have your printer automatically turn off after printing is done? **Update! New, better, safer version is available. Get it here:** https://www.thingiverse.com/thing:3335522 I'd love to share my upgrade for 3D printers that adds Auto Power Off functionality. Some printers with ATX PSU can do this easily using the M81 command. Lucky owners! Others, or almost all others, know how to use timers to switch off the printer after printing is finished. We also know that the expected finishing time may be different from what's calculated by slicer software. So we add one or two hours to avoid turning it off too early. Here's a step-by-step guide to adding Auto Power Off to your 3D printer: 1. Print the arm and mount it on your frame. 2. Install the microswitch and bend its arm as shown in the pictures. 3. Measure the cable length to the microswitch and weld it to two normally closed (NC) connectors. 4. Secure connections with tubes or insulating tape. 5. Add special commands to your slicer's end sequence: * Disable M84 command with ";" * Wait 5 minutes for the nozzle to cool down * Go up to maximum height 6. Print anything, small or large. Small prints are recommended at first. 7. Wait until the frame goes up and use the terminal to send commands: G28, G0 Z250 8. Adjust the printed arm with microswitch to trigger it. It should power off your printer! You're done! No more power waste. Congratulations, you're now GREEN! **Starting the printer is as simple as pushing the frame down slightly. Power will come back on.** If you have a different microswitch, you may need to adapt the arm or ask for help. .stp files are included. Good luck with your upgrade!
With this file you will be able to print Automatic Power Off after print with your 3D printer. Click on the button and save the file on your computer to work, edit or customize your design. You can also find more 3D designs for printers on Automatic Power Off after print.