Automation Direct Limit Switch brackets for MillRight CNC Mega V.
prusaprinters
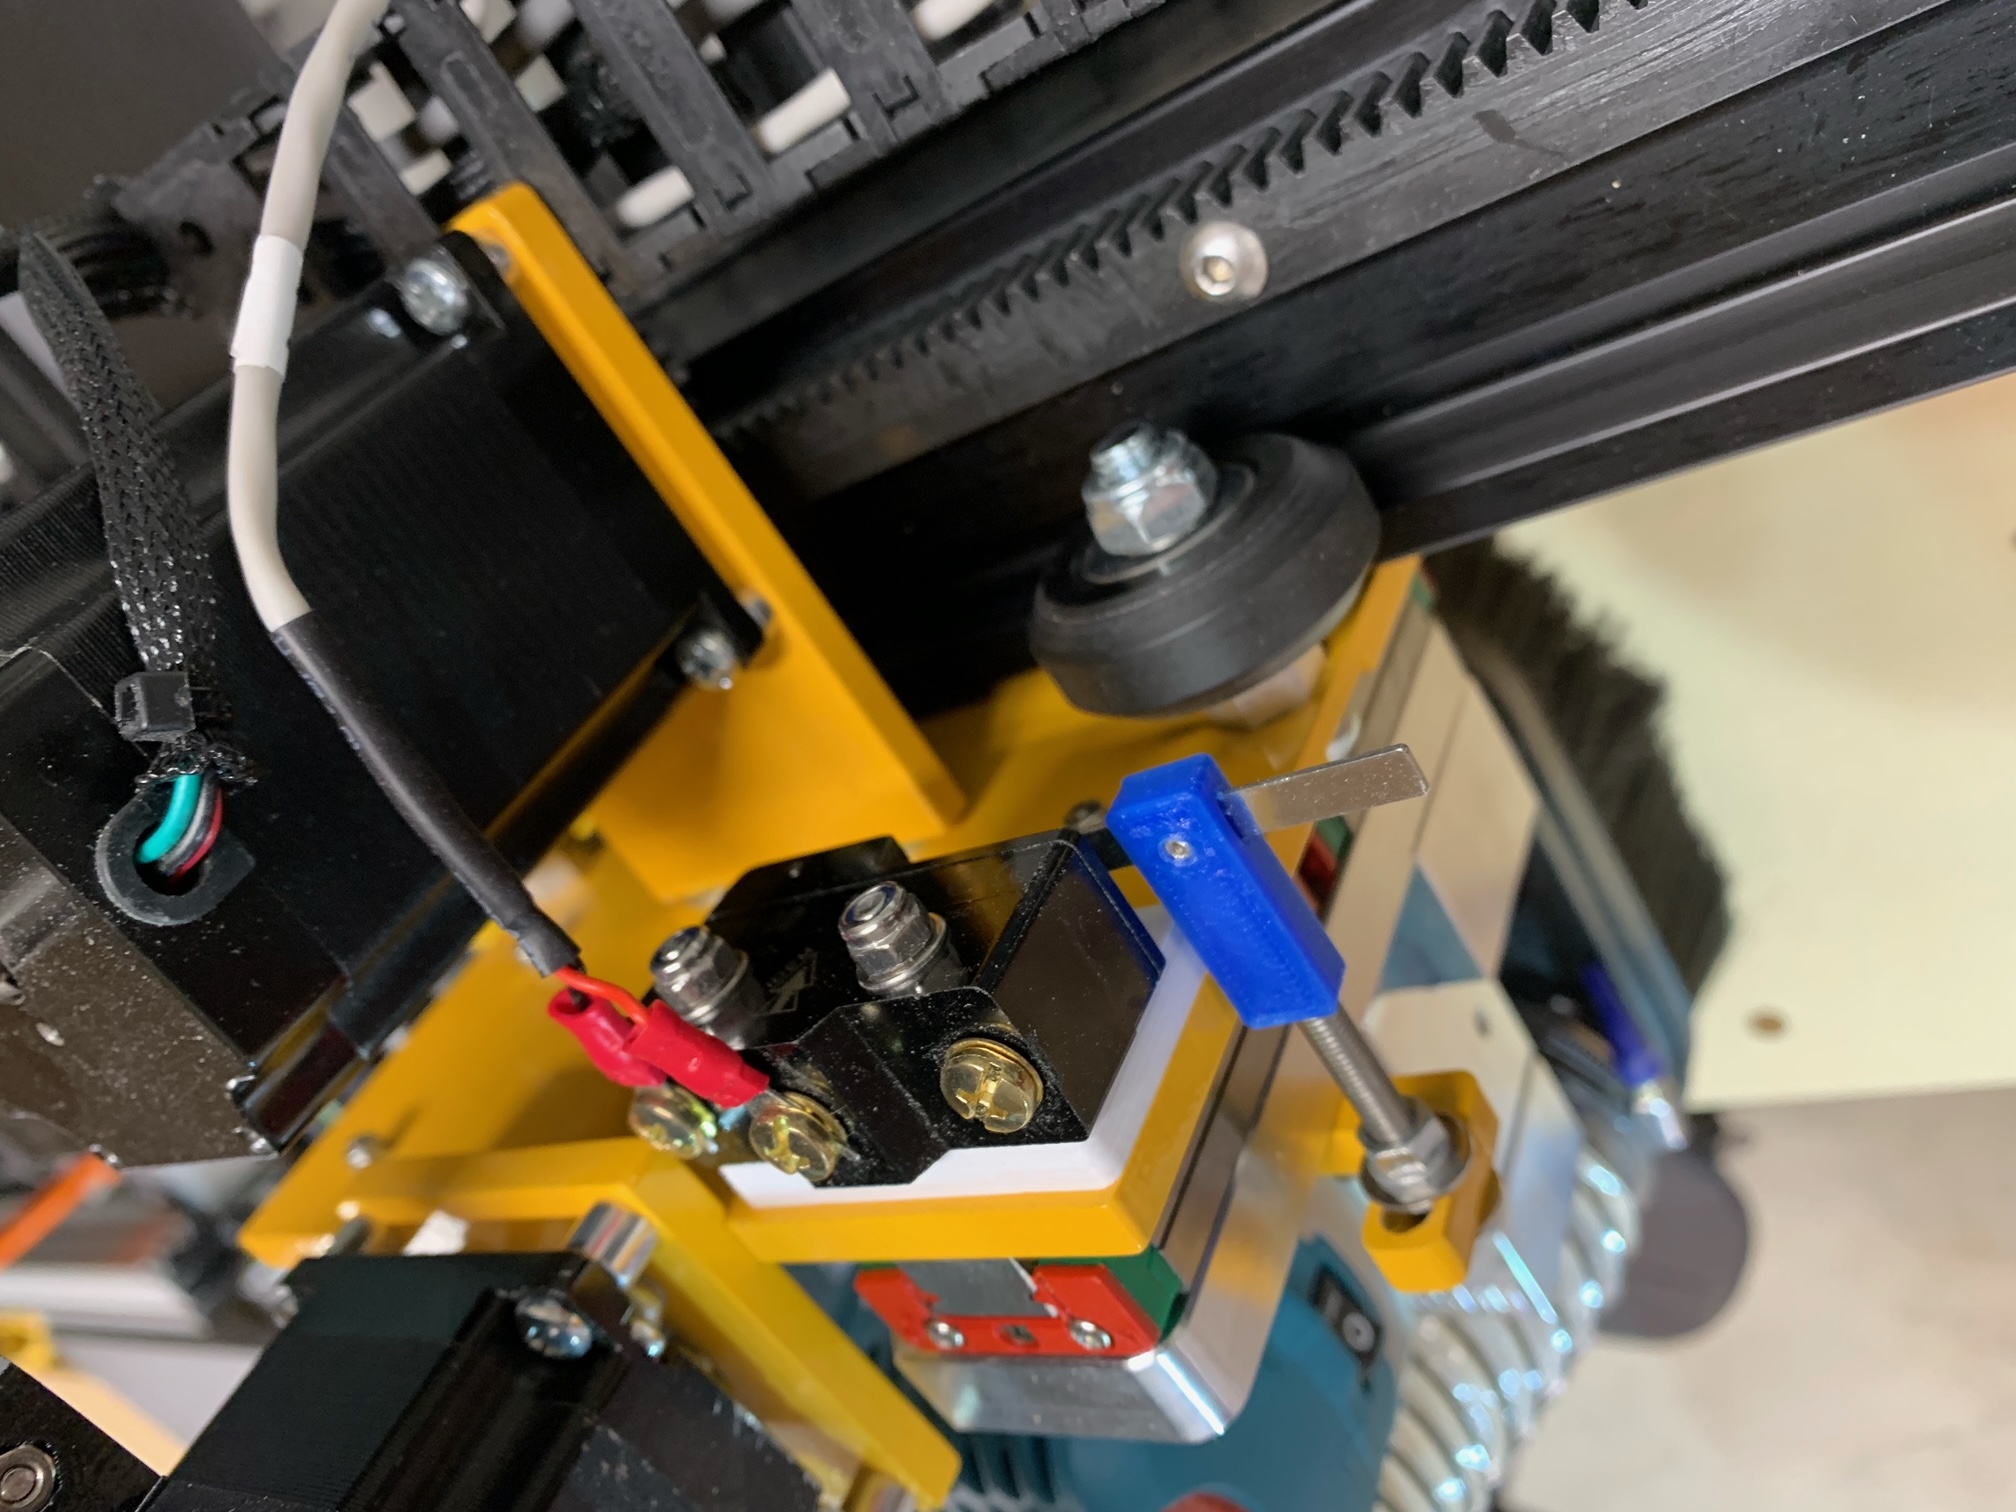
<p>These brackets allow you to use Automation Direct snap action micro switches on a MillRight CNC Mega V machine (and possibly other cnc machines that use 30 series aluminum extrusions with modifications). The X/Y limit switches (available here: <a href="https://www.automationdirect.com/adc/shopping/catalog/sensors_-z-_encoders/limit_switches/snap_action_micro_switches/lever_with_roller_actuator/176112-1">https://www.automationdirect.com/adc/shopping/catalog/sensors_-z-_encoders/limit_switches/snap_action_micro_switches/lever_with_roller_actuator/176112-1</a> ) are labeled individually as they are not interchangeable due to the switch's offset mounting pattern. Note that you will need TWO of the roller switches (one for X and one for Y). The switch attached to the bracket with M4x25mm or longer machine screws and M4 nuts captured in the recess under the brackets. I used nylon nuts to avoid having to use thread locker. I used M5x12mm screws and slide-in 30 Series T-nuts to fix the X/Y brackets to the extrusions. The Z limit switch (available here: <a href="https://www.automationdirect.com/adc/shopping/catalog/sensors_-z-_encoders/limit_switches/snap_action_micro_switches/lever_actuator/176109-1">https://www.automationdirect.com/adc/shopping/catalog/sensors_-z-_encoders/limit_switches/snap_action_micro_switches/lever_actuator/176109-1</a> ) attaches to the OEM Z-Limit switch mounting holes with the use of the 3DP adapter piece. The switch first mounts to the adapter piece with two M4x25mm or longer screws and two nuts. The switch and adapter piece can then be mounted to the X plate using the stock limit switch kit screws. Do not use screws 20mm or longer here as they will collide with the router/z plate. Again, everything was secured with nylon nuts of appropriate size. The adapter piece spaces the switch just out of reach of the stock limit switch actuator screw so I made an extended 3DP part to slide onto the Z switch's lever and make contact with the z actuator screw on the z/router plate. You could also just buy a longer machine screw. Use the stiffest 3DP filament you have to make the switch's more rigid and increase repeatability and accuracy. Notice: I am in no way affiliated with Automation Direct or its affiliates and am not being paid to promote their products. I just like their limit switches and find them to be much more accurate and robust than many other brands of lever switches used for limit/homing switches.</p>
With this file you will be able to print Automation Direct Limit Switch brackets for MillRight CNC Mega V. with your 3D printer. Click on the button and save the file on your computer to work, edit or customize your design. You can also find more 3D designs for printers on Automation Direct Limit Switch brackets for MillRight CNC Mega V..