AVR Dragon - solid enclosure
thingiverse
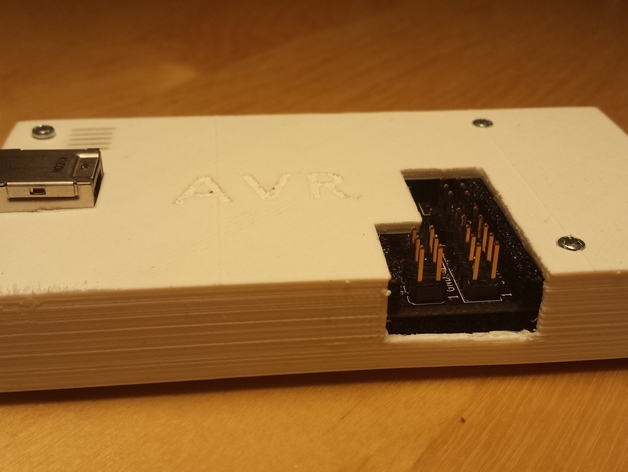
Enclosure for AVR Dragon programmer and debugger. Design notes: The enclosure should not press any components mounted on the Dragons PCB; there are separators (placed on the top part of the enclosure) to ensure that the ferm contact stays only between enclosure and PCB; Allows space for connecting IDC cables, not just jumper wires; The foam from the original package can be used to safely secure the PCB inside the enclosure without directly applying presure to the board when tightening the screws to connect the two parts of the case; Only VCC, GND, ISP/PDI and JTAG headers are exposed; that is, the enclosure does not expuse HV programming header or the headers supporting the ZIF socket; The two parts of the enclosures are connected via 4 x M2 screws & nuts; however, these are optional as the enclosure can be assembled ony by fitting the bottom part inside the top part of the case. Printing hint: The enclosure is easy to print and easy to assemble; however, please note that your printing machine should be able to print parts that fit correctly; if not, calibrate your machine before printing this 'thing'; Enjoy Instructions 1) Print the top and bottom part of the enclosure; 2) Optional: connect the screws to the top part of the enclosure; 3) Place the AVR Dragon board inside the top part; 4) Optional: place the foam (from the original package) on top of the board; the M2 screws should go through the foam easily; 5) Mount the bottom part of the enclosure inside the top part; 6) Optional: place the nuts into their designated locations, and tight the screws.
With this file you will be able to print AVR Dragon - solid enclosure with your 3D printer. Click on the button and save the file on your computer to work, edit or customize your design. You can also find more 3D designs for printers on AVR Dragon - solid enclosure.