Awesome Ender 3 Cable Chain mount for MegaX
thingiverse
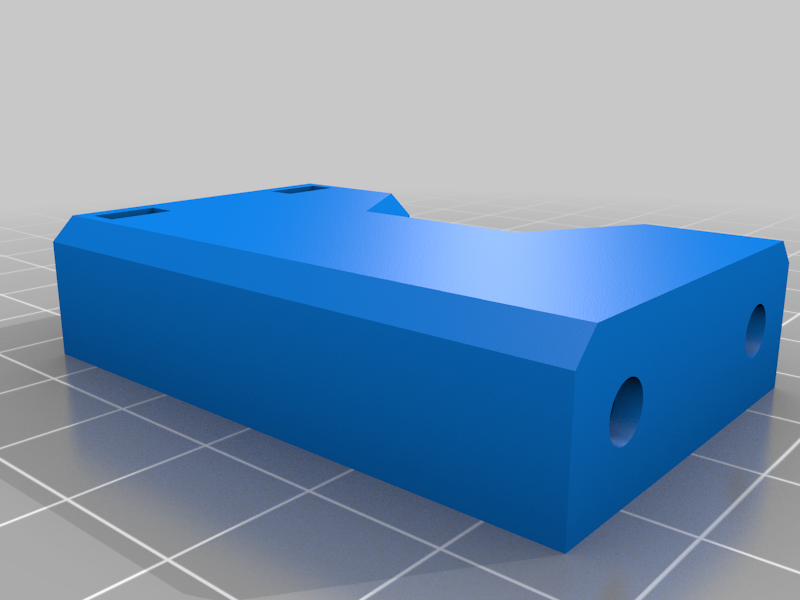
(in English) This is a cable chain mount for the Anycubic MEGAX. The shape of the MEGAX mount is based on this model. https://www.thingiverse.com/thing:4738546 The Z axis (left side) of this model is easy to use and I like it, but the Z axis (right side) and X axis chains are not easy to use because you have to pass the cable through one part at a time. This Ender3 chain has two parts and is easy to install, so I made a mount to fit the width of this chain so that it can be used with MEGAX. https://www.thingiverse.com/thing:2920060 cableChain_link_v3.stl cableChain_linkCover_v2.stl I have moved the motor because I have a direct extruder, but I have taken into careful consideration so that it does not interfere with the extruder even if it is still in Bowden. To fix the RightZ-top_base.stl, screw it to the carriage first. After that, insert two M3 nuts from above and fix the RightZ-top.stl with M3 screws. (in Japanese) Anycubic MEGAX用のケーブルチェーンのマウントです。 MEGAXのマウントの形状はこのモデルを参考にしています。 https://www.thingiverse.com/thing:4738546 Z axis (left side)は上のモデルでも使いやすくていいのですが、Z axis (right side)とX axisのチェーンが1コマずつケーブルを通す構造で面倒だったので別のチェーンを探していました。 こっちのEnder3のチェーンは2パーツ構成でケーブルの取り付けが簡単なのでこっちのチェーンの幅に合わせて、MEGAXでも使用できるようにマウントを作りました。 https://www.thingiverse.com/thing:2920060 cableChain_link_v3.stl cableChain_linkCover_v2.stl 私はダイレクトエクストルーダ―化しているのでモーターを移動していますが、ボーデンのままでもエクストルーダ―に干渉しないようにBaseパーツを作ったので大丈夫なはずです。(試してはいません) RightZ-top_base.stlを先にキャリッジにネジ止めしてください。 そのあとM3ナットを2個上から差し込んで、RightZ-top.stlをM3ネジで固定してください。 ネジの長さはお任せします。
With this file you will be able to print Awesome Ender 3 Cable Chain mount for MegaX with your 3D printer. Click on the button and save the file on your computer to work, edit or customize your design. You can also find more 3D designs for printers on Awesome Ender 3 Cable Chain mount for MegaX.