Axial Swashplate Engine
thingiverse
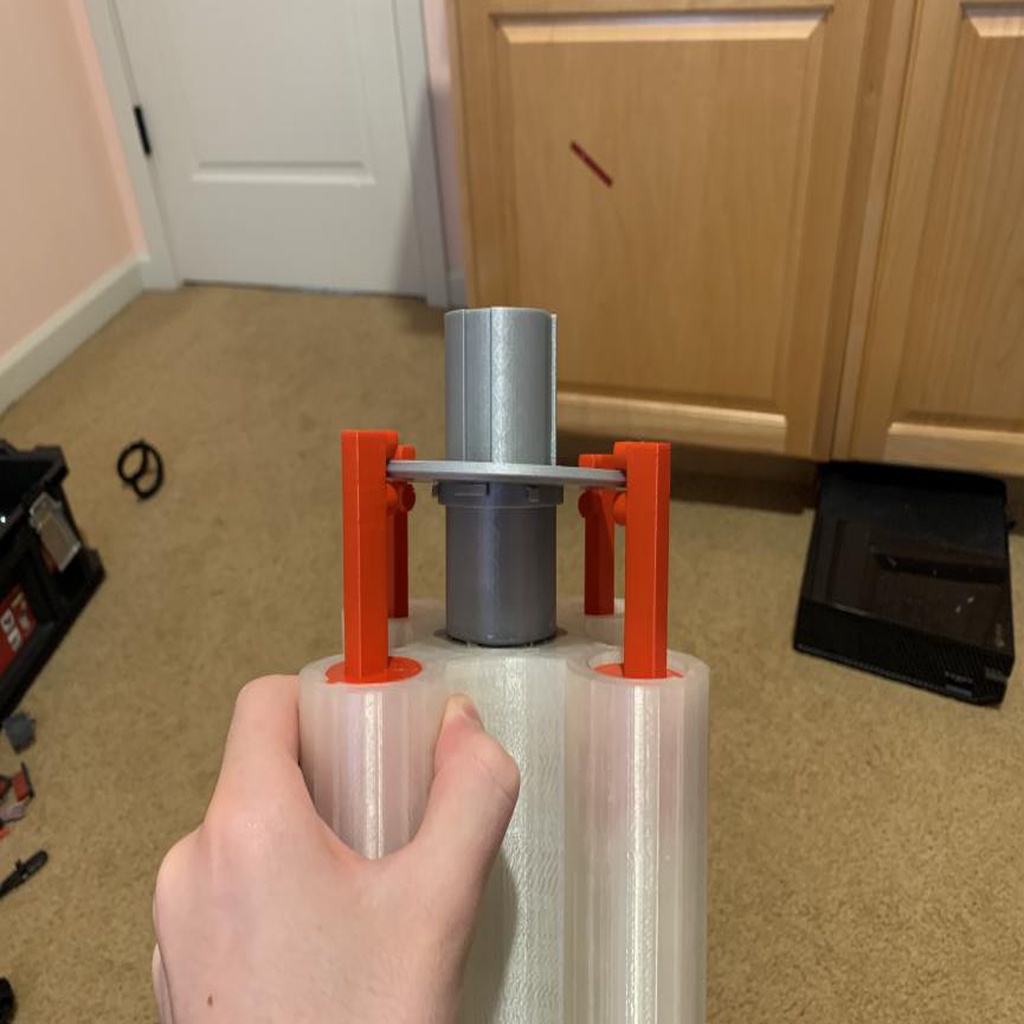
A simple axial engine harnesses power through a swashplate connected to the driveshaft. Unfortunately, the engine's size is unnecessarily large due to pistons that barely move near the end of their cylinders, potentially leading to a lengthy printing process. Assembly and Printing: -Print all components except for the piston, which requires four units. Optionally print the stand as well. Next, press the upper shaft into the lower one firmly. Insert the bearings/collars into the shaft securely. Then, slide the shaft into its block smoothly. Place the swashplate onto the coupler and secure it in place at an angle using glue. Position the assembled swashplate on the rails of the shaft and slide it about a quarter of the way down. Carefully rest the pistons in their cylinders and align the rollers on the connecting rods with the plate. Slowly slide the plate down and assist the pistons into position. Turn the swashplate clockwise to lock it firmly in place. (OPTIONAL) Glue the shaft collars to the block and the swashplate coupler to the shaft carefully. Be cautious not to get glue inside the collars, as this can increase friction and make the shaft harder to spin. If you printed the stand, set the block onto the stand. The nubs on the stand should fit snugly into the cylinders.
With this file you will be able to print Axial Swashplate Engine with your 3D printer. Click on the button and save the file on your computer to work, edit or customize your design. You can also find more 3D designs for printers on Axial Swashplate Engine.