Axis Tensioner - Y axis
prusaprinters
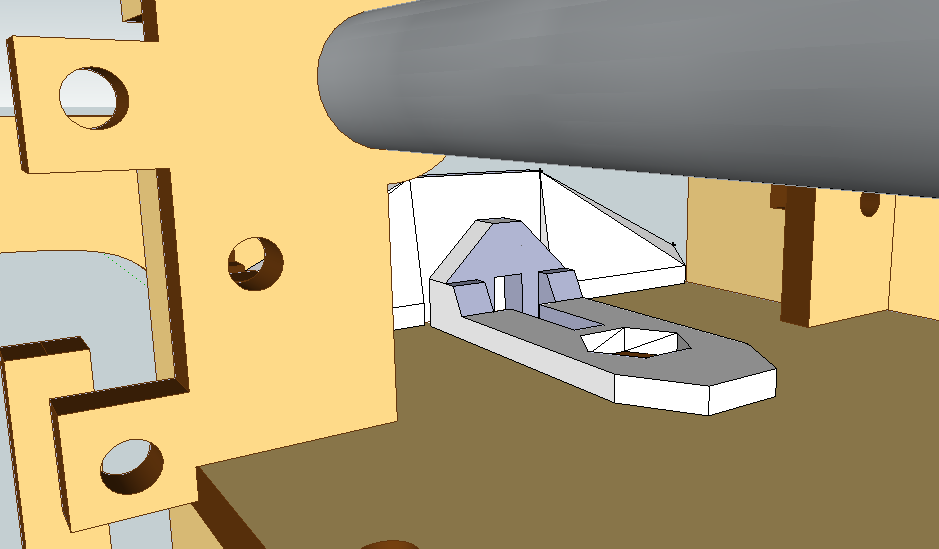
<p>Getting the Y axis belt tight enough can be a real pain. That's why I've designed this printable upgrade to allow increasing the tension on the Y axis belt / pulley by turning a screw.</p> <p>You can find my X axis belt tensioner here <a href="https://www.thingiverse.com/thing:1673">http://www.thingiverse.com/thing:1673</a></p> <p>V1 - Based upon a single captive nut.<br/> V2 - Fixing an alignment issue.<br/> V3 - First printable version. The smaller piece that holds the captive nut was too long.</p> <p>2010-01-23<br/> V6 - Same concept, but a different design using two captive nuts on each side of the Y axis pulley. My test print is suffering from some X stage problem, so the prints aren\'t coming out right yet. However, I wanted to post this in case I could get feedback from others.<br/> 2010-01-25<br/> V7 - Same concept with a few improvements.</p> <p>I created the screenshot from Unrepentantgeek\'s Sketchup version of the Cupcake CNC. <a href="https://www.thingiverse.com/thing:1449">http://www.thingiverse.com/thing:1449</a></p> <h3>Print instructions</h3><p>Unassociated tags: y axis, Makerbot upgrade part</p> <h3>Instructions</h3> <p>There are two pieces in this one STL / Sketchup file.<br/> The smaller piece should fit around the hex nut under the Y axis pulley. The second piece should fit around the edge of the Y axis.<br/> Drop two M3 nut into the slots in the smaller piece that fits around the Y axis pulley.<br/> Insert two M3x16 bolts.<br/> Tigthen.</p>
With this file you will be able to print Axis Tensioner - Y axis with your 3D printer. Click on the button and save the file on your computer to work, edit or customize your design. You can also find more 3D designs for printers on Axis Tensioner - Y axis.