axis z LJ12A3-4-Z/BX- Anet A8
thingiverse
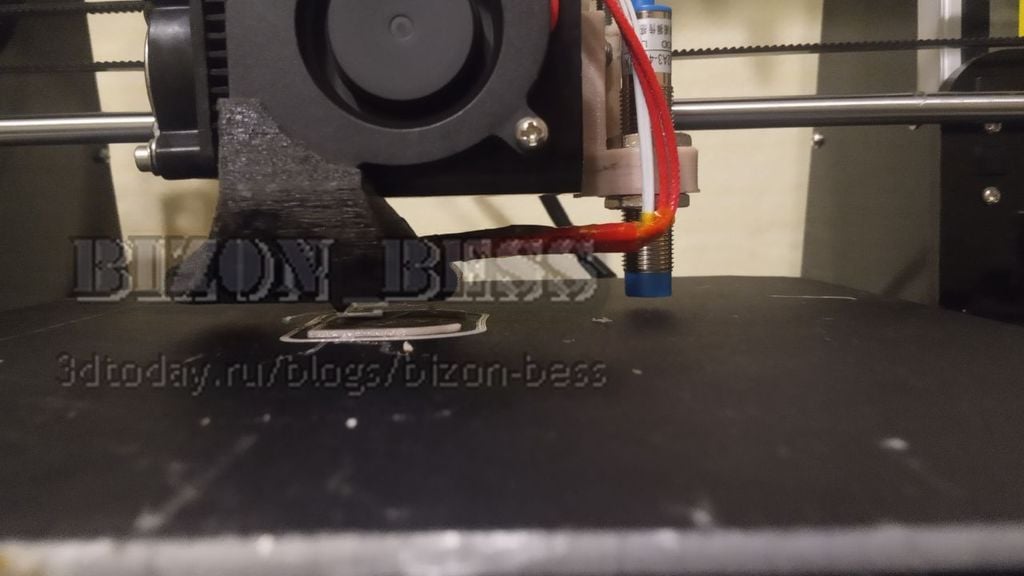
Adjustable induction switch mount Model: LJ12A3-4-Z / BX (diameter 12) Z axis, for Anet A8 Printed standing up, Petg plastic, props only from the table. After printing, you need to work with Hands. Hole 1 - We drill with a 3.5 drill and cut the M4 thread, I didn't have a tap that long, I cut it as much as I could, I just drove it along the rest of the length with an M4 screw. Hole 2 - Reamed with drill 4 Hole 3-4 - reamed with drill 4 Hole 5-6-7 - the M3 screw is perfectly screwed into it (if you wish, you can pull in the heated nut from the back side, I quite like it without a nut. There is one more hole, not through .. If you wish, you can drill it with a 3-4 drill. And with a nylon yoke, pull the wires. The details were slightly adjusted with sandpaper and a file. well and where without lubrication ..) ---------------------------------------- Регулируемое крепление индукционного концевика Модель:LJ12A3-4-Z/BX (диаметр 12) оси Z, для Anet A8 Печатал стоя, пластиком Petg, подпорки только от стола. После печати требуется пороботать Руками.. Отверстие 1 - Рассверливаем сверлом 3.5 и нарезаем резьбу М4 , у меня метчика такой длинны небыло, нарезал, сколько смог, по остальной длинне просто прогнал винтом М4. Отверстие 2 - Рассверливаем сверлом 4 Отверстие 3-4 - рассверливаем сверлом 4 Отверстие 5-6-7 - в него отлично закручивается винт М3 ( при желание, можно втянуть нагретую гайку с обратной стороны, мне без гайки вполне нравится. Есть еще одно отверствие, не сквозное.. При желание его можно рассверлить сверлом 3-4. И нейлоновым хамутом, притянуть провода. Детали слегка подгонял наждачной бумагой и напильником. ну и куда без смазки..)
With this file you will be able to print axis z LJ12A3-4-Z/BX- Anet A8 with your 3D printer. Click on the button and save the file on your computer to work, edit or customize your design. You can also find more 3D designs for printers on axis z LJ12A3-4-Z/BX- Anet A8.