B3 Innovations Pico Hot End Mount for Rostock Max
thingiverse
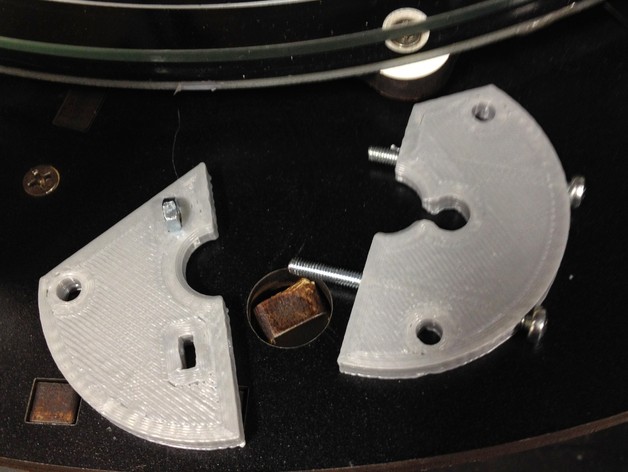
I needed a mount for my new B3 Innovations Pico Hot End, sooooo... Here it is. This is designed for the Rostock Max from SeeMeCNC (gen 1.) I went with a split design that would fit into the Pico's hot end groove mount slot. The 2 halves are mechanically held together with 2 bolts and nuts. The Top Bottom part is now used as a spacer. Instructions Printed on a Replicator with ABS .3 layer height 50% fill 6 shells The core is the part that fits the groove mount on the Pico hot end. I have split this for easy assembly. For a tight fit I also decided to hold the 2 halves together with a M3 x 40mm, and M3 35mm bolt. With the nuts placed in the other half as a screw boss. You will also notice a hole in the Core plate that allows the heater and thermistor wires to pass from the Pico through the core and on to your printer. I originally had the ring on top and bottom to hold the 2 halves together but found that there was too much slop to get a good tight fit. So now the ring can be used as a spacer, or not used at all. I used the existing metal spacers from the original hot end mount. I also made a flat area to mount the fan. Be careful to mount the plate in a way so that the flat area is between 2 arms, this way there will be enough space for clearance between the arms and the fan. DO NOT try to run the Rostock without moving the head around to test clearances -- you may be sorry. DO make sure you re-adjust the max height of XYZ or you may just plow your new pico into your build plate. There are a few pictures to help you assemble the mount.
With this file you will be able to print B3 Innovations Pico Hot End Mount for Rostock Max with your 3D printer. Click on the button and save the file on your computer to work, edit or customize your design. You can also find more 3D designs for printers on B3 Innovations Pico Hot End Mount for Rostock Max.