Back Plate Fairphone 3 Circuit
prusaprinters
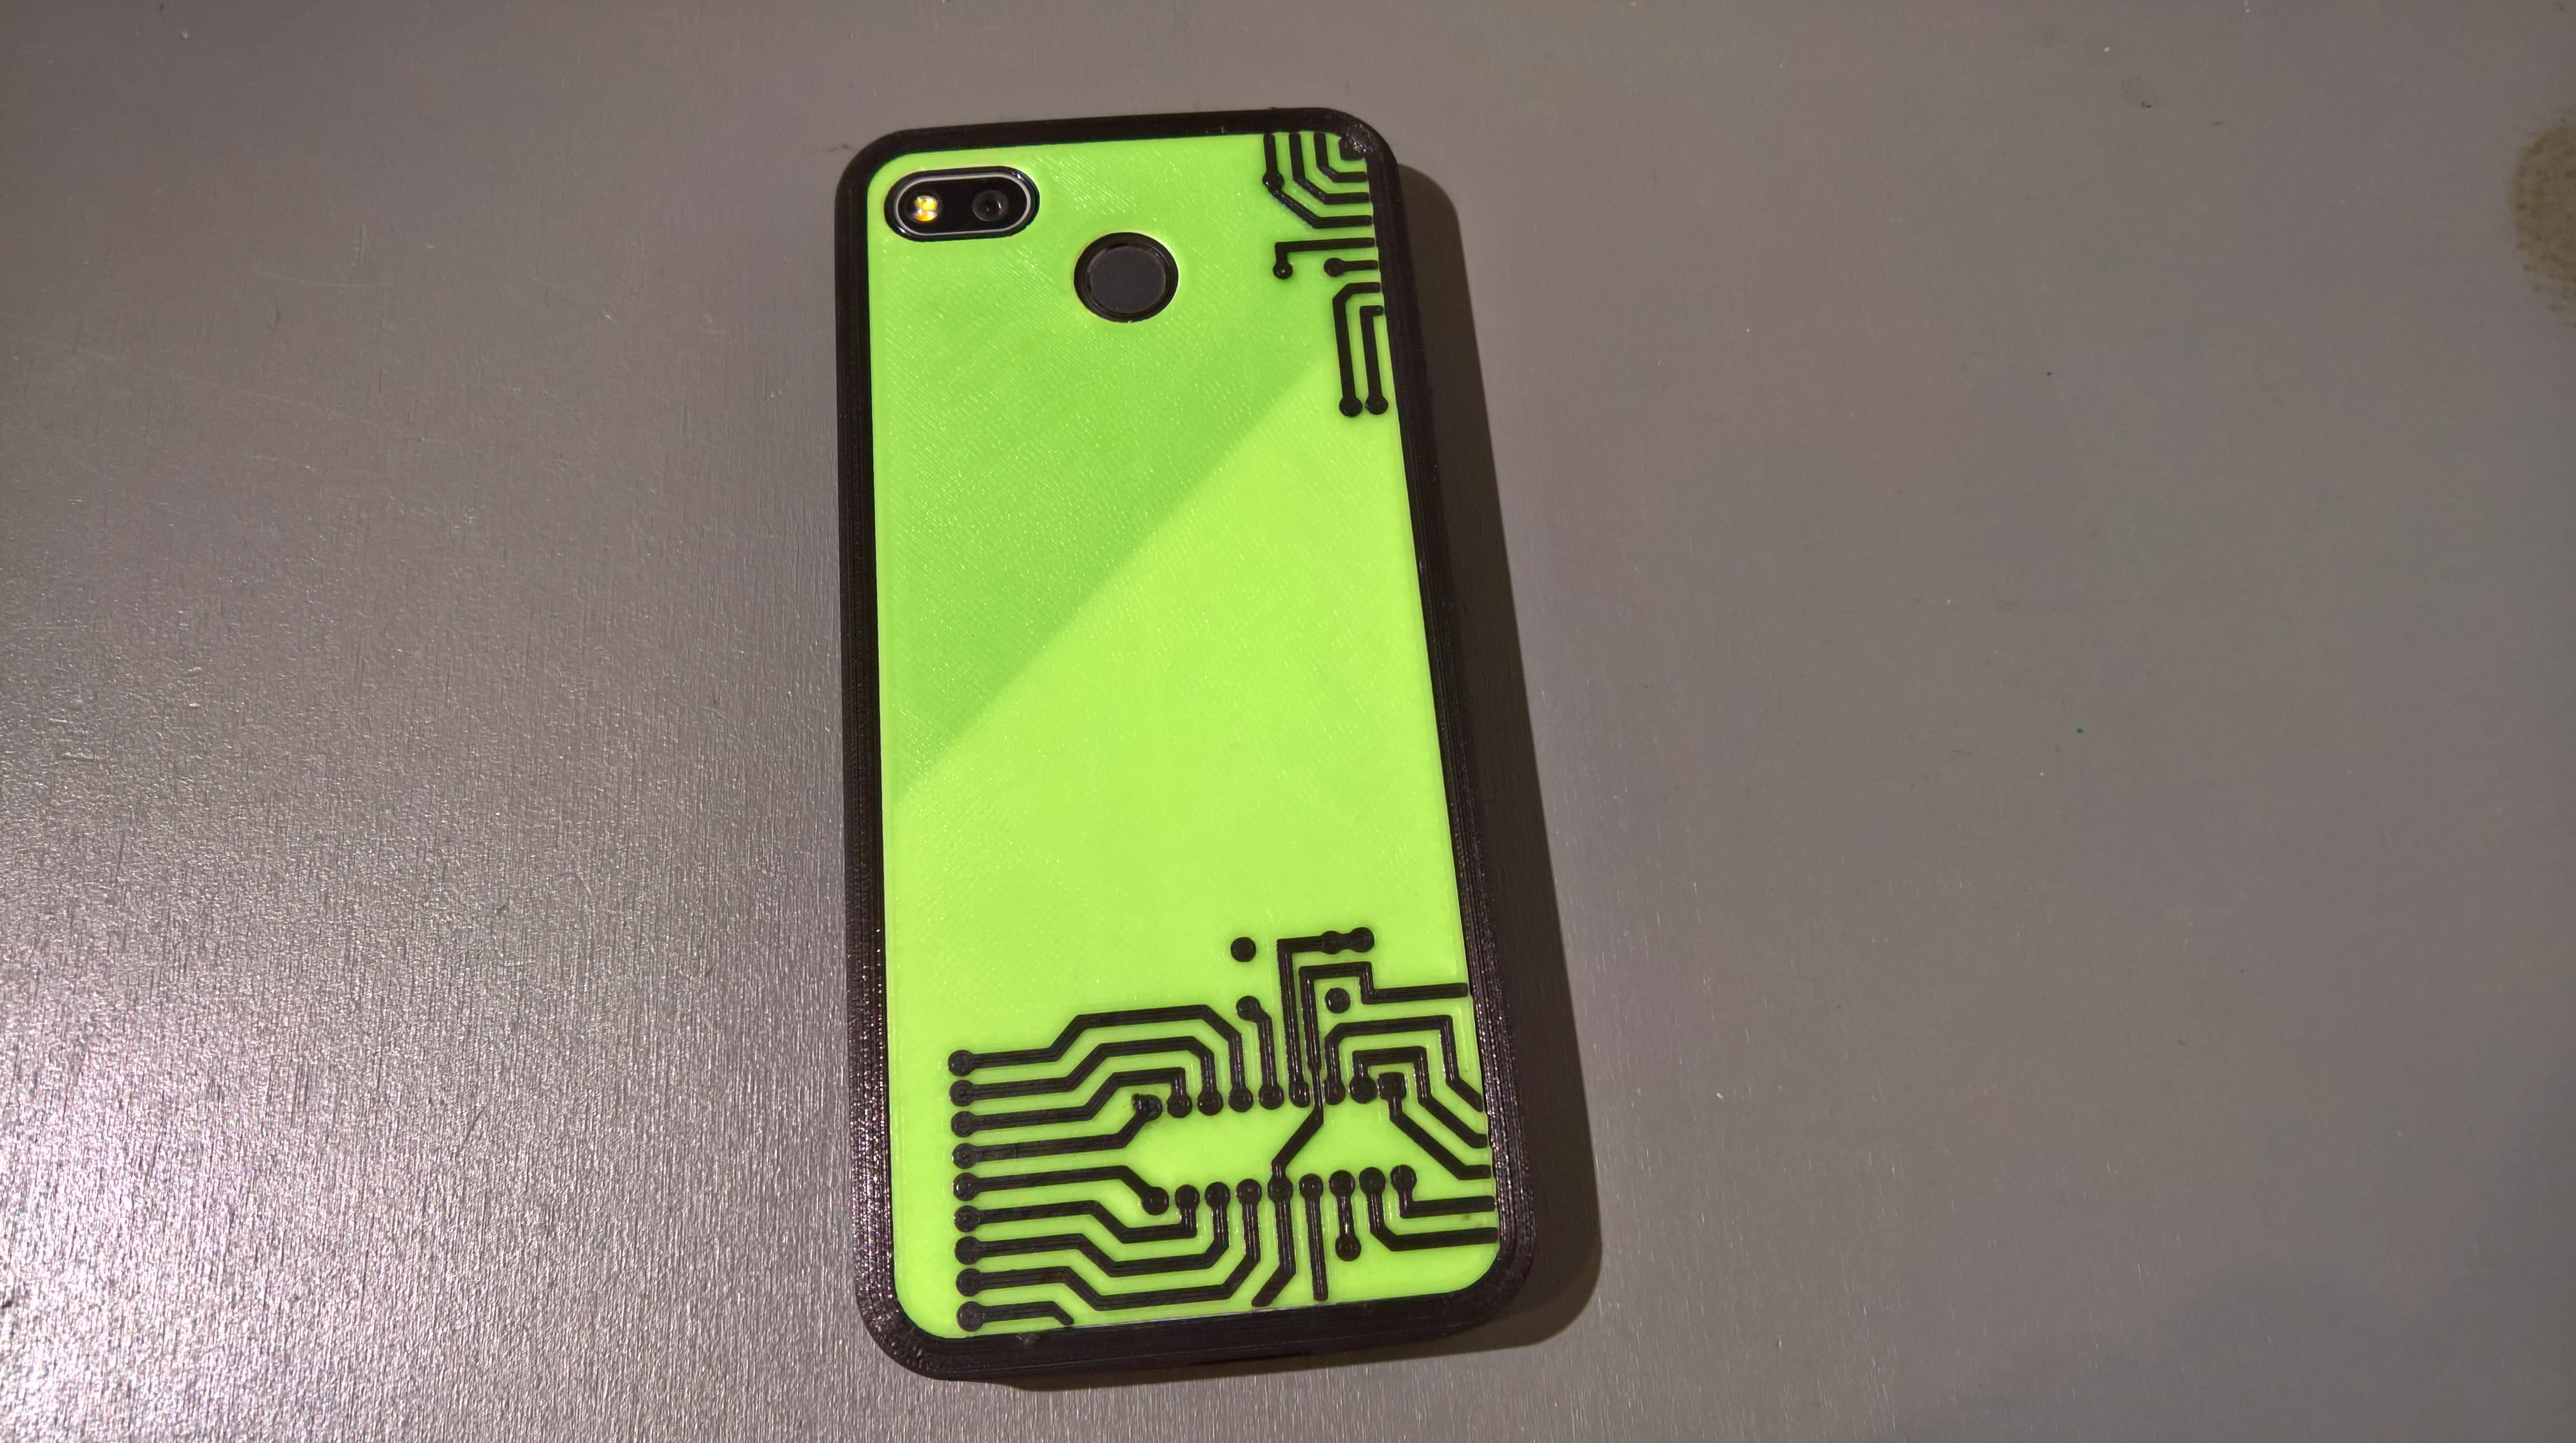
<p>Backplate for my Fairphone.<br/> Use with my customized fairphone bumper.</p> <h3>Print instructions</h3><p>All single STLs fit together to the shown picture of bowser.<br/> This print is made with a single-nozzle-printer. If you can access a multi-filament printer, this will be a lot easier. If not, print according to the following instruction.<br/> I made a good experience printing it with PLA. The quality of the filament doesn’t matter for the most of the parts, as long you like the color. The last part should be printed with a higher quality filament, because this part is stressed most while the part is in use.<br/> Start with the lowest number (I gave the STL numbers). Print the part, leave it one the printbed and then print the next one with the next color. Make sure that the parts are aligned in the slicer and they should not be higher than one layer. Otherwise the nozzle rips them of the bed.<br/> Tipp: don’t use a skit or brim, they might collide with the already printed parts. Use a small, one layer high, part to prime the nozzle.<br/> The last part needs some special settings. There is a small edge, witch fits into the bumper. This edge might break if it isn’t printed correctly. Set the temperature about 15°C higher for the last layers to make sure, the PLA welds perfect.</p>
With this file you will be able to print Back Plate Fairphone 3 Circuit with your 3D printer. Click on the button and save the file on your computer to work, edit or customize your design. You can also find more 3D designs for printers on Back Plate Fairphone 3 Circuit.