Backlash Calibration (EasyThreed printers)
thingiverse
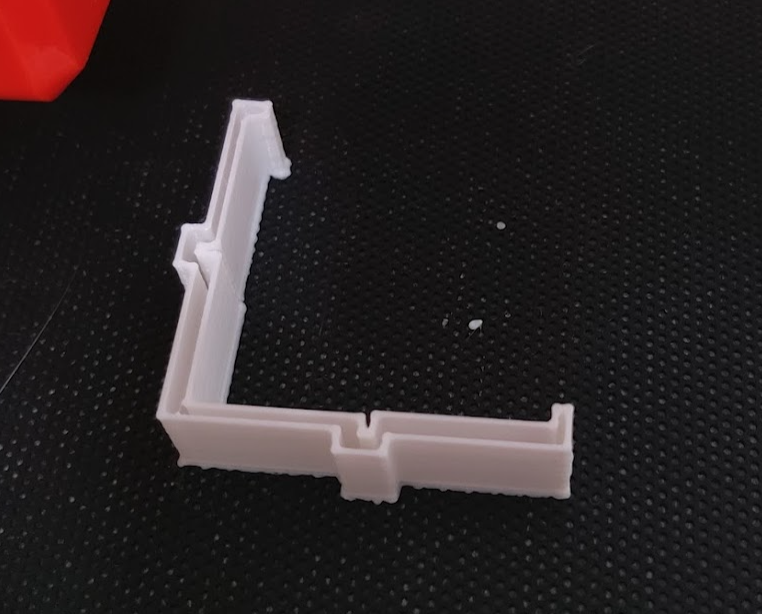
Backlash calibration models, mainly for EasyThreed printers. The models outer edge is constructed in a way that the backlash is pronounced. I recommend turning on "Spiralize Outer Contour" so the outer wall is consistent across all layers, also helps visual inspection of the model by creating gaps between the walls. Steps: 1. Print the thick model. Measure thickness difference then divide it by 2 to get the backlash value for each axis. Put the backlash values into your compensator. Repeat until both gaps appear the same. 2. For more fine calibration, print the thin model, check each gap visually. I recommend NoLash backlash compensator, I ported it from Java to Python then converted it into a Cura post processing extension. Cura extension: https://pastebin.com/iWNSeWmV Standalone CUI version: https://pastebin.com/uK28EGn0 How to install in Cura: 1. Download the extension, rename it to NoLash.py 2. Turn on Cura, Help -> Show Configuration Folder 3. Put NoLash.py into "scripts" folder 4. Restart Cura, Extensions -> Post Processing -> Modify gcode 5. Add a script -> Backlash Compensation (NoLash) One unfortunate side effect of backlash correction is that you'll get X and Y seams where the corrections are made. Slowing down the printing speed helps to hide them, but they won't disappear unless you turn it off. When printing dimensionally accurate model, rotate the model so the seams don't align with the critical parts.
With this file you will be able to print Backlash Calibration (EasyThreed printers) with your 3D printer. Click on the button and save the file on your computer to work, edit or customize your design. You can also find more 3D designs for printers on Backlash Calibration (EasyThreed printers).