Ball Bearing Table Leg Outlet Holder
prusaprinters
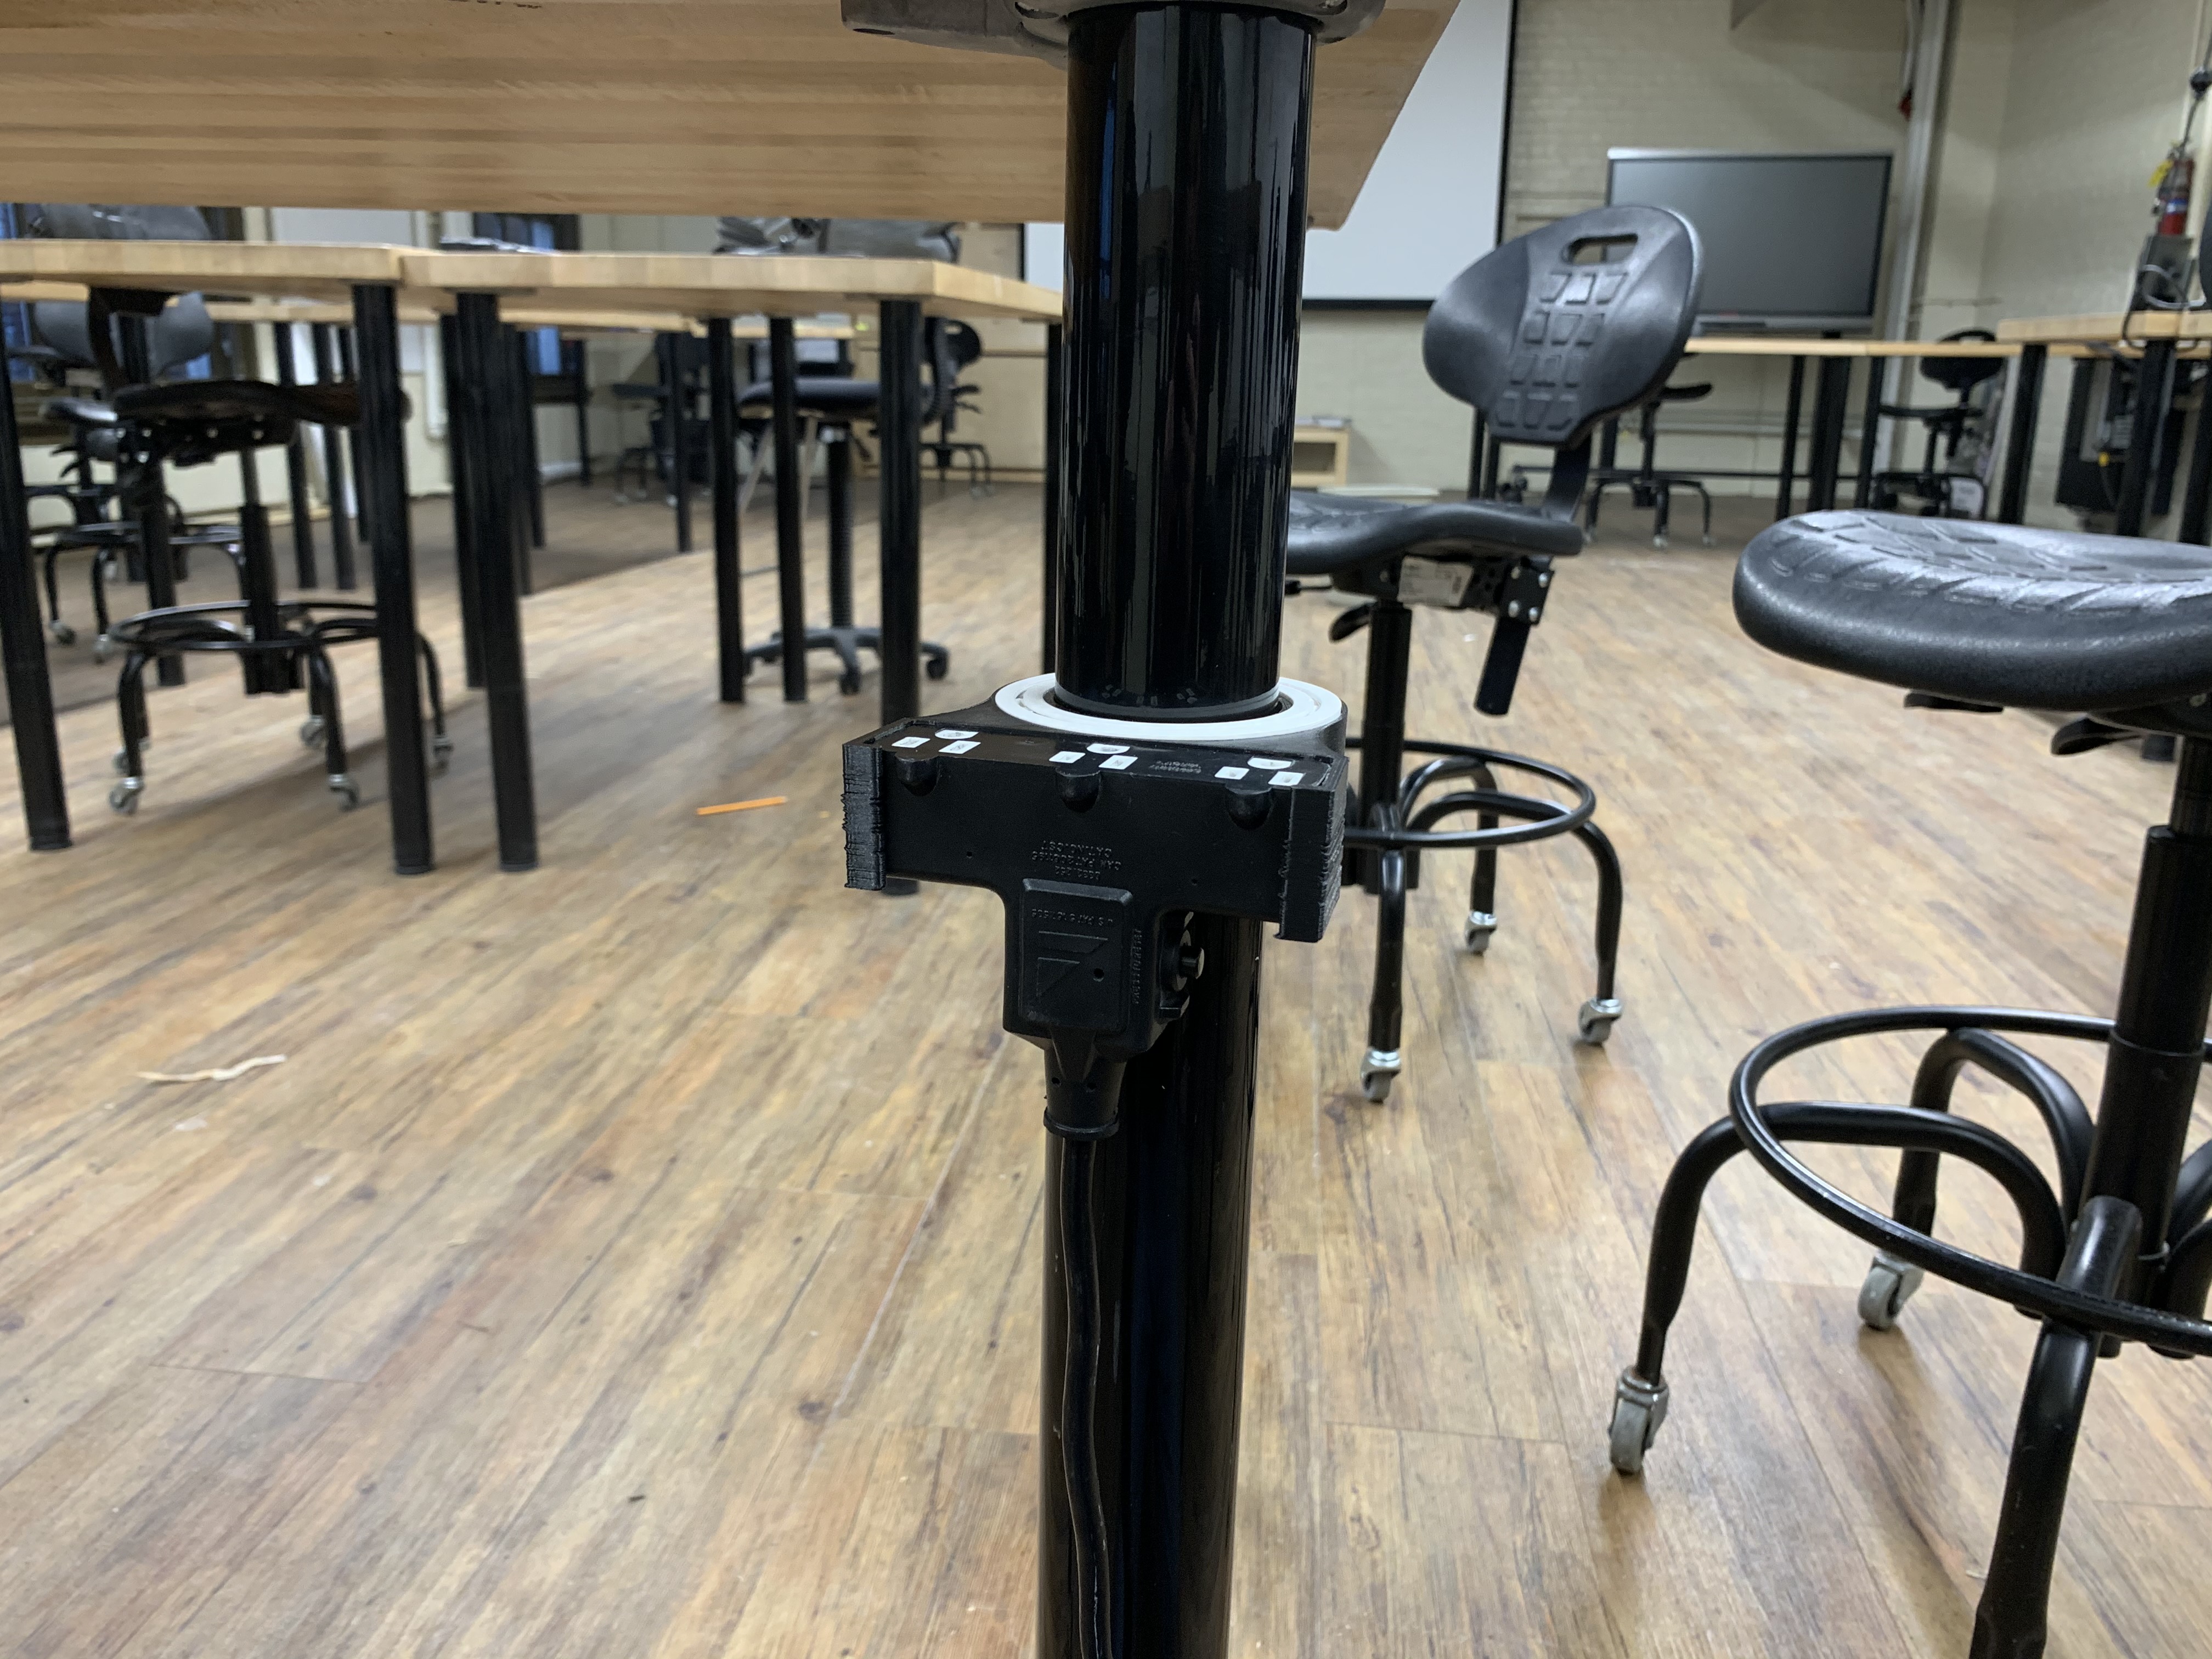
<p>Do you have tools with short cables? Do they not reach all the way to the ground, forcing you to clutter the top of your table with messy extension chords? Do those messy extension chords sometimes fall off the table, bringing your tools with them?</p> <p>If you have these problems, THIS is the model for you!</p> <p>With an easy drop-in/lift-out clasp, the Ball Bearing Table Leg Outlet Holder (open to name suggestions) places outlets perfectly within reach when you need them. Let cables clutter your desk no longer!</p> <p>The outlet holder is attached to the table with 2 fully 3D printed ball bearings! This allows the clasp to rotate a full 360 degrees around the table leg. This rotation helps prevent tool chords from snagging on the corners of the table, as the outlets easily swivel around the corner. The bearings also allow the clasp to be swiveled inward (out of the way) when not in use so that tables can be pushed up against each other or a wall. The bearings also allow the clasp to swivel out of the way if you bump into it so that you don't hurt yourself. It's also a lot of fun to play with during class :).</p> <p>This model easily attaches to the table leg with a single, hidden bolt that tightens the inner shell against the table leg. The height can be easily adjusted.</p> <p>As you can see in the pictures, my school's printer was having some issues. So, the parts required a little bit of sanding to get them to fit right. The outlet holder is divided into 4 parts for easy printing and requires no supports (except for the custom support built into the model of the ball bearings). I experimented with printing the bearings in resin, but couldn't quite get the tolerances right and ended up running out of time. I think resin printing the bearings would make the action a lot smoother and make it even MORE fun to play with.</p> <h3>Print instructions</h3><p><strong>Before You Start:</strong> Measure the diameter of your table leg. I included a schematic (See the Last Image) that includes the inner diameter and other dimensions of the Inner Shell model. If your table leg is smaller, you might want to print an additional insert to have the model fit your table properly or just make your own Inner Shell part (see schematic for dimensions).</p> <p><strong>Step 1:</strong> Print 1x Outer Shell, 2x Bearings, 1x Inner Shell (or just the two GCode files I uploaded).</p> <p><em>Notes on material:</em> I used PLA because it's what I had available, but I'd imagine PETG would work better because of its strength for the Outer Shell, and using something flexible for the Inner Shell would allow it to grip the table leg better.</p> <p><strong>Step 2:</strong> Once printed, carefully remove the inner support ring of the 2 ball bearings with a flat head screwdriver. Then, check that they rotate freely. I found that they were a little rough but loosened up quickly if you spun them around a few times. You can add a little lubricant if you like.</p> <p><strong>Step 3:</strong> Glue one bearing to the bottom of the Inner Shell, and one bearing to the top of the Outer Shell (See Image 5). I used superglue. Be careful not to get any glue inside the bearings!</p> <p><strong>Step 4:</strong> Lift up the table leg, and slide on the Outer Shell, followed by the Inner Shell. Find a small bolt that fits the hole, and use it to tighten the Inner Shell against the table at the desired height.</p> <p><strong>Step 5:</strong> Slide Outer Shell down over the Inner Shell.</p> <p><strong>Step 6:</strong> You're Done! Give the clasp a flick and spin it around the table!</p>
With this file you will be able to print Ball Bearing Table Leg Outlet Holder with your 3D printer. Click on the button and save the file on your computer to work, edit or customize your design. You can also find more 3D designs for printers on Ball Bearing Table Leg Outlet Holder.