Balloon Helicopter
prusaprinters
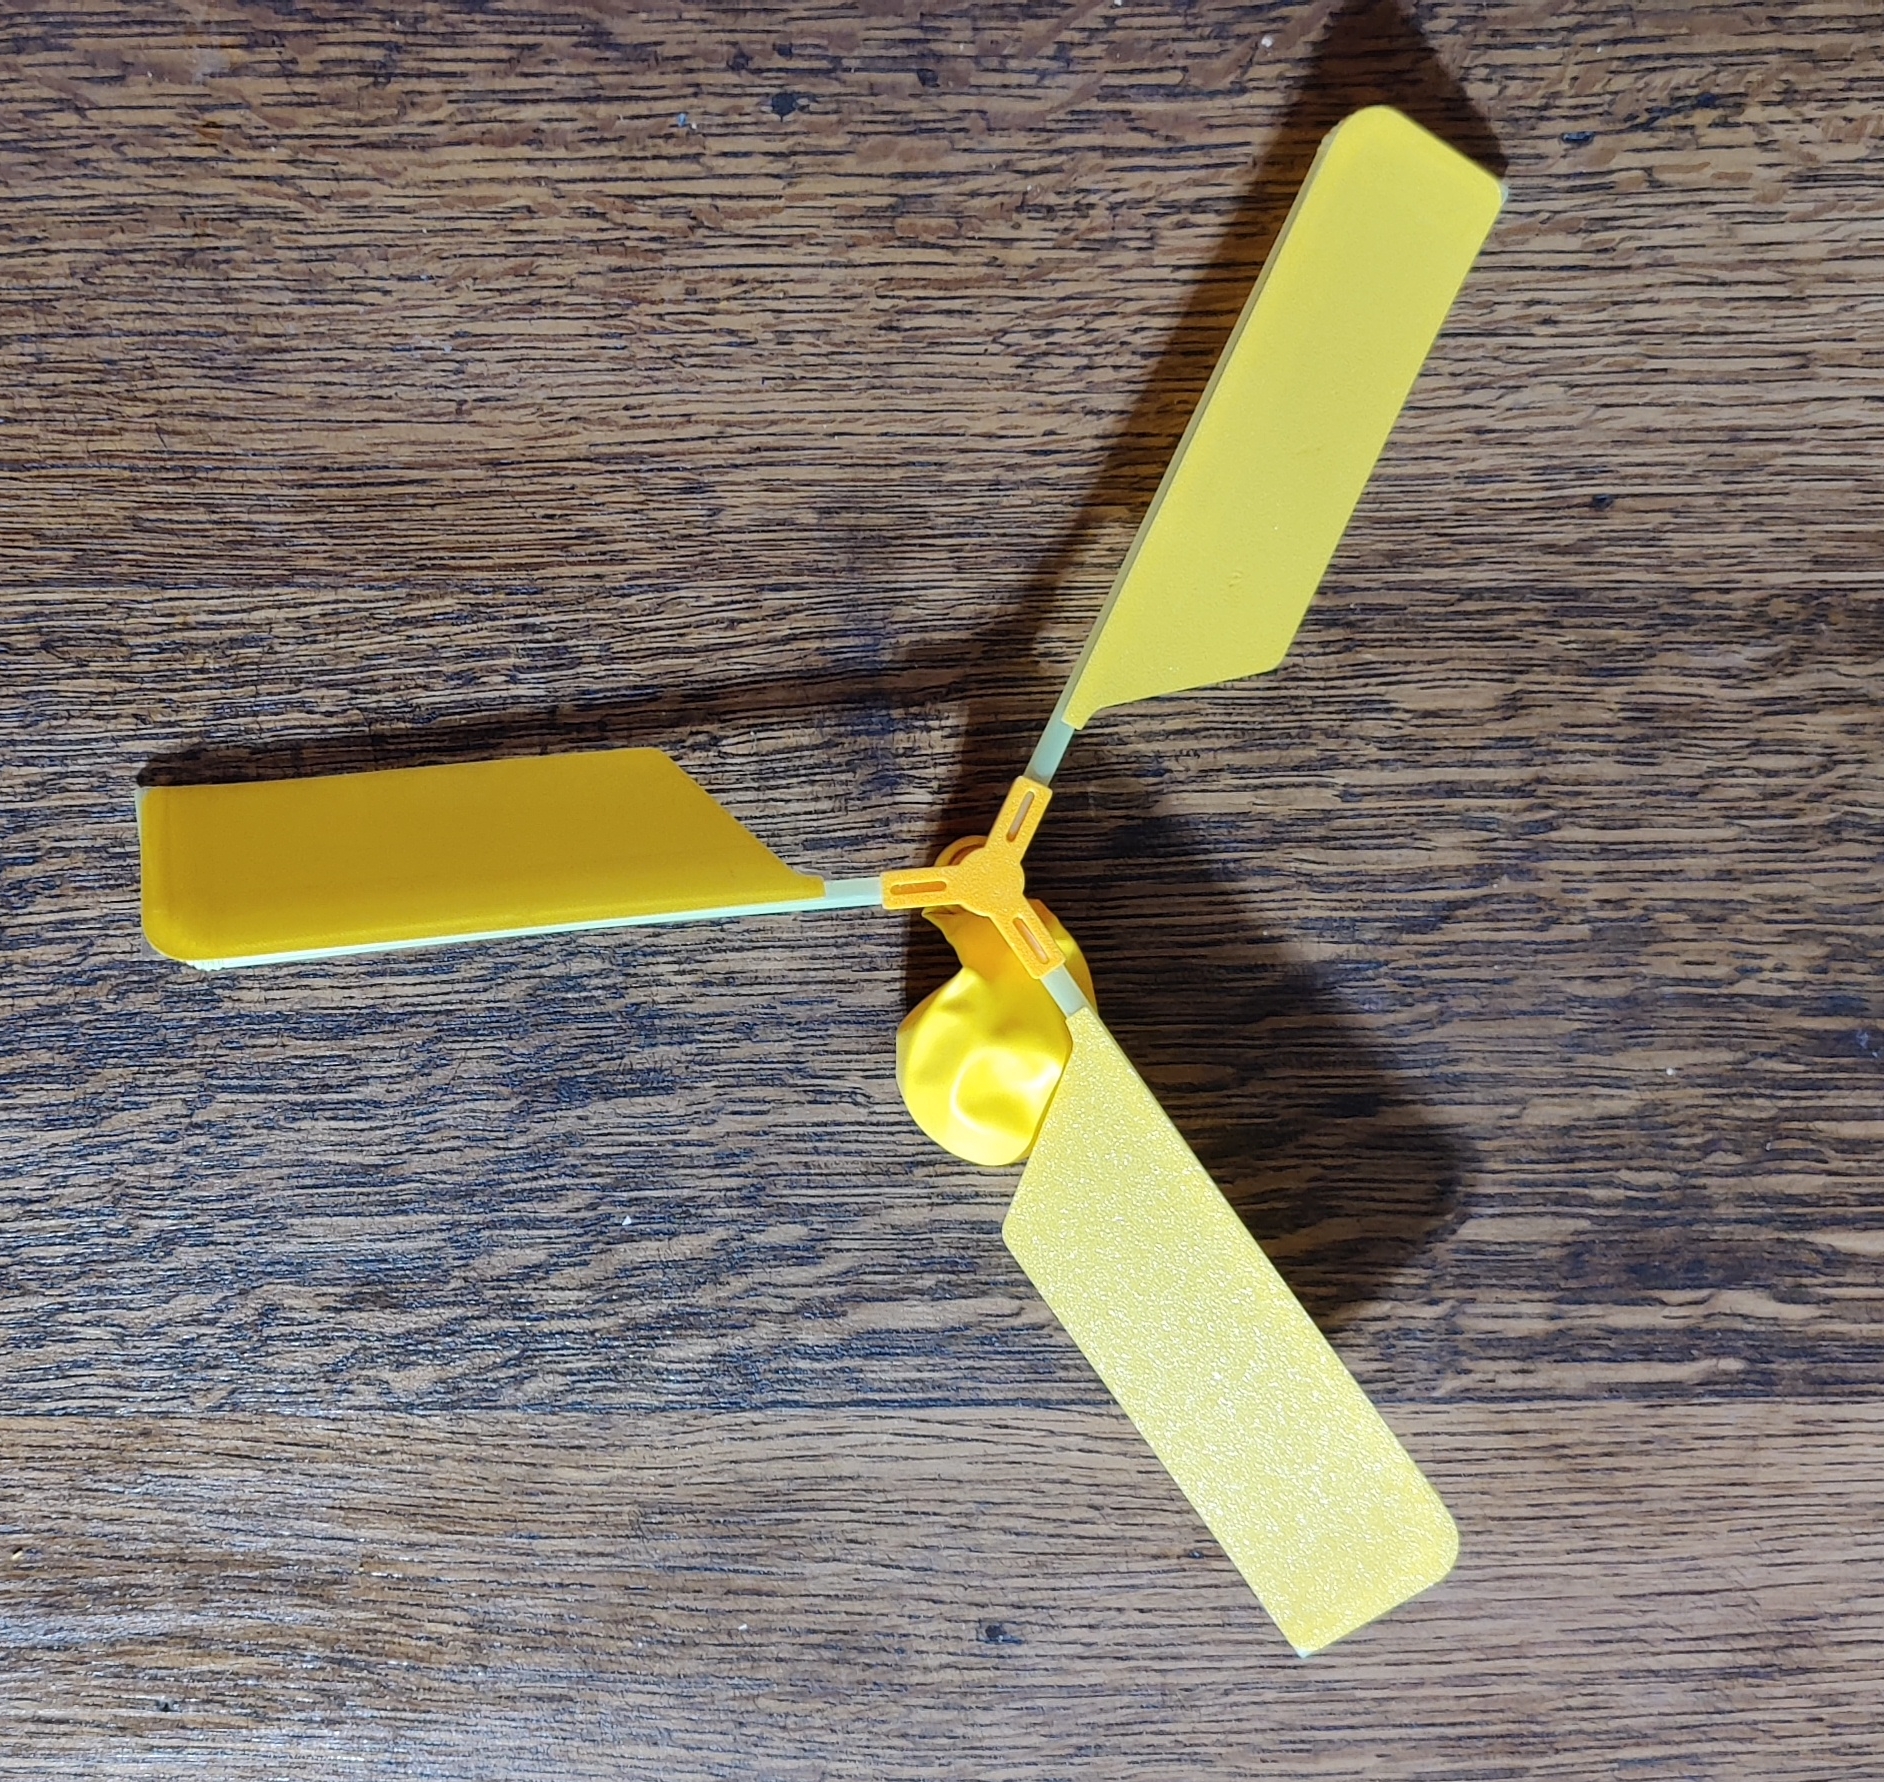
<figure class="media"><oembed url="https://youtu.be/YJkE12AdljU"></oembed></figure><p>This project creates a fun toy/craft to help illustrate the forces of lift, and principles/physics of flight. </p><p>To 3D print the parts it is recommended to have your Z height down fairly low. This should result in the first layer fully squishing together and becoming a solid wing. If you are unable to achieve this you can substitute the 3D printed wings with paper ones using the provided template. </p><p>For a quick print time I used 0.35mm layer height, with no supports required. I used PETG, but this should work in most materials. </p><p> </p><h3><i><strong>Required Materials:</strong></i></h3><figure class="image image_resized" style="width:50%;"><img src="https://media.printables.com/media/prints/276366/rich_content/7f1ec641-1c7e-462d-b564-255da11b45bc/picture9.png#%7B%22uuid%22%3A%2278de37e0-f33a-4de6-854c-e80344b1ac31%22%2C%22w%22%3A1701%2C%22h%22%3A1570%7D"></figure><h4><strong>3D Printed Parts</strong></h4><ul><li>1X Nozzle </li><li>1X Rotor </li><li>3X Wing</li><li>1X Balance Ring (optional adds additional weight)</li></ul><h4><strong>Off the Shelf Components</strong></h4><ul><li>3X Bendy Straw with Diameter of approximately 5mm (most straws should work)</li><li>Double Sided tape</li><li>Balloon (smaller balloons work better for lift I used a balloon smaller than 7in)</li></ul><p> </p><h3>Build Instructions:</h3><ul><li>The fit between the nozzle and the rotor is extremely tight. Insert it several times or hit it with some sandpaper until you have a tight, but removable fit. You don't want air to escape, but you want to be able to remove it. </li></ul><figure class="image image-style-align-center image_resized" style="width:22.29%;"><img src="https://media.printables.com/media/prints/276366/rich_content/7a494ea5-0629-4fa0-b94b-bff837b63513/rotor-and-nozzle.jpg#%7B%22uuid%22%3A%22f5233c61-36cc-4571-a6c0-e99e1637d56f%22%2C%22w%22%3A269%2C%22h%22%3A259%7D"></figure><ul><li>Bend the straws into L shapes. </li><li>Orient the wing so that the straw sits as a letter L above the wing. </li><li>Put double sided tape onto the wing to attach the straw. Trim the straw so that it is flush with the side of the wing. </li></ul><figure class="image image_resized" style="width:41.3%;"><img src="https://media.printables.com/media/prints/276366/rich_content/57827a06-a0a1-42b7-81b0-cb6f42f298e0/wing-assembly.png#%7B%22uuid%22%3A%226d4717d9-e7a5-4f7b-b31f-7e75f2179342%22%2C%22w%22%3A1460%2C%22h%22%3A894%7D"></figure><ul><li> Bend the tip of the straw into a nozzle by pressing it against something flat.</li></ul><figure class="image image-style-align-center image_resized" style="width:16.26%;"><img src="https://media.printables.com/media/prints/276366/rich_content/a4cbc719-f309-406b-b0b6-3951de5fe2ec/wing-nozzle.jpg#%7B%22uuid%22%3A%22813791c4-641c-4f59-8205-4b81276c18d5%22%2C%22w%22%3A195%2C%22h%22%3A259%7D"></figure><ul><li>Insert the straws into the rotor. Make sure the straws are all the way up to the inside wall. Sometimes when you crash the helicopter they will get pushed too far in. Check this if you aren't getting good lift. </li></ul><figure class="image image_resized image-style-align-center" style="width:22.46%;"><img src="https://media.printables.com/media/prints/276366/rich_content/cf38c071-96d9-4c4a-8ca2-10d69b84645f/straws-inserted.jpg#%7B%22uuid%22%3A%22a3249047-97f5-4363-ab7d-b62a9200608b%22%2C%22w%22%3A247%2C%22h%22%3A259%7D"></figure><ul><li>Tilt the wings at an angle. Experiment with different angles to see what gives you the best result. </li></ul><figure class="image image_resized image-style-align-center" style="width:26.77%;"><img src="https://media.printables.com/media/prints/276366/rich_content/89b0150c-79d3-40c4-85d3-9f419ceb7d4e/angle.jpg#%7B%22uuid%22%3A%22e2908134-5c2d-4d50-9109-c219aeef7fce%22%2C%22w%22%3A526%2C%22h%22%3A518%7D"></figure><ul><li>Put a balloon over the nozzle. Blow the balloon up and pinch it closed. </li></ul><figure class="image image-style-align-center image_resized" style="width:23.87%;"><img src="https://media.printables.com/media/prints/276366/rich_content/cd8e0e0f-513d-4034-9dfd-e454a5a55a56/nozzle-and-balloon.jpg#%7B%22uuid%22%3A%226805e581-fffa-4931-8424-dc2d9dc27def%22%2C%22w%22%3A458%2C%22h%22%3A466%7D"></figure><ul><li>Attach the nozzle to the rotor. </li><li>Release! And watch it gracefully fly around. Play with the way you release it, throw it, spin it, drop it. Have fun!</li></ul><p> </p><p>Note: The balance ring is optional. Sometimes you want to add a little weight to keep it flying lower. Most of the time I haven't even used it. If desired place it over the nozzle between the balloon and the rotor. Experiment with different sized balloons, angles, and length of wings. Play with wing material paper vs plastic. </p><p> </p>
With this file you will be able to print Balloon Helicopter with your 3D printer. Click on the button and save the file on your computer to work, edit or customize your design. You can also find more 3D designs for printers on Balloon Helicopter.