Baricuda Extruder for 3D Printing Sugar and Chocolate
thingiverse
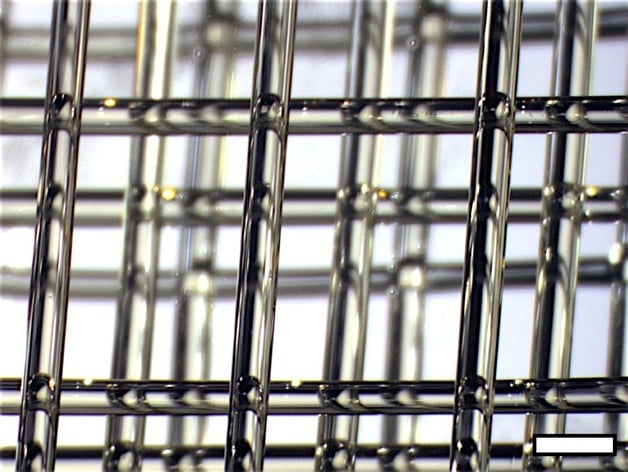
Introducing the Baricuda Extruder for 3D Printing Sugar and Chocolate Derived from the venerable MakerBot MK2 Frostruder, this air-pressure driven extruder ("baric") is a Universal extruder because it adds a Degree Amplifier (yep... temperature) to let you extrude anything. The Source Code and Files are Hosted on Github:http://www.github.com/jmil/BariCUDA We used this to precisely extruder sugar templates for engineering vascular tissues for regenerative medicine research. See the details here:http://www.youtube.com/watch?v=9VHFlwJQIkE You can use it for: 1) Molten Sugar Extrusion 2) Molten Chocolate Extrusion 3) Molten PLA and ABS and other experimental plastics Extrusion 3) Molten Extrusion -- This is a Universal Extruder! Any thermoplastic material can be extruded. You are only limited by your motherboard and the number of MOSFETs you have (for control of pneumatics just like the Frostruder). Operation is IDENTICAL to the Frostruder, you just need to add a heating element and thermistor for temperature measurement. Instructions UPDATE 2: HOW-TO ASSEMBLE Visual instructions posted on my flickr:http://www.flickr.com/photos/19255751@N00/sets/72157631469935204/ UPDATE: My Z-idler files are now posted at the request of bill20r3. NOTE: Sugar and Chocolate precision extrusion should be controlled NOT by precision of air pressure (which is hard) but instead by precision of temperature (which is easy). Temperature controls viscosity which controls extrusion rate at a given temperature. The temperature to use depends on the material properties of your extrudate (read: the sugar). But you want around 100 úC extrusion for this type of sugar glass you can make at home (you DON'T need the cream of tartar):http://www.wikihow.com/Make-Sugar-Glass Chocolate is just as easy -- but don't use water! Chocolate and water don't mix.RepRap does not support such a large extruder by default. You may need to first 3D print the additional Mendel vertices to widen the top of the Mendel so you can fit this extruder in there easily. Get a Frostruder MK2 (you need the rubber stopper, tubing, and pneumatic solenoids) Lasercut these new parts out of 1/4" MDF or other RIGID wood. It has to be really really stiff. 3D print the RepRap holder for the extruder Get the bolts, nuts, washers, and aluminum standoffs you need. I recommend locking nuts so that the fitting is tight. Assemble and WIN! NOTE: There's no BOM because it will depend on the thickness of the material you laser cut. I used 1/4" MDF and 50 mm screws with 25 mm aluminum standoffs. You should be able to figure it out by looking at the images in this Thing. But the idea is you take the stopper clamp and top clamp and put the glass syringe in (I use Air-Tite.com). Then you wrap in foil and then wrap in nichrome and affix your thermistor. Then you put the stand-offs in and get the spacing you want with one or more spacer clamps. Then you should be all set. I use one stopper clamp, one top clamp, one spacer clamp, and one bottom clamp. The bottom clamp has the holes that affix it to the x-carriage on the RepRap. If you use 1/4" MDF it will be stiff enough to support the entire BariCUDA Extruder even while extruding. We have been using this design for more than a year and half with no problems. Enjoy!
With this file you will be able to print Baricuda Extruder for 3D Printing Sugar and Chocolate with your 3D printer. Click on the button and save the file on your computer to work, edit or customize your design. You can also find more 3D designs for printers on Baricuda Extruder for 3D Printing Sugar and Chocolate.
