Barn Door Floor Guide and Track System
thingiverse
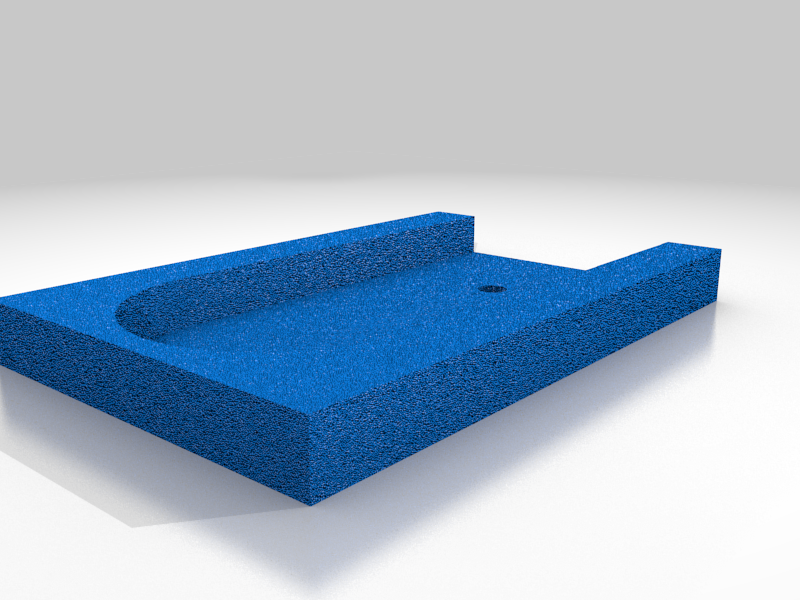
# Note • This is for 1.5” doors • This is not the overhead track, which is the main way barn doors work • This goes on the bottom of the door and may require some modification based on how your door is dimensionally from the floor o Our door was ~0.5” inches from the floor, if yours is similar, it may work! Otherwise, some modifications may be required • The scale may be a bit weird, be sure to double check before printing! # After printing 1. Take door off overhead barn door track system if already hung 2. Lay out track sections and ends where the installation will occur 3. Double check the following prior to screwing anything in: a. Is the track in an area of any foot traffic (“will I stub my toe at night”)? b. What is the clearance to door jamb / trim? c. What is the clearance to the wall? 4. Screw guide to the bottom of the door a. Note: additional planning and forethought required for accurate installation, dependent upon your specific requirements 5. Re-hang door with newly attached guide a. Note: the track is not screwed to the ground yet; further adjustment is required 6. Using a level, make the guided door level and adjust the tracks on the floor as required to maintain door level through entire length of travel a. Mark required screw location for floor track with pencil or masking tape if possible 7. Remove the door from the overhead track again 8. Screw in the track to the floor using the position marked in step 6 9. Re-hang the door 10. You are done, enjoy your door track system!
With this file you will be able to print Barn Door Floor Guide and Track System with your 3D printer. Click on the button and save the file on your computer to work, edit or customize your design. You can also find more 3D designs for printers on Barn Door Floor Guide and Track System.