Base Clip needed for Print-in-place Iris Box when printing it large
thingiverse
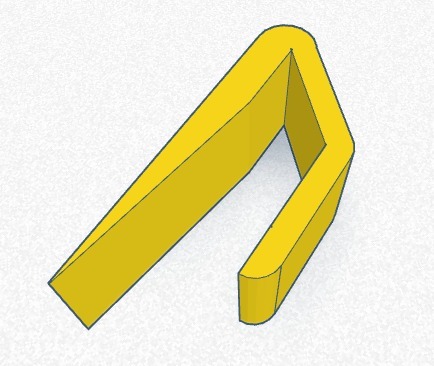
Technically this is not a remix of the brilliant Print-in-place Iris Box by LoboCNC. Just a required minor addition for it when printing much larger than 100% size. I originally printed LoboCNC's Iris box at the standard 100% size and found it to be too small to really use as a useful storage container and i also found he iris leaves and the outer sphere of the print were just too thin at the standard size, so i scaled it up. The Y Axis of my printer has a max size of 145mm so that was as large as i was able to print. I scaled the file to 220% which gave me a size of approx 140mm in the X and Y direction. I also had to print at 0.3mm layer height for it to print properly at this size because scaling it up that much made the internal gaps larger and the start of the rotating outer section would fail at any smaller layer height (due to too many layers of gap below it). The other issue with printing larger is that the outer rotating sphere is very loose (once again due to all tolerance gaps being made larger with the scale). Because of this and the weight of the iris leaves the box would not say closed and would simply fall open when letting go of the outer sphere. These clips stop this from happening by taking out the looseness of the outer sphere and putting some friction between the bottom base ring and the rotating outer shell, enough that the sphere wont twist accidentally, even when being jostled of knocked, but still opens and closes very easily when you twist it by hand. Also please note that this clip is sized to work with the Iris Box when printed at 220% scale, if you print your iris box at a larger scale again, then you will need to scale these to match! You can either print 3 clips and have them spaced around the base ring every 5 bumps, or you can print 5 clips and have them spaced every 3 bumps, it doesn't seem to make any difference to the operation, just personal preference i suppose. The clips just need a tiny smear of super glue on the inside then slide over the base ring and hold in place for 10-20 seconds. I would also recommend NOT twisting the box for an hour afterwards to make sure the clips are well and truly glued firmly into place before using it. Here are a couple of video's showing the iris box at 220% before and after fitting the clips: Before - https://www.dropbox.com/s/fzod8jhfyyy202y/20170715_195505.mp4?dl=0 After - https://www.dropbox.com/s/zy4ymwdvfzu028u/20170716_013324.mp4?dl=0 I would also add that, the iris box really does benefit from being printed larger, it feels so much more sturdy and substantial. ENJOY! :-)
With this file you will be able to print Base Clip needed for Print-in-place Iris Box when printing it large with your 3D printer. Click on the button and save the file on your computer to work, edit or customize your design. You can also find more 3D designs for printers on Base Clip needed for Print-in-place Iris Box when printing it large.