Bat Signal LED Flashlight
thingiverse
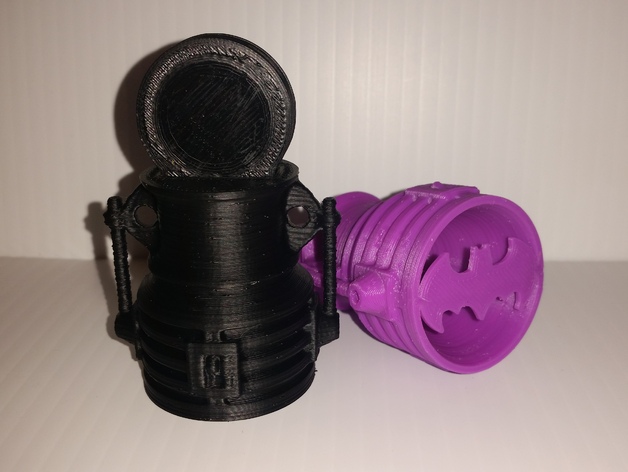
This remix features dalpek's Bat Signal with a built-in small LED push button light. To achieve this, I utilized the inner chamber of the motorcycle keychain flashlight and swapped the original bat signal for another one that's proportionally bigger. UPDATE 6/5/2016: I added a generic signal sketchup file to help create personal bases. Modify the disk group inside the base, then use the STL plugin to export both groups as a single STL file. Use NetFabb after export to refine it prior to slicing. Post-Printing Instructions Assemble the Flashlight: Feed 5mm LED leads through battery holder holes with positive leads facing downwards. Force leads into bottom slots using flat-head screwdrivers. Secure leads short of chamber openings and place a CR2032 battery inside with positive side down. Add a ring around the battery to prevent accidental activation. Slot aligns with negative lead, click it in place. Assemble the Bat Signal: Clean holes for protruding LEDs to fit into main units perfectly. Test-fit the flashlight; it might require some sanding due to tight spaces. Apply super glue once assembly is possible and let dry after sliding the LED into slots. Replace the Battery: Use a paper clip to pop out battery buttons through small holes at bottom of the unit.
With this file you will be able to print Bat Signal LED Flashlight with your 3D printer. Click on the button and save the file on your computer to work, edit or customize your design. You can also find more 3D designs for printers on Bat Signal LED Flashlight.