Battery Blocker Blocky Block
thingiverse
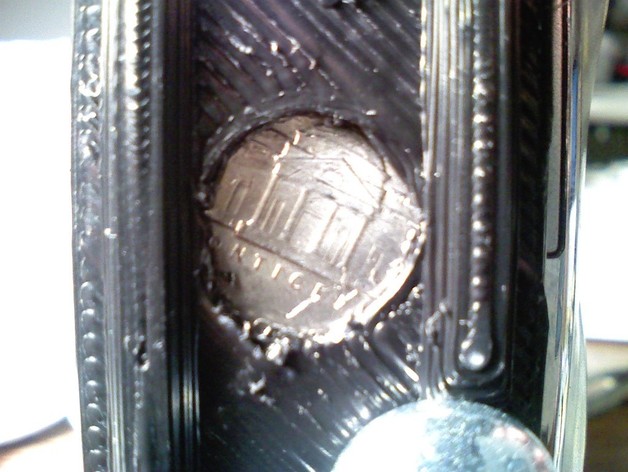
A customer brought in a broken Fuji camera with a detached battery door and a faulty interface where the door connects. As a maker at a camera store, I considered creating a solution using my 3D printer. Due to the unavailability of replacement parts for this specific model, I designed a print that incorporates a nickel as a non-removable core. However, this method requires careful attention during printing to prevent plastic gobs from forming and interfering with the process. The nickel version adds an interesting quirk, but an alternative file is provided without the nickel if preferred. After printing, insert a 1/4-20 3/4" bolt into the bottom of the print and spin it to secure the battery door in place. Adjust as needed for specific camera models.
With this file you will be able to print Battery Blocker Blocky Block with your 3D printer. Click on the button and save the file on your computer to work, edit or customize your design. You can also find more 3D designs for printers on Battery Blocker Blocky Block.