Beading Loom
prusaprinters
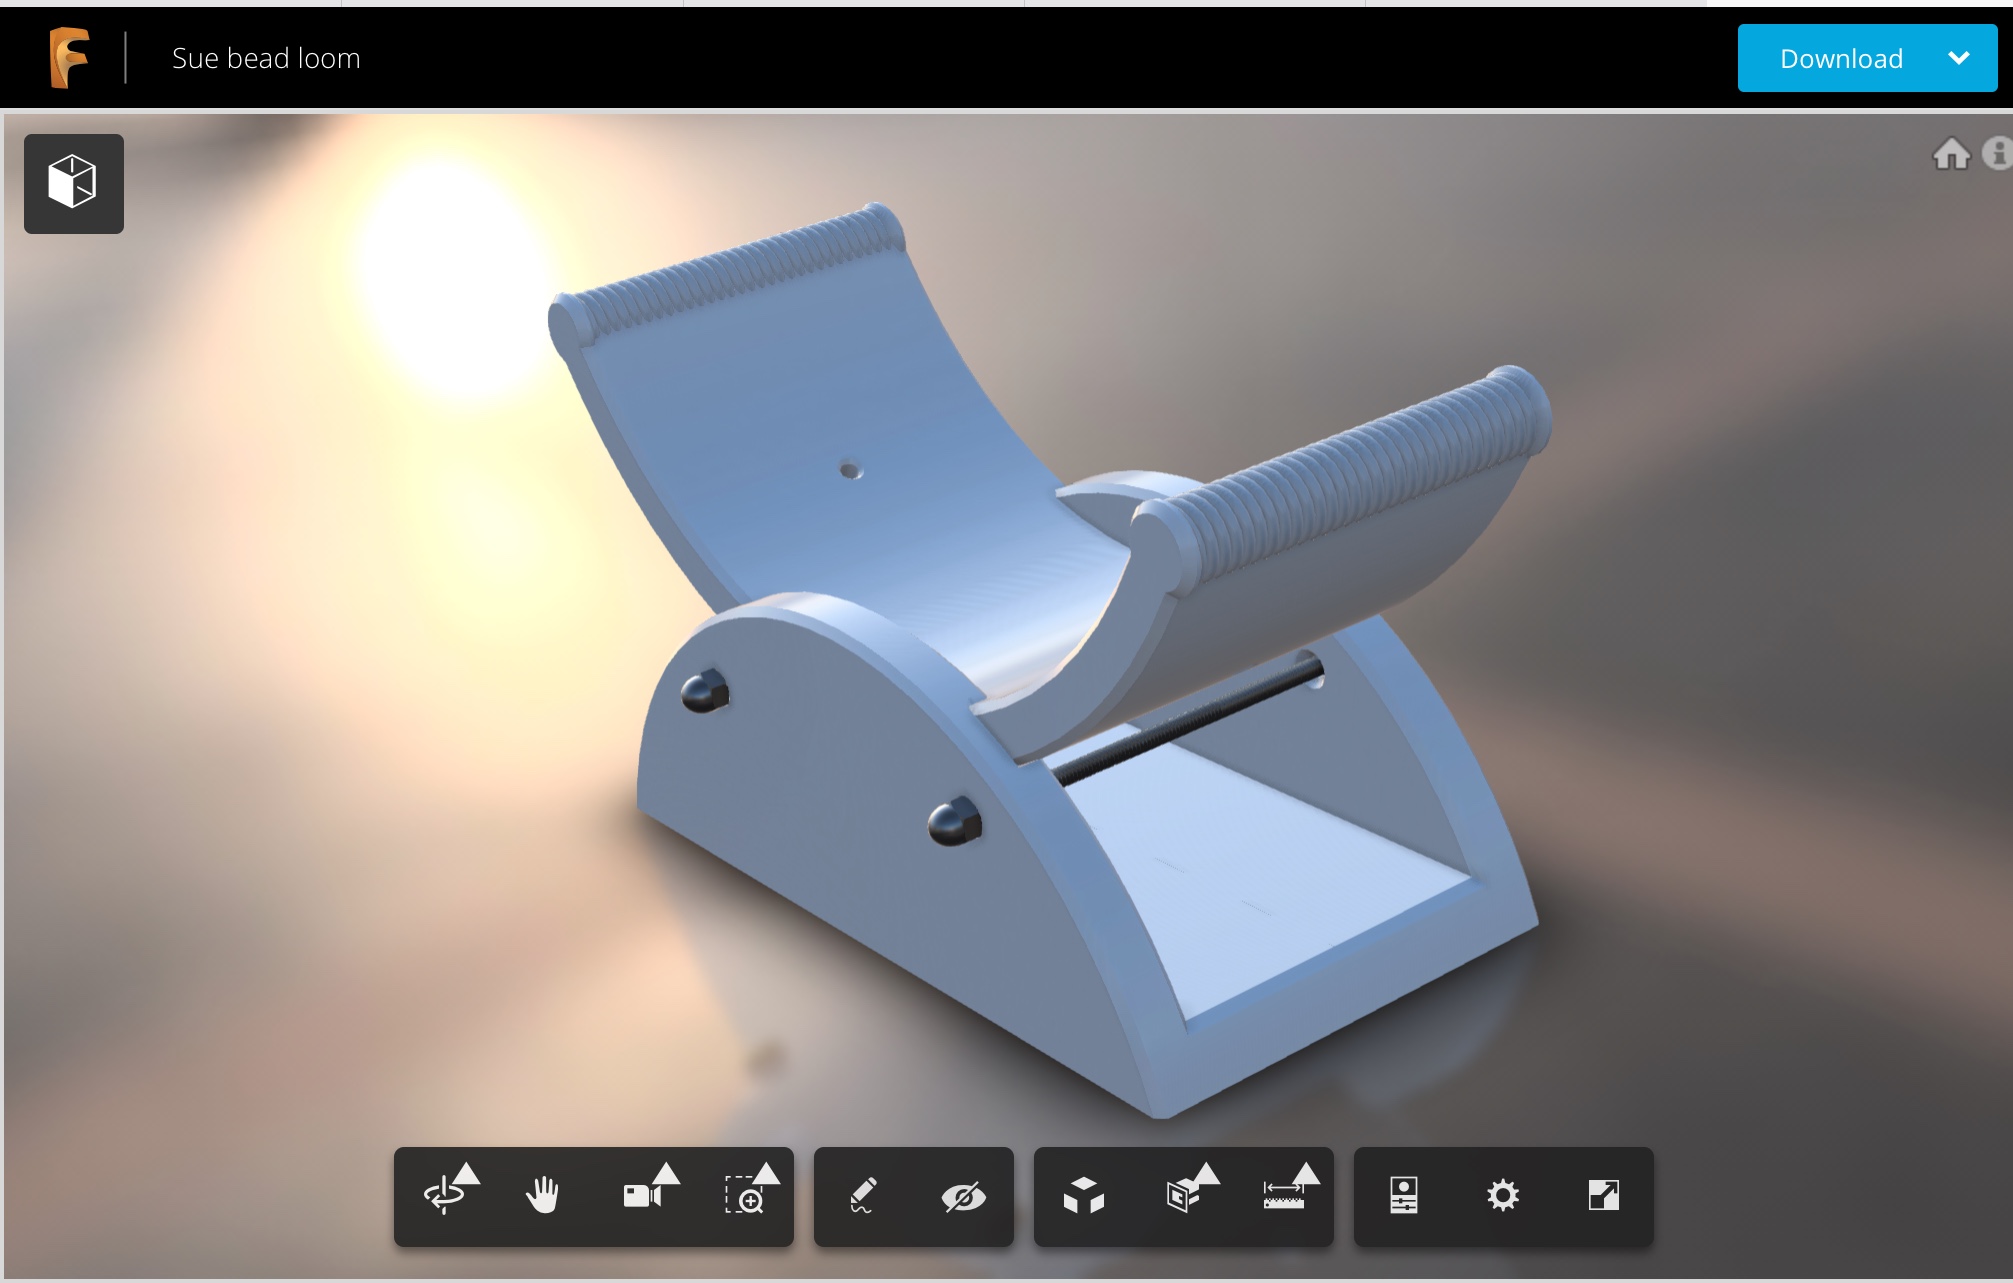
<p>A beading loom for bracelets. Although it is still listed as work in progress it has been printed and has been in use to produce bracelets. There may be some minor tweaks but it is basically finished.</p> <p>A360 link to view 3D model rendering<br/> <a href="http://a360.co/2HpadkA">http://a360.co/2HpadkA</a><br/> Peg<br/> <a href="http://a360.co/2sDRsX5">http://a360.co/2sDRsX5</a></p> <p>Updates:<br/> Small tweaks have been made to the base parts.<br/> Cap nut key uploaded.<br/> The storage trays have been uploaded.<br/> I have uploaded a narrower mid tray..it was a bit tight when putting lid on.</p> <p>I will post more finished photos later. It may be difficult to understand how all they pieces fit together. It will be easier if we try to explain in a video that will be posted when done.</p> <h3>Print instructions</h3><h3>Category: Art Tools Print Settings</h3> <p><strong>Printer:</strong> Anet A8</p> <p><strong>Supports:</strong> No</p> <p><strong>Resolution:</strong> 0.2</p> <p><strong>Infill:</strong> 15%</p> <p><strong>Notes:</strong></p> <p>I used PLA/PHA, but PLA should be fine. It is fairly solid with 3 walls.</p> <p>The pegs and key should be 100% infill and PLA works best. Or you could just use wooden golf tees if you like.</p> <h3> Post-Printing</h3> <p>Threaded rod will hold the base together. You can put packing tape on the base bottom to act as a hinge.</p> <p>The rods are #10-24 127mm long x 2. I used cap nuts and will include an stl for the custom key. Use #6-32 cap screws to fasten the loom as a lid on the trays. They can be glued into the loom knob with CA.</p>
With this file you will be able to print Beading Loom with your 3D printer. Click on the button and save the file on your computer to work, edit or customize your design. You can also find more 3D designs for printers on Beading Loom.