BearEXXA Delta P V2-R2 for Dragon Hotend with Collet
prusaprinters
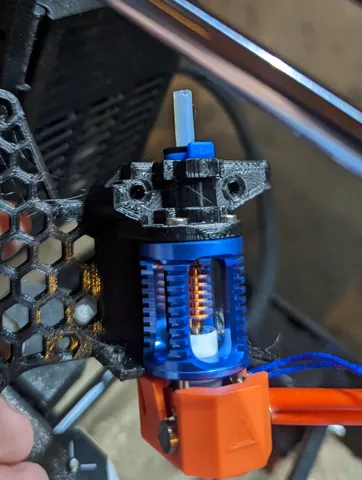
This re-adds the collet from the Dragon hot end back to the mounting hardware. This should help keep the PTFE tube nice and flush against the top the hot end and prevent it from pulling out when removing filament.The collet isn't too difficult to remove from the original groove mount, just be careful not to bend any of the tabs too far. The geometry in this model is copied from there, so it should fit snugly. Remember to calibrate your extrusion multiplier!You can find the geometry in the f3d file and in the second picture if you would like to copy it to other models.I recommend cutting the PTFE tube flat and square on the bottom when using this for the best seal. Also you must trim the collet clip (or use the one printed with the BearEXXA set) in order to make sure the clip is flush with the top of the collet.To assemble:Insert the collet into the top of the part. It should move up and down and spin freely.Push the PTFE through so at least 3mm is exposed on the bottomPush the hot end against the PTFE while pulling the collet down against the part. This will allow the PTFE to slide up.Mount the hotend to the part via the M2.5 screws. Be sure to tighten two screws across from each other first to evenly push the hotend against the PTFE.Push down on the PTFE and insert the collet clip. Trim any clip that goes above the top of the collet.Apply pressure down on the PTFE (try not to crush it) in order to ensure the seal is firm.
With this file you will be able to print BearEXXA Delta P V2-R2 for Dragon Hotend with Collet with your 3D printer. Click on the button and save the file on your computer to work, edit or customize your design. You can also find more 3D designs for printers on BearEXXA Delta P V2-R2 for Dragon Hotend with Collet.