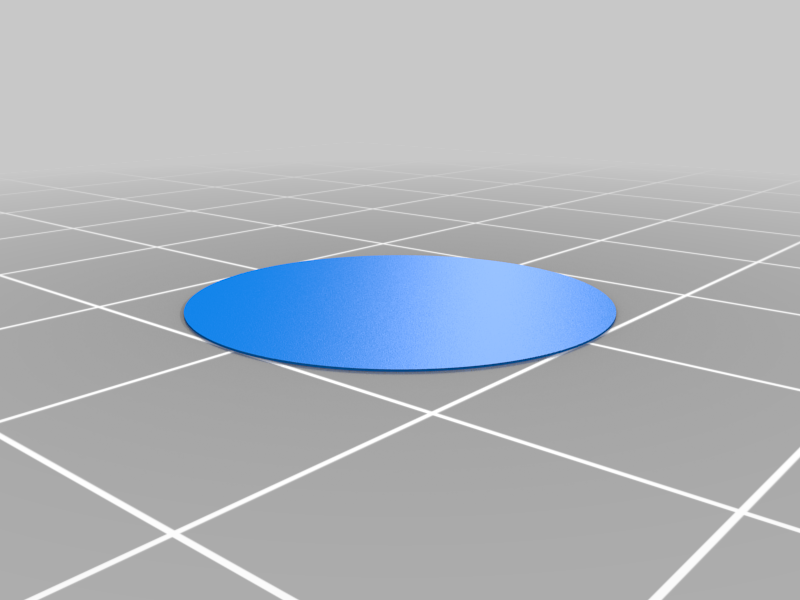
Bed Level and configuration - single layer disc and instructions
thingiverse
A simple test to check the Nozzle height following a bed level and mesh config that takes only a few minutes to print. Following the process below I can print on glass without adhesive using PLA or PETG. Your mileage may vary... The single disk file can be opened multiple times in Cura and placed on bed as required for checks. I put 1 in each corner and 1 in the center, the example shows a 6th disc in the center furthest from the z screw on my ender 5 as this is a spot Ive found needs attention. CE5_Single_Layer_Disc_5 is the typical layout. I use this as follows, see below for details on each step. 1 Level bed. 2 Calibrate and store mesh adjustments 3 Calibrate nozzle height. Run tests with a warm bed and hotend, I do these at PLA settings (60/205) - the result works still at higher PETG temps (82/230) To Level and configure properly: 1. Level at 4 corners first using a feeler gauge and the bed wheels. For all measurements use a 0.1mm feeler gauge rather than a random piece of paper. Don't let the nozzle come down on the gauge, this just pushes the bed away.slide the gauge under the nozzle after it comes down. Go for consistency here, dont worry too much about height. We want the bed level, we can adjust nozzle height later. 2. Next run mesh leveling - if doing this manually use the gauge in the same way but adjust the bed height on the control board to generate a Z offset for each point. Don't touch the bed wheels. Once done the bed is now level with a set of mesh z adjustments. We should only need to adjust the gap between the nozzle and the bed overall. 3. Nozzle height: I Test by printing 5 x 20mm discs 1 layer thick. 1 disc in each corner and 1 in the center. Use a skirt. Check each disc leaving the others on the bed. Ensure the lines in each disc are fused to their neighbors. this is important - see the pics, use a solid colorful if possible. Hold the printed disk up to the light and see if you can see through or even pull the lines apart. If you see between the lines - the bed is too far from the nozzle. Turn the bed wheel 1/8th of a turn up or adjust your overall Z offset to take the nozzle a little closer to the bed. If these are smeared too thin, bed to close to nozzle - 1/8th turn down, If one disc is out then you missed this in the mesh leveling - sorry to say you will have to go back and correct the mesh, I cheat sometimes and just tweak the appropriate corner but this may not work. So, Loose see through lines, bed is too low. Smeared lines, in skirt or disc, bed too high. This takes a little longer the first time you do it but when you have it down you can get the thing level and calibrated in 15 mins. Checking just means a 5 min test print when you suspect things may have moved. I keep a a set of gcode handy named for each material I print with so I can quickly run a test when needed. Do all calibration and testing at usual bed and hotend temps.
With this file you will be able to print Bed Level and configuration - single layer disc and instructions with your 3D printer. Click on the button and save the file on your computer to work, edit or customize your design. You can also find more 3D designs for printers on Bed Level and configuration - single layer disc and instructions.
