Bed Level Correction for Prusa Mini
prusaprinters
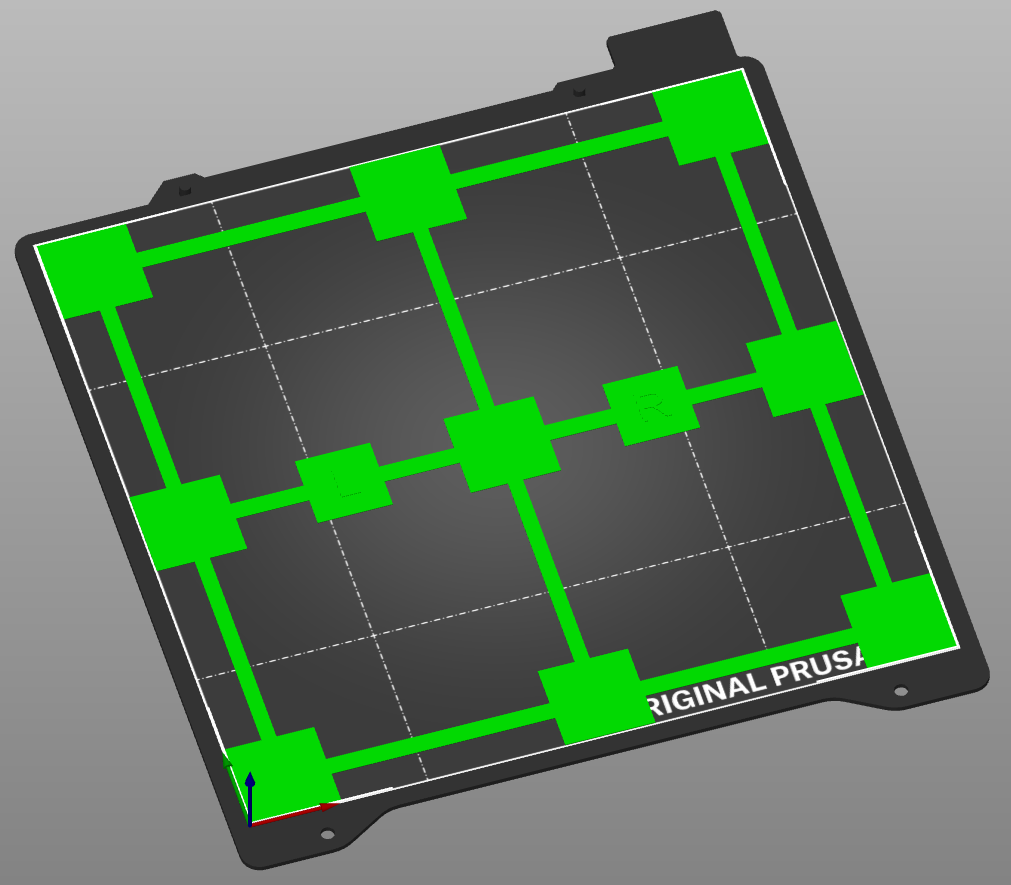
<p>I simply took the STL file from the Prusa Knowledge Base and reworked it to fit the print bed size of the Prusa Mini.</p><p><a href="https://help.prusa3d.com/en/article/bed-level-correction_2267">https://help.prusa3d.com/en/article/bed-level-correction_2267</a></p><h3>Important Information about sheet markings</h3><p> </p><h3>FAQ</h3><h4>Sheet markings not aligned to print</h4><p>The bed level test does not need to be perfectly aligned with the markings on the print bed. Some people stated in the comments that the print is not aligned to the markings on the print bed. This is not relevant for a proper print result. The markings on the sheet are only on the steel sheet, others do not have them at all. They are a reference and if you just move the steel sheet a little before printing they could or could not be aligned ;)</p><p>So just don't care about them at all, if you want to know if everything is in a good 90degree angle, print a calibration cube.</p><p>But lastly, you now know which space of the sheet the printer is printing on ;) I figured out that the print is moved around 2 mm to the right and therefor is not 100% inside the marked steel sheet printing area.</p><h4>Why is this even needed for the Prusa MINI?</h4><p>It has automatic bed level correction as i understood?</p><p>This all started, because I figured out that my z-axis correction is right for one steel sheet side but not for the other :)</p><p>But yes, the automatic bed level correction does a good job. In my case, I found that especially the front corners (left and right) are having problems with adhesion when placing smaller objects there. So I decided to see if I do have a bending/shifting/turning build plate which the automatic bed leveling cannot fully correct.</p><p>To test this, there are two methods (I know about), one is using octoprint or similar to do a bed level visualization or print a pattern like this.</p><h4>Print alignment and angel</h4><p>Another benefit of using this pattern is, that you can see if the print is aligned to the bed and no shifting or turning happening in X and Y axis. As stated above the markings on the sheets are not indicator but a ruler and drafting triangle ;)</p><p>For a perfect fitting you can go with calibration cubes.</p><h4>If Mesh Bed Leveling is not enough</h4><p><a href="https://github.com/bbbenji/PMSBLM">https://github.com/bbbenji/PMSBLM</a></p><p>Instead of relying on a fixed plane which depends on your Y-carriage being perfectly level, the idea is to make it so the heated bed floats on the Y-carriage and allow for very fine adjustments.</p><p>I personally, just filed away parts of the hex screw and added some washers until the bed was “even” enough for my purpose :D</p><h3>Print instructions</h3><p>Print the file with 0.20mm and without a skirt.</p><h3>Update Information</h3><h4>2022-01-31</h4><p>Updated FAQ Section</p><h4>2022-01-25</h4><p>Updated 3mf and gcode files to be alligned with PrusaSlicer 2.4 default settings.</p>
With this file you will be able to print Bed Level Correction for Prusa Mini with your 3D printer. Click on the button and save the file on your computer to work, edit or customize your design. You can also find more 3D designs for printers on Bed Level Correction for Prusa Mini.