Bed level tramming using slide potentiometer
thingiverse
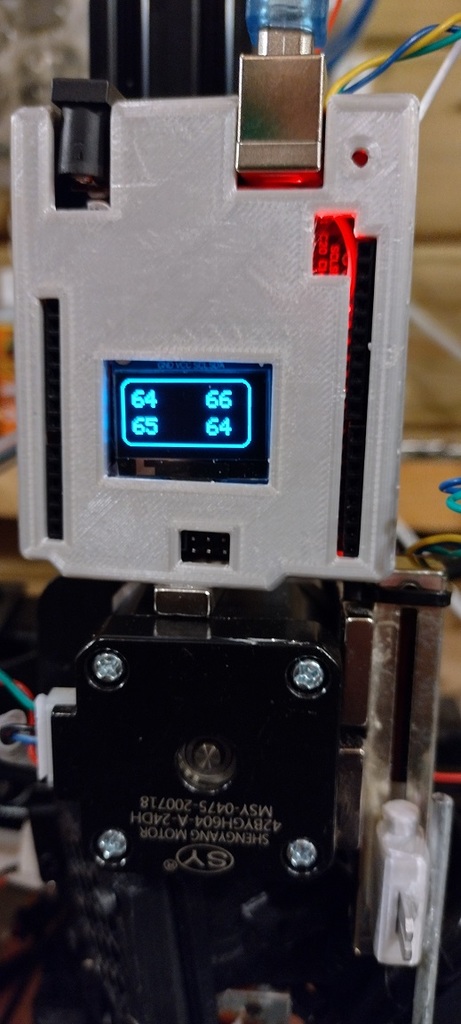
My take on bed level tramming. Using a variable slide potentiometer and a suitable Arduino I was able to display all 4 corner bed height readings on a 0.9" OLED display. See video below. https://www.youtube.com/watch?v=igpE1Km8cso Update I found a slide pot with less friction so a spring return could be used so have included a bracket which can be clamped to the stepper and easily removed. If using this then glue the slide pot to the side of the bracket such that the stylus is below the nozzle by a few mm. Also I printed a guide that screws onto the bottom screw hole of the slide pot and supports keeps the stylus straight when moving. If your printer has bed tramming on the menu and you are familiar with Marlin 2 config.h compiling then you can alter the positions of the stylus on the bed here are mine and I commented out the centre test. #define LEVEL_BED_CORNERS #if ENABLED(LEVEL_BED_CORNERS) #define LEVEL_CORNERS_INSET_LFRB { 0, 60, 40, 0 } // (mm) Left, Front, Right, Back insets #define LEVEL_CORNERS_HEIGHT 1.0 // (mm) Z height of nozzle at leveling points #define LEVEL_CORNERS_Z_HOP 4.0 // (mm) Z height of nozzle between leveling points //#define LEVEL_CENTER_TOO // Move to the center after the last corner Alternatively use or modify my gcode and run that.
With this file you will be able to print Bed level tramming using slide potentiometer with your 3D printer. Click on the button and save the file on your computer to work, edit or customize your design. You can also find more 3D designs for printers on Bed level tramming using slide potentiometer.