Bed Leveling Constant Tension Easy Adjustment Fix for Makergear M2 3D Printer
thingiverse
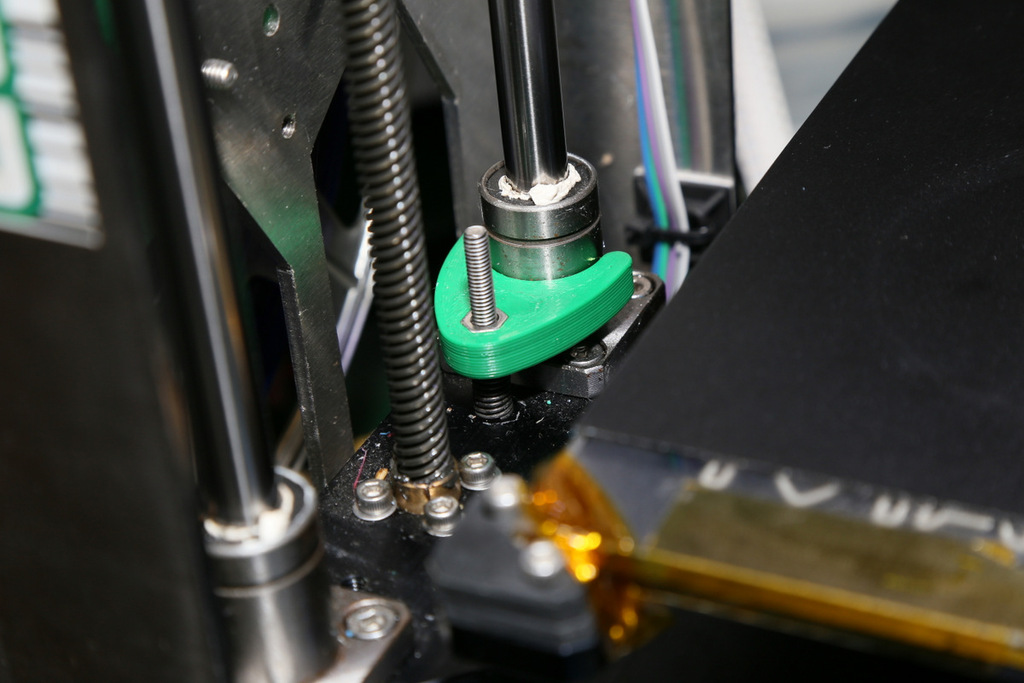
Ahhh!!! The screw lock system that comes standard on the Makergear M2 is anything but fun to adjust. Anyway, this solves that. All you need in addition to the stock bolt and nut is a small spring that fits over the 4mm screw and is between 10 - 20mm long. You preload the spring a little, then insert the nut on top - constant pressure is then applied to the screw holding it in place, fine adjustment is possible with just your hand, and the nut will never turn because of the spring tension and the arm which locks the screw precisely to the side of the linear bearing. This will work great with the stock mechanical switch, but for even higher end stop repeat-ability you should consider buying a $2 optical end stop switch like I have from eBay, see my other files for the 3D printable mount. This combo makes ultra consistent bed adhesion possible. I also recommend putting a drop of Vibra-TITE 213 VC-3, which is a non-drying thread locker. Optical Endstop: http://www.thingiverse.com/thing:1195834 Youtube video covering my various Makergear M2 mods: https://youtu.be/jD6ZTcCd0j8 By - http://www.easybotics.com And - http://hilo90mhz.com
With this file you will be able to print Bed Leveling Constant Tension Easy Adjustment Fix for Makergear M2 3D Printer with your 3D printer. Click on the button and save the file on your computer to work, edit or customize your design. You can also find more 3D designs for printers on Bed Leveling Constant Tension Easy Adjustment Fix for Makergear M2 3D Printer.