Bed Leveling - Ender 3 and the how to do it properly
thingiverse
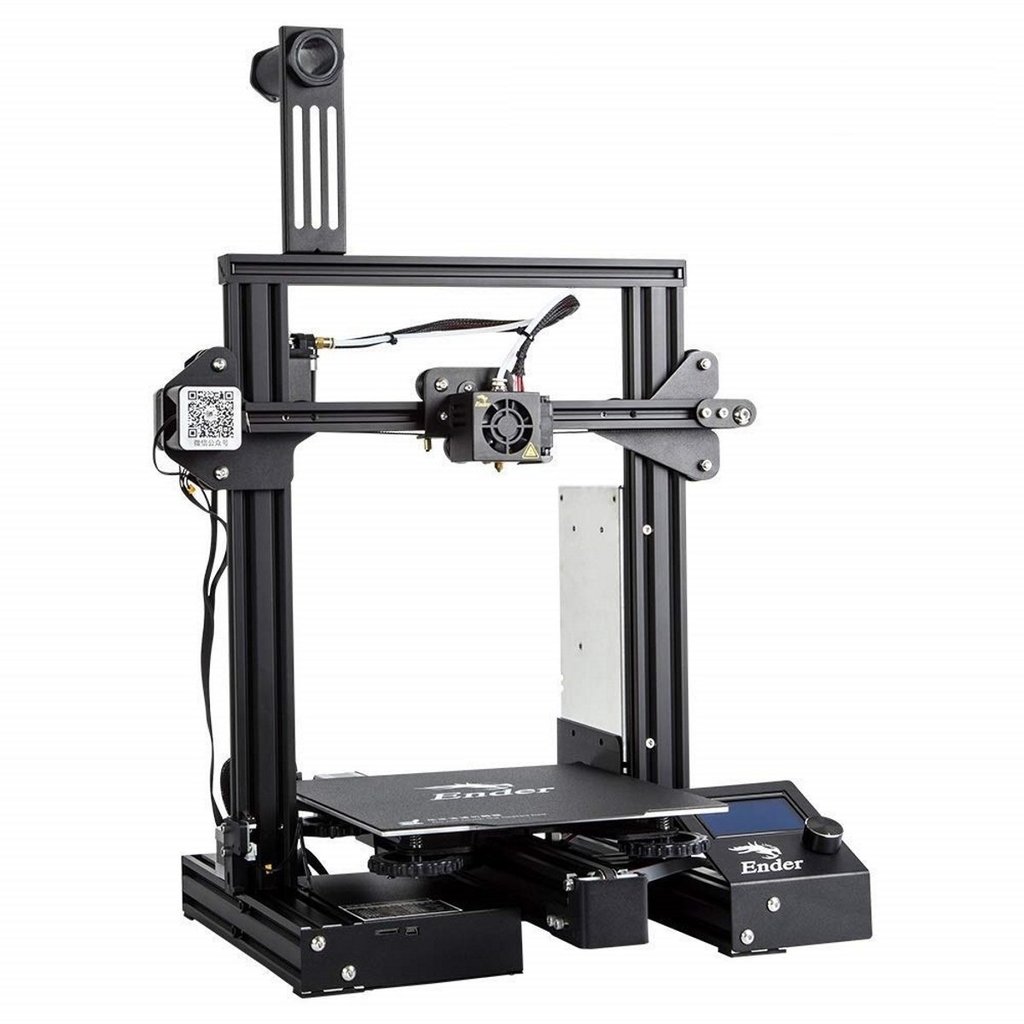
##Intro Having played with elmerohueso's bed leveling test, I adapted the gcode supplied to just do the bed leveling without the printing. ###What I have done From this I created two gcode files * Bed_leveling.gcode which is bed leveling without heating the hot end or the bed * Pre_heat_Bed_Leveling.gcode for pre heating both the hot-end and the bed for general PLA use. **(CAUTION: This does not stop or cool the hot end or bed when finished)** The pre-heat version is intended to be used just before starting a print. I've created the heated version for two reasons: 1. to be able to be more accurate with the measurements when leveling the bed 2. as well as pre-heating the bed when I am about to start a print so that I'm not waiting for it to get started when I push the go button. ###What Is Bed Leveling? Yes, I know most reading this will go "we know already!". However, let's just revisit that for a second. We've all been told to use the paper method to set the bed level gap/height so that the first layer sticks: 1. home the hot end 2. then move it around the bed using a piece of paper to set the gap between the bed and the hot end. Yup, easy right? No not so much based on the feedback I have seen. The instructions have created all manner of frustration with users trying to get it right. Typically the following things happen and create massive frustration: * the 1st layer is so compressed that it's embedded into the bed and the extruder skips. * you get elephants foot prints. * the first layer doesn't stick or it lets go half way through the print. * you get layer shift as it slides or moves. * lots of adhesive used that sometimes means prints won't stick for tall thin prints. * using adhesive because it won't stick but now it won't release when it's done. * and lots of other issues. And those that really have had enough go off and buy an auto bed leveler for their printer and call it a day. But is it? ###What's Wrong With What We Have Been Told? Most of it. * The process of home and move the head around the bed is correct. * However, the rest is off significantly. The basis of 3D Printing is to have the head the layer height away from the bed. 1. when we home the hot end this takes it to X0 Y0 Z0, which is what we expect. 2. Then we move the head around, and using a piece of paper gap the bed to the hot end accordingly. Except. That piece of paper is likely to have a varying thickness and I have seen examples of people using it folded over too. My own checks with a decent vernier calipers showed that on hand paper was between 0.08mm and 0.15mm with a target of 0.1mm for the gap. * What I found is your typical 80gsm photocopier paper is about 0.1mm pretty consistently. * Better still, pop down to your local store with basic tools and buy a $5-10 set of feeler gauges, then you really know. Ok now that we have our measuring device sorted we can look at the process we use, or more correctly have been misusing. When we have been leveling the bed with our piece of paper with a target of 0.1mm we have missed a fundamental that has not been explained. * The point of leveling the bed is to have the print head at Z0 everywhere across the bed. What most people have been achieving is bed level at -0.1mm or if they are doubling up the paper -0.2mm or more. Which when you then go to print for say a 0.2mm layer height, the first layer is printed at Z0.2mm not Z0.0mm so you are printing with a gap of 0.3-0.4mm not 0.2mm And many will respond by manually closing the gap because they know it's too wide but haven't quite understood why. Hopefully that was the penny drop and the light going on. If we are to correctly level the bed, or more correctly gap the hot end to the bed, then we need to move the hot end to a Z distance that we can measure so that we get this right. ##What This Solution Does By setting the hot end at a fixed known height Z0.1mm we can then use a 0.1mm feeler gauge to accurately set the hot end - bed gap to 0.1mm. (you could play with Z0mm but then you're guessing on the height and may be crashing the hot end into the bed) Which then means that when we use a 0.04mm layer height, or a 0.4mm layer height, we have accuracy that the extruded filament is going to be at a rate and volume suitable for the gap we have and we are not going to have as many bed and adhesion issues. Nor are you going to be tweaking it every time you print thinking you're getting it dialed in. ##What's the secret The enclosed files work with a 0.1mm Z height for the bed leveling stops as you go around. This means you can accurately set the gap, and when you print you minimise any errors from elephant foot from being too close or stringing and not sticking from being too far away. ###A few things you do need to have done/checked 1. Make sure your extruder is feeding at the correct rate. My Ender 3 Pro and the upgrade board 32 bit board both needed to be re-calibrated from stock. 2. You may still need to use the initial layer horizontal expansion (Cura) in your slicer to manage any remaining elephants foot. 3. Flow rates for your machine need to be accurate, and you need to ensure you have the interface flow rate at 100% and not reduced or increased from being knocked or inadvertently changed. 4. If you're using the flexible magnetic build tack bed, consider upgrading to a glass bed as the aluminum beds on the Ender's are notorious for not being flat. And better still get the Creality coated one which reduces the need for adhesives as it grips PLA really well when hot but releases easily when cool. ###Hopefully that all made sense. I have been using this for some time, and the revelation of gaping the height correctly made an immediate improvement on print quality. Siku mast included for Thingiverse to accept the upload txt file for those that want something more editable before renaming to .gcode for your printer.
With this file you will be able to print Bed Leveling - Ender 3 and the how to do it properly with your 3D printer. Click on the button and save the file on your computer to work, edit or customize your design. You can also find more 3D designs for printers on Bed Leveling - Ender 3 and the how to do it properly.