Bed Leveling Tool
thingiverse
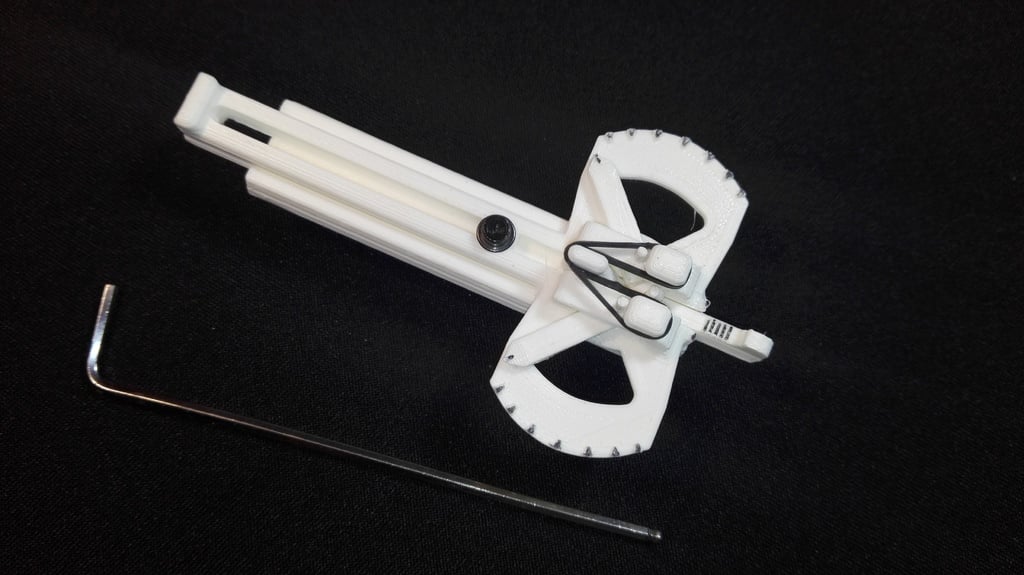
23/07/2018 Today I added another video in which I try to show the extend of accuracy that this tool provide. I did not mention yet. Space between arrows on mirrored wing like scale present 1 mm in reality. They are in aprox. 5:1 ratio. Arrows are most precise in horizintal position. That why I suggest to calibrate bed level in this position. Most of the time I print with 0.5 nozzles. That why objects are designed to fit the resolution of details that 0.5 nozzle can provide. Today I also deleted previous uploaded of not-tested 2020 aluminium profile adapter. From then I was able to find some pieces and test it. It was no good. That why I draw a new one. I printed it with many walls to make it strong. The easyiest way to attach it on (2020 frame) is to rotate it on. That why I cut it and put some fillet from sides. 16/7/2018 This is tool that designed and that I use to level bed when I need to do that on my GEEETech i3 3D printer. It is used for “fast” leveling or cheking if bed is still leveled evenly. Tool is attached to both two 8 mm rods that extruder rides on. Bottom “stick to rod”part of tool is fixed, top one is moveable so it can be adjust if your distance between top and bottom rod is different. After cleaning support from printed parts they all need to be assembled together. I printed them with brim so I had a little more cleaning to do. I also helped myself with small round pile and 1.5mm drill bit for removing support from holes. I used pile ONLY to make fillet and that way the insertion of filament pice to hole axis of moving parts easier. Additonal parts that are needed for assembly are: M3 screw, M3 washer, M3 nut, small length of 1.75mm filament and Ruber band (Loom bands). I used black permanent marker to colour scale stripes. I also uploaded video with useful and not so useful info about this model. I suggest to look at it if you have any dubs or questions... Assembly: “Main Slider.stl” is slided and screwed with M3 15mm long screw on “Base.stl”. (Screw, nut and washer are some of leftovers after assembly of my printer) “Fixed Slider.stl” is slided into “Main Slider.stl”. I used black Loom band on model anchors. “Left Arrow.stl” and “Right Arrow.stl” are fixed on to “Fixed slider.stl” and “Main slider.stl” with 3 pieces of 1.75mm filament. Moveable “Rod Sslider.stl” is slided at back side into “Main slider.stl”. Bump at the bottom part of “Rod slider.stl” prvents it to freely fall from “Main slider.stl”. Parts need to be moved up and down manualy few times to make them run smoothly... I also added some TEST files of moving and snapping parts of the model. Usage: You choose one place of the bed (center or some corner of bed) and attach tool to both rods. Then you uncrew “Main Slider.stl” and screw it back after you move it to the bed so the “Fixed Slider.stl” is pushing against bed and the scale is aligned at some chosen point (picture X). Now all you need to do is to move bed and reattach tool to adjust hight of all for corners of the bed to the same scale point that you choose at previous “calibration” step. https://youtu.be/KKVZionPe8E https://youtu.be/eFlLIdxJpXk
With this file you will be able to print Bed Leveling Tool with your 3D printer. Click on the button and save the file on your computer to work, edit or customize your design. You can also find more 3D designs for printers on Bed Leveling Tool.