Begode Master Bushing Stabilizers
thingiverse
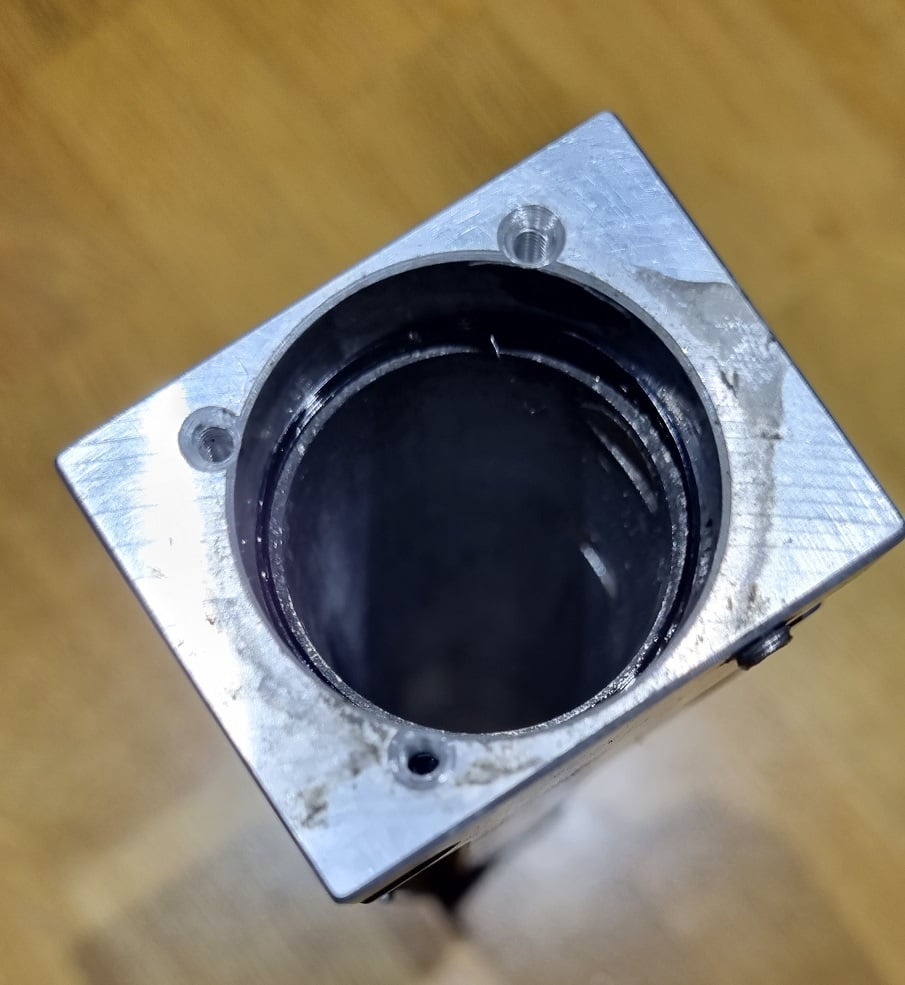
<strong>2023-01-25: Adjusted the upper stabilizer from the previous 2.75mm height to the new 2.5mm height, individually they work great but when both sliders are connected via the suspension bridge the 2.75mm tends to add friction due to poor tolerances in the whole suspension system on the Master and 2.5mm height adjustment should provide a workaround for that.</strong> The Master suspension has a lot of tolerance between the bushings and the pipe that they move on causing the suspension to feel "loose", Begode has added 4 small screws that you can adjust to tighten the bushings against the pipe but these are problematic for a couple of reasons: 1) It's difficult to adjust all 4 of these screw perfectly, if you tighten them to much it will cause friction and suspension will be noticeable more stiff 2) The screws push the bushing from one direction making it oval and also risk damaging them. These "stabilizers" is a ring that pushes the bushing from all directions and I've measured and tested them so that the bushings are as tight as they can be without adding friction. This was an original idea by Emanuele "EMA" Tomasello who made a similar 3D design however I found that those did not work so well for me but I was intrigued by the idea so I measured my wheel and did a lot of tests, for one thing the upper and lower bushings need different sizes as the lower bushings are pushed in with countersunk screws while the upper ones are held in place by the suspension bridge giving them different tolerances, these stabilizers are also slightly bigger than the ones EMA made, the upper one is 2.5mm in height while the lower one is 1.5mm, both are 34.2mm in diameter and 0.75mm thick but gradually getting smaller from one end to the other. <strong>Printing and installation:</strong> Tolerances are important here, print in TPU 95A and make sure your flowrate is well calibrated, print with 0.25mm layer height and 0.5mm line width, metric precision is important. Print 2x of each stabilizer (2x upper and 2x lower). Install with the wide side of the stabilizer facing inwards towards the suspension away from the bushing, the thin side should interface with the bushing, see the illustration. After installing this you don't need to use the bushing screws, put some loctite on those and don't tighten them.
With this file you will be able to print Begode Master Bushing Stabilizers with your 3D printer. Click on the button and save the file on your computer to work, edit or customize your design. You can also find more 3D designs for printers on Begode Master Bushing Stabilizers.