Benbox laser Z PCB drill
thingiverse
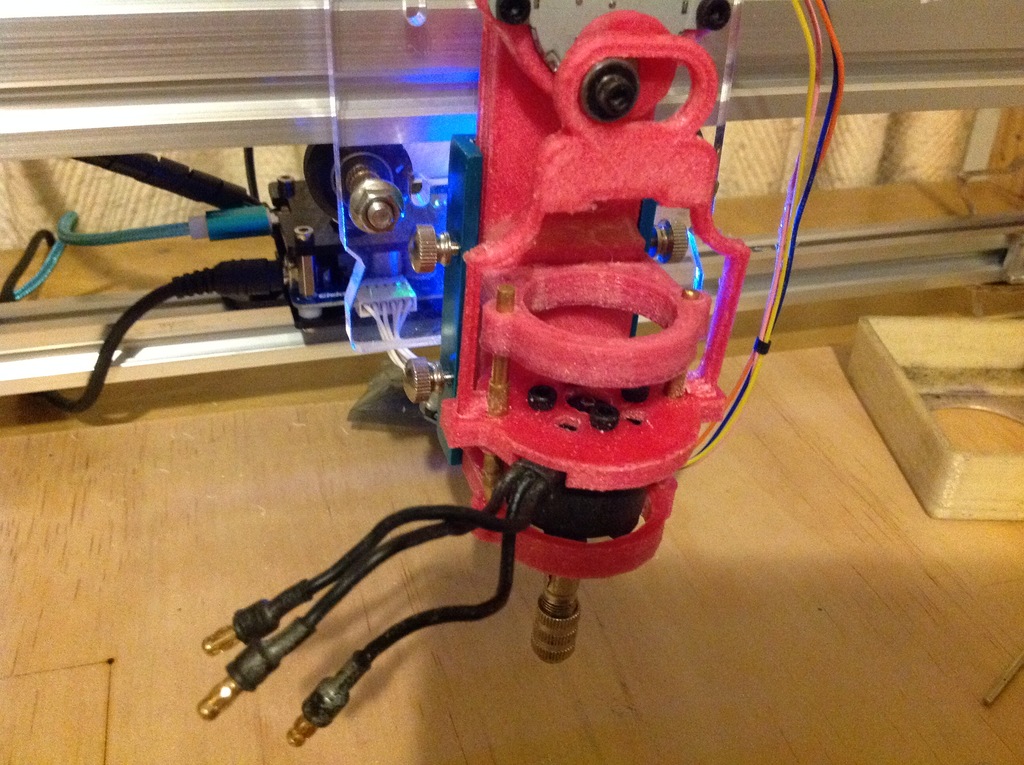
Simple and light z axis for eleksmaker laser chassis, will need a 3 axis controller retrofitted. Uses a 28BYJ-48 motor for Z motion and a motor from an el-cheapo 3.6V engraver I had lying around with a dead battery. Axis sliders are 50mm each of 1/8 brass rod I had as well and 25mm of a larger tube that snug fit over it, outside diameter is 4mm, I melted the rods into the ends and tubes into the "motor mount". A single bearing is used to act as a cam, a 3x10x4, could probably just print a circle to do the job. The cam was also designed to have a brass 3mm insert melted into it to act as the bearing spacer. Total motion is 10mm, I am using the supplied LM2003 for testing as motor is still unipolar 5 wire, will be removing the centre wire and cuttng the track internally to make it a bipolar and using it with an extra Pololu as a Z axis on grbl. assembly.stl shows the parts orientation, kit.stl should print a full kit (untested) rsdocs.zip contains the designspark mechanical buld files if you want to modify anything. Hot melt glue was used to attach the slider to the bracket instead of a more permanent glue, also a couple of blobs of hot melt on the end of the cam_follower hold it to the motor mount. My motor is 12v and needs around 2044 steps/rev. ----------------------------------- VERSION 3 files added, after some testing I found the original low voltage motor had insufficient torque drilling and was badly balanced. So I dismantled everything and reassembled with an old DJI drone motor, I had to turn the prop thread down to 5mm and drilled and tapped the same collet assembly from the low voltage motor which now screws to the 5mm thread. Surprisingly it is fairly straight. Hardware mods mean I now needed a different mount plat for the motor bottom and a larger hole in the bottom 'brace' to allow the motor to pass through, so added the 2 new parts. (photo of it fitted above with the brushless motor) I used the existing 'cam follower' part but snipped off the bottom nug and filed it down to fit in the 4mm square hole on the motor bottom part. Plan is to use the standard 30A ESC from the 12V rail and feed the servo from the servo connector on the Eleksmaker Mana SE board, however grbl will need some hacking to produce a suitable servo signal, I may find it easier to generate a servo pulse on a completely unrelated and unused pin. temporarily I can spin up the motor with a servo tester.
With this file you will be able to print Benbox laser Z PCB drill with your 3D printer. Click on the button and save the file on your computer to work, edit or customize your design. You can also find more 3D designs for printers on Benbox laser Z PCB drill.