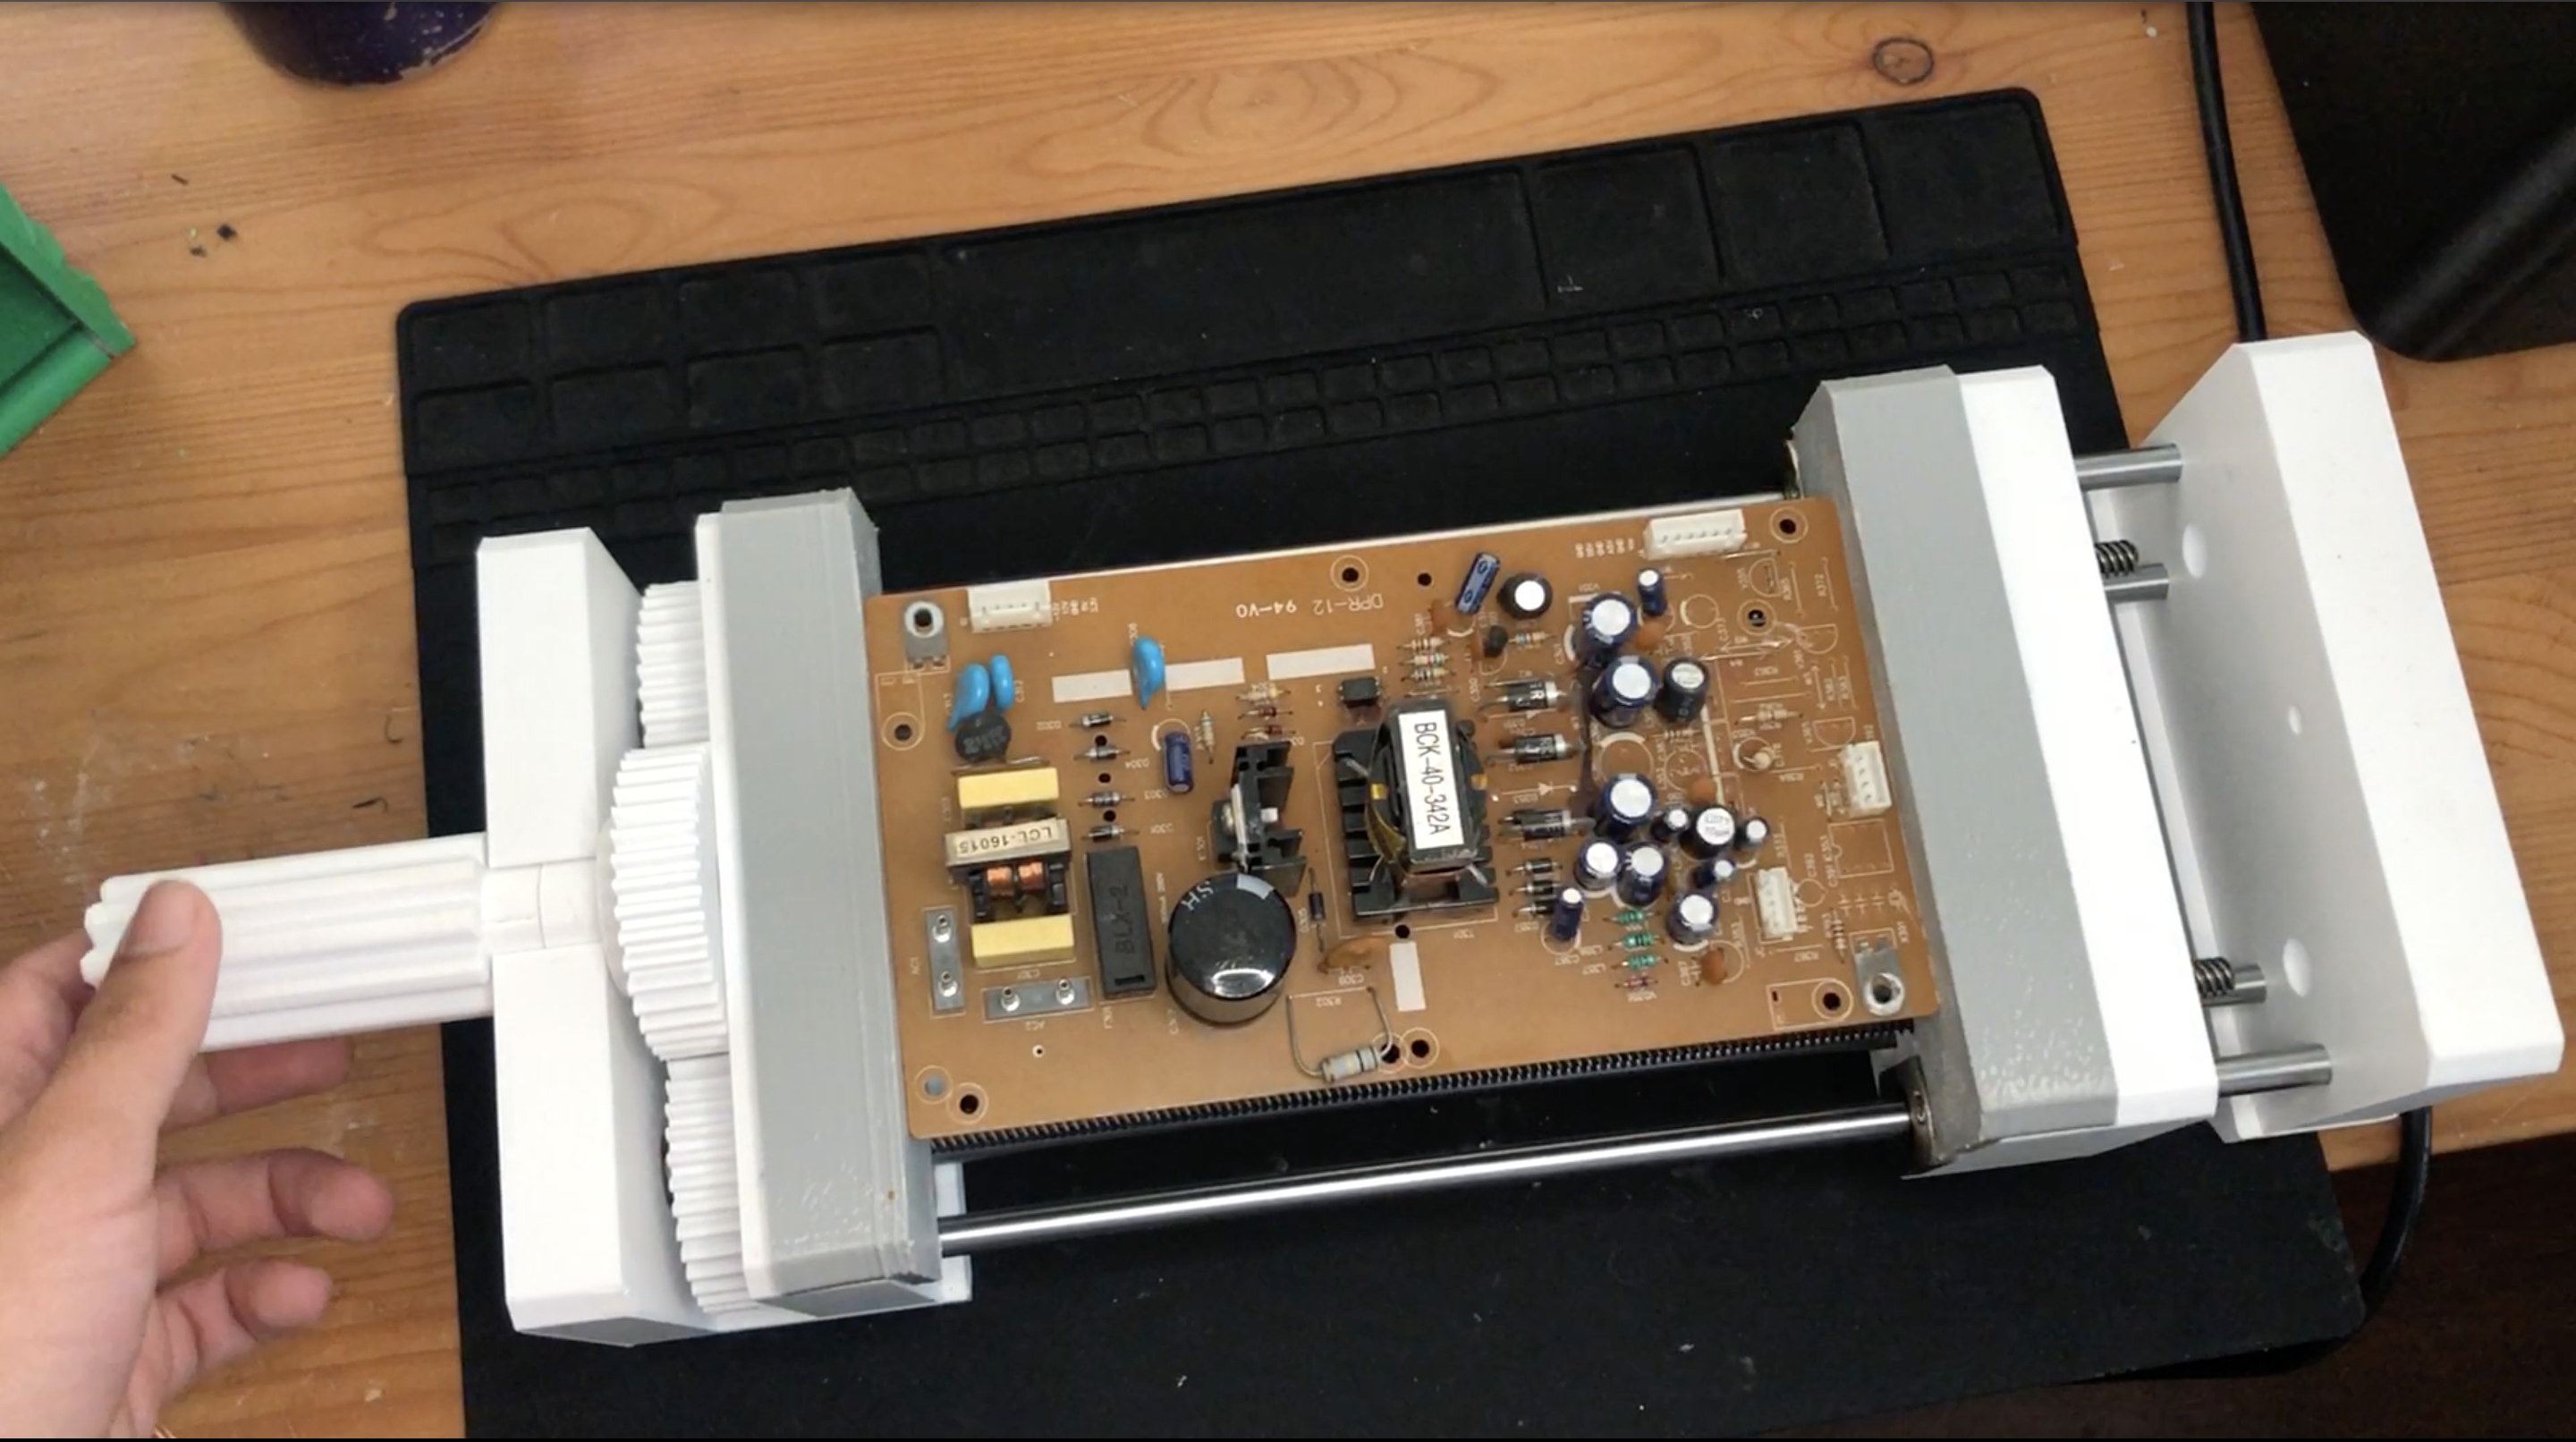
Bench Vice From Old Printer Parts
prusaprinters
<p>If you are in need of a massively over-engineered bench vice made from the carcasses of dead 3D printers you are in the right place.</p><p>Feel free to design you own Jaws to replace the generic, flat, soft ones I include. That's the beauty of 3D printing!</p><p> </p><p><strong>Please note:</strong></p><p>The threaded rods I used had a metal coupler on the end that was used to attach them to the stepper motors and I use that to attach them to the gears by running an M3 bolt through the coupler so it sticks out into the gear. If your rods do not have this coupler I would recommend making an adaptor to fatten the rod and then glue it into the gear.</p><p>You can make this with only two 8mm rods but I used 4 and it makes it sturdier. Just make sure the linear bearings are in the correct holes to run on the rods as their are positions for four bearings.</p><p> </p><p><strong>Shopping List:</strong></p><ul><li>M3 bolts of various sizes (exact sizes aren't very important).</li><li>M3 hex nuts</li><li>2x threaded rods and nut pairs from 3D printer.</li><li>2x or 4x 8mm rods and linear bearings from 3D printer.</li><li>5x 608/skateboard bearings</li></ul><p><strong>Printing List (The File Names) :</strong></p><ul><li>1x Bearing_Pin</li><li>1x Gear_Backing</li><li>1x Handle_Attachment</li><li>1x Handle_Gear</li><li>1x Handle_Side</li><li>1x Handle</li><li>2x Jaw_Grip (<strong>use a flexible filament</strong>)</li><li>1x Sliding_Jaw</li><li>1x Static_Foot</li><li>1x Static_Side</li><li>2x Thread_Gear_Buffer</li><li>2x Thread_Gear</li></ul><p><strong>Print Settings:</strong></p><figure class="table"><table><tbody><tr><td>Materials</td><td>PLA+ and TPU(95A)</td></tr><tr><td>Brim</td><td>no</td></tr><tr><td>Supports</td><td>Only on “Handle” and “Handle_Attachment”</td></tr><tr><td>Brim</td><td>no</td></tr><tr><td>Layer Height</td><td>I used 0.2mm</td></tr><tr><td>Nozzle</td><td>I used 0.4mm</td></tr></tbody></table></figure><p><strong>Assembly Instructions:</strong></p><ol><li>Insert threaded rods into the two “Thread_Gears" and lock them in place with the M3 bolts by putting the M3 nuts into the slots and tightening the bolts either through the motor coupling or onto the end of the threads.</li><li>Put 2 of the 608 bearings into the “Handle_Side” and then insert the threaded rods through them so that the gears are on the same side as the bearings.</li><li>Insert the 8mm rods into their holes on the “Handle_Side” piece, they should stick out parallel to the threaded rods.</li><li>Insert the linear bearings into the “Sliding_Jaw” piece so that when the threaded rods go through the hole with 4 holes around it, the 8mm rods go through the bearings.</li><li>Screw the threaded rod nuts onto the “Sliding_Jaw” piece by threading the M3 bolts in from the larger hole so the bolt heads are hidden and the exposed threads can be used to screw in the threaded rod's nuts.</li><li>Thread on the “Sliding_Jaw” assembly to the handle side assembly so the jaws are attached together.</li><li>Press on the “Static_Side" to the 8mm rods so the “Sliding_Jaw” is now captive.</li><li>Install two bearings into the “Gear_Backing” piece and press the “Thread_Gear_Buffer” peice into them.</li><li>Put a bearing onto the “Bearing_Pin” and then thread an M3 bolt through that whole assembly and use that to attach it to the “Handle_Side” assembly.</li><li>Press the “Handle_Gear” onto the bearing you just installed so that it meshes with the other two gears. (<strong>Important: make sure the "Sliding_Jaw" slides freely and rotates all the threaded rods and gears smoothly as this will dictate the smoothness of the vice</strong>).</li><li>Put some glue (I used 5min epoxy) on the large face (not with the square hole) of the “Handle_Attachment” and insert the cylindrical side of it into the “Gear_Backing” piece (it should fit loosely) and then take that whole assembly and using the bottom of the “Static_Side” and the sticking out part of the “Handle_Attachment”, glue the handle attachment to the handle gear. The “Thread_Gear_Buffer” parts should butt up against the “Thread_Gears”. <strong>Wait for the glue to dry/set completely.</strong></li><li>Use a long Alan Key to thread a longer set of M3 bolts into the holes on the back of the “Handle” so they stick out with the square. Insert the “Handle” into the “Handle_Attachment” and the friction of the M3 bolts and the square should hold it in place although you can glue it if you want.</li><li>Then take the “Jaw_Grips” and slide them onto the “Handle_Side” and the “Sliding_Jaw”, they should friction fit.</li><li>Glue “Static_Foot” onto the “Static_Side” piece.</li></ol><p><strong>Congrats, you now have a fully functional bench vice!</strong></p>
With this file you will be able to print Bench Vice From Old Printer Parts with your 3D printer. Click on the button and save the file on your computer to work, edit or customize your design. You can also find more 3D designs for printers on Bench Vice From Old Printer Parts.
